The Best Mini Egg Cheesecake Recipe (Creamy, Crack-Free & Adorable)
SEO Title: Mini Egg Cheesecake Recipe (Creamy, Crack-Free & Easy Bites)
Meta Description: These mini egg cheesecake bites bake up silky and crack-free in a muffin tin — no water bath. Topped with mini chocolate eggs for the cutest bite-size dessert.
Why Is This the Best Mini Egg Cheesecake Recipe You'll Ever Try?
Some desserts taste great but look plain. Others look cute but disappoint on flavor. These mini egg cheesecakes nail both. Each one is a perfectly portioned, velvety cheesecake with a buttery graham crust, baked in a standard muffin tin — no water bath, no springform pan, no cracks. Then comes the crown: a swirl of whipped cream or chocolate ganache studded with colorful mini chocolate eggs that crackle with a candy shell.
What makes this recipe the best version out there? First, it is engineered to be crack-free without the fussy water bath that scares so many bakers away from cheesecake. A lower oven temperature, a short bake, and a slow cool-down do all the work. Second, the filling uses a smart ratio of cream cheese to sour cream, which keeps the texture luxuriously creamy while adding a gentle tang that stops the bites from tasting heavy. Third, everything happens in a muffin tin you already own, so there is no special equipment to buy and no tricky unmolding.
Portion control is the hidden superpower here. A full-size cheesecake tempts you into "just one more sliver" territory; these little cups are self-contained treats you can serve at parties, pack into lunchboxes, or arrange on a dessert table without slicing a thing.
Beginners succeed with this recipe because the small format forgives almost every classic cheesecake mistake. If you can press crumbs into a cup and stir a batter until smooth, you can make bakery-worthy mini cheesecakes on your very first try. And when you set out a platter of these pastel-speckled bites, expect them to vanish before the coffee finishes brewing.
What Exactly Is Mini Egg Cheesecake?
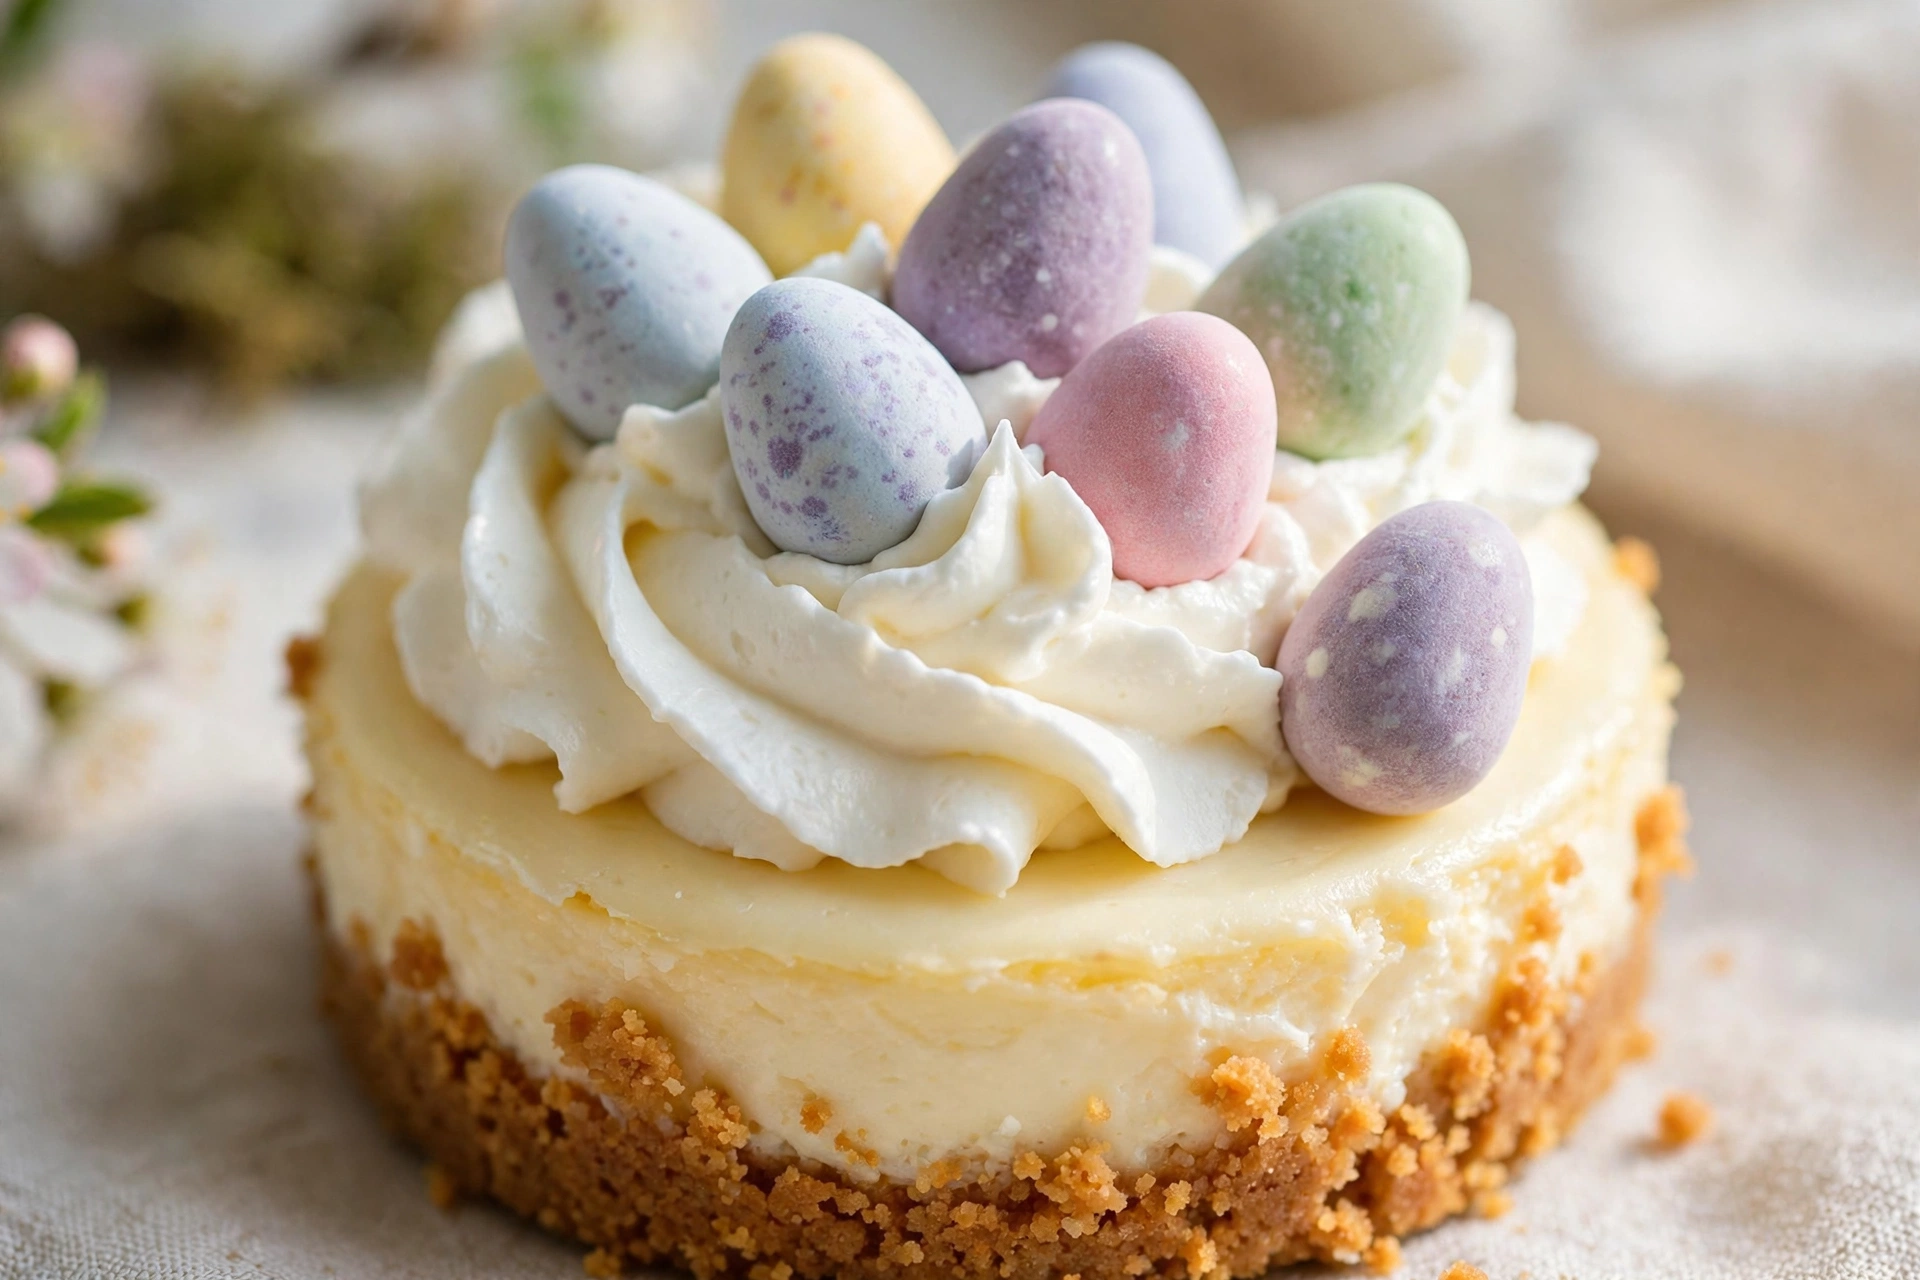
Mini egg cheesecake is a bite-size cheesecake baked in a muffin tin and decorated with mini chocolate eggs — those candy-coated chocolate eggs with the crisp, colorful shells. The base is classic New York–style cheesecake filling: cream cheese, sugar, eggs, and vanilla over a pressed graham cracker crust. The "mini egg" twist is all in the presentation: each chilled cheesecake gets crowned with whipped cream, ganache, or frosting and finished with two or three mini eggs nestled on top.
The concept borrows from two beloved dessert trends. From classic cheesecake it takes the rich, tangy, melt-in-your-mouth filling everyone loves. From the candy world it takes the playful, colorful crunch of mini chocolate eggs — the kind with pastel shells that show up every spring and have a devoted following year-round.
Unlike a traditional cheesecake, there is no springform pan to wrap in foil, no roasting pan full of hot water to juggle, and no overnight chill required before you can even think about slicing. The muffin-tin format bakes in about 20 minutes and chills in a few hours. Each cup is its own little cheesecake with the ideal crust-to-filling ratio in every bite — no fighting over the edge pieces or the center.
These are the ultimate make-ahead party dessert. They travel well, need no cutting or serving utensils, and look festive with zero decorating skill. Whether you are baking for Easter, a spring baby shower, a birthday party, or just because it is Tuesday, mini egg cheesecakes deliver maximum charm with minimum stress.
Why Is Mini Egg Cheesecake So Popular Right Now?
Bite-size desserts have been climbing for years, and mini egg cheesecake sits at the sweet spot of several trends at once. First, the no-water-bath method removed the biggest barrier to homemade cheesecake. For decades, people assumed cheesecake meant a stressful afternoon of foil-wrapped pans and cracked tops. This recipe proves you can get a silky, professional result with a muffin tin and an ordinary oven — and once that secret got out, home bakers never looked back.
Second, mini desserts photograph incredibly well. A tray of twelve identical little cheesecakes, each topped with pastel candy eggs, is tailor-made for sharing online.
Third, the mini egg topping taps into seasonal excitement. Those candy-coated chocolate eggs spark joy and nostalgia, and pairing them with cheesecake feels fresh even though both elements are classics. Bakers make them for Easter, then keep making them all year because the candy is available far beyond spring and the flavor combination simply works.
Finally, practicality wins. These cheesecakes feed a crowd from one batch, transport without sliding or smearing, and let hosts offer variety — make half with ganache and half with whipped cream, or set out toppings and let guests decorate their own. When a dessert is this cute, this easy, and this crowd-friendly, its popularity is no accident.
What Ingredients Do You Need for Mini Egg Cheesecake?
The ingredient list is short and every item earns its place. Room-temperature dairy is non-negotiable here — cold cream cheese turns lumpy, and lumps are the enemy of silky cheesecake. Set everything out at least an hour before you bake.
For the graham cracker crust (makes 12):
- 1½ cups (about 180 g) graham cracker crumbs (roughly 12 full sheets)
- ¼ cup (50 g) granulated sugar
- 6 tablespoons (85 g) unsalted butter, melted
- Pinch of fine sea salt
For the cheesecake filling:
- 16 oz (450 g) full-fat cream cheese, at room temperature (two standard blocks)
- ½ cup (100 g) granulated sugar
- ½ cup (120 g) sour cream, at room temperature (full-fat)
- 2 large eggs, at room temperature
- 1 large egg yolk, at room temperature (for extra richness)
- 2 teaspoons pure vanilla extract
- 1 tablespoon all-purpose flour (helps prevent cracking)
- 1 teaspoon fresh lemon juice (brightens the flavor; you will not taste lemon)
- ¼ teaspoon fine sea salt
For decorating:
- 1 cup heavy whipping cream, whipped to soft peaks with 2 tablespoons powdered sugar (or one batch of chocolate ganache — see tips)
- 36–48 mini chocolate eggs (Cadbury-style candy-coated eggs), about 3–4 per cheesecake
- Optional: extra graham crumbs or chocolate shavings for garnish
A note on cream cheese: use the full-fat block kind, not the spreadable tub or low-fat version. Tub-style cream cheese contains extra water and stabilizers that make the filling soft and prone to cracking. The foil-wrapped blocks give you the dense, creamy set that makes cheesecake taste like cheesecake. For the sour cream, full-fat Greek yogurt works as a substitute and adds a pleasant tang, but classic sour cream gives the smoothest result.

What Equipment Do You Need for Mini Egg Cheesecake?
No springform pan, no roasting pan, no foil wrapping. This is the entire list:
- Standard 12-cup muffin tin
- Paper or foil cupcake liners (foil liners look fancier and peel away cleanly)
- Food processor or zip-top bag + rolling pin (for crushing graham crackers)
- Large mixing bowl
- Electric hand mixer or stand mixer with paddle attachment
- Rubber spatula
- Small cookie scoop or tablespoon (for portioning batter evenly)
- Wire cooling rack
- Piping bag with a star tip (optional, for pretty whipped cream swirls — a zip-top bag with the corner snipped works too)
How Do You Make Mini Egg Cheesecake Step by Step?
Read through once, then bake. Active time is about 25 minutes; the oven and fridge handle the rest.
Step 1: Prep the oven and pan
Position a rack in the center of the oven and preheat to 325°F (165°C). Line all 12 muffin cups with liners. Lower heat is the first secret to crack-free cheesecake — a gentler bake sets the filling slowly and evenly instead of puffing it up fast and letting it collapse.
Step 2: Make the crust
Pulse the graham crackers into fine crumbs in a food processor (or crush them in a zip-top bag with a rolling pin — aim for sand-like texture with no big chunks). Stir in the sugar and salt, then pour in the melted butter and mix until every crumb looks damp, like wet sand. Divide among the lined cups, about 1½ tablespoons per cup. Press firmly with the bottom of a shot glass or small measuring cup to compact the crumbs into an even layer. A tightly packed crust holds together when you peel the liner away.
Step 3: Pre-bake the crusts
Bake the crusts for 5 minutes, just until they smell toasty and look slightly darker. This quick pre-bake keeps the crust crisp under the wet filling instead of turning soggy. Set the pan aside and reduce the oven temperature to 300°F (150°C) for the filling.
Step 4: Beat the cream cheese and sugar
In a large bowl, beat the room-temperature cream cheese with the sugar and salt on medium speed until completely smooth and fluffy, about 2 minutes. Scrape the bowl and beater thoroughly — twice. Any tiny lump now becomes a visible lump later, so take your time here. This is the only step where you beat vigorously; everything after this stays gentle to avoid whipping in air.
Step 5: Add the remaining filling ingredients
Beat in the sour cream, vanilla, lemon juice, and flour on low speed until just combined. Add the eggs and the extra yolk one at a time, mixing on low just until each disappears. Stop the moment the batter looks uniform. Over-mixing at this stage whips air into the batter, and trapped air expands in the oven, then collapses into cracks as it cools. A few small streaks are fine — finish by folding gently with a spatula.
Step 6: Fill the cups
Divide the batter among the 12 cups using a cookie scoop or spoon, filling each about three-quarters full. The filling will not rise much, so do not worry about it overflowing. Tap the pan firmly on the counter two or three times to pop any large air bubbles, then pop any surface bubbles with a toothpick.
Step 7: Bake low and slow
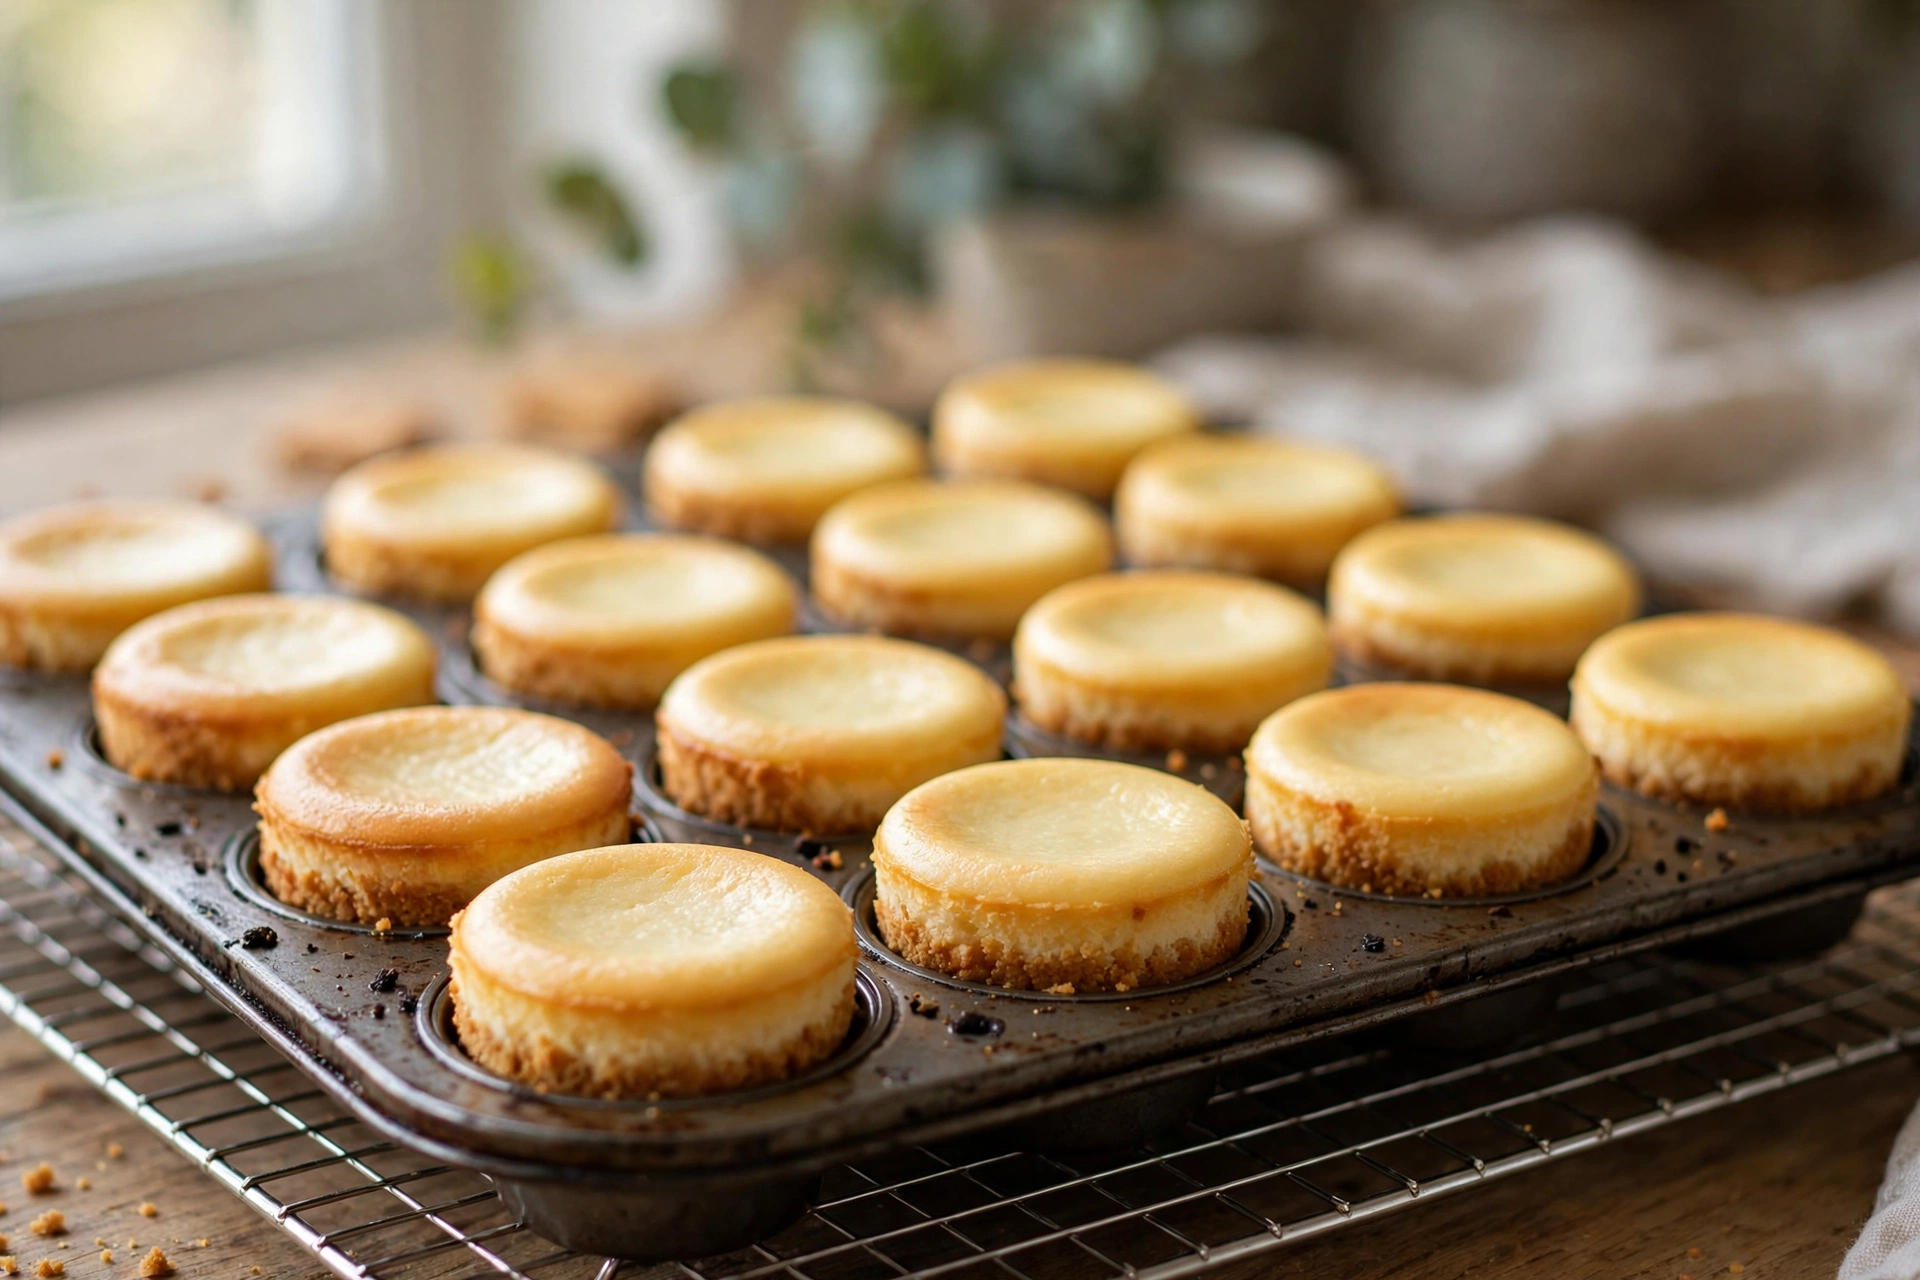
Bake at 300°F (150°C) for 18–22 minutes. The cheesecakes are done when the edges look set but the centers still jiggle slightly when you nudge the pan — like set gelatin, not liquid. They will finish setting from residual heat as they cool. If the centers still look wet and sloshy at 22 minutes, give them 2–3 more minutes, but pull them at the first sign of set centers. Overbaking is the fastest route to cracks and a dry texture.
Step 8: Cool gradually, then chill
Turn off the oven, crack the door open, and let the cheesecakes sit inside for 20 minutes. This gentle cool-down prevents the sudden temperature shock that causes cracking and sinking. Then move the pan to a wire rack and cool completely, about 1 hour. Cover loosely and refrigerate at least 4 hours, or overnight for the best flavor and firmest texture. The wait is worth it — chilling transforms the texture from soft to silky.
Step 9: Decorate with mini eggs
Pipe or spoon a swirl of whipped cream onto each chilled cheesecake, then nestle 3–4 mini chocolate eggs into the cream. Add a sprinkle of graham crumbs or chocolate shavings if you like. Serve chilled, and watch them disappear.

What Are the Pro Tips for Perfect Mini Egg Cheesecake?
These are the details that take your mini cheesecakes from good to bakery-case gorgeous.
Room temperature really means room temperature. Cold cream cheese will not blend smooth no matter how long you beat it, and cold eggs can make the batter curdle slightly. Set the dairy and eggs on the counter a full hour before you start — two hours if your kitchen is cool. In a pinch, submerge sealed cream cheese blocks in warm (not hot) water for 15 minutes.
Mix low and slow after the sugar stage. The initial cream cheese–sugar beating can be vigorous, but once eggs enter the bowl, switch to low speed and stop early. Less incorporated air means less puffing, less collapsing, and fewer cracks. Think of it as stirring rather than whipping.
The jiggle test never lies. Cheesecakes continue cooking from residual heat long after they leave the oven. Pull them when the centers still wobble like set gelatin. If you wait until the centers look completely firm, they are already overbaked. Trust the jiggle — chilling firms everything up.
Cool them in stages. The turned-off oven with the door cracked is not fussy extra credit; it is crack insurance. A gradual temperature drop keeps the tops smooth. Rushing cheesecakes from a hot oven to a cool counter is the single most common cause of cracks and sunken centers.
Chill overnight when you can. Four hours is the minimum, but an overnight rest deepens the flavor and gives you the firmest, cleanest texture. The tang mellows, the sweetness rounds out, and the cheesecakes slice — well, peel — perfectly. Plan ahead and your future self will thank you.
Decorate just before serving. Whipped cream weeps and mini eggs can bleed color if they sit too long in the fridge.
What Common Mistakes Should You Avoid?
Six pitfalls, all easy to dodge once you know them.
- 1. Using cold cream cheese. This is mistake number one by a mile. Cold cream cheese leaves tiny lumps that no amount of beating fully removes, giving you a grainy filling. Take the blocks out early, unwrap them so they warm faster, and do not start until they yield easily to a fingertip press.
- 2. Overbeating the eggs into the batter. Vigorous beating after the eggs go in pumps the batter full of air. The air expands in the oven, lifts the tops into domes, and then collapses as it cools — leaving cracks, craters, and a dense texture. Mix on low, add eggs one at a time, and stop as soon as each one disappears.
- 3. Baking at too high a temperature. A hot oven sets the outsides before the centers catch up, causing puffing, browning, and cracking. These minis bake at just 300°F (150°C) — lower than many recipes dare. Resist the urge to crank the heat to "speed things up." Low and slow is the whole method.
- 4. Overbaking. The difference between perfect and dry is about three minutes. Start checking at 18 minutes and pull the pan when centers still jiggle. Remember that carryover cooking finishes the job. An overbaked mini cheesecake tastes chalky instead of creamy, and no topping fully hides that.
- 5. Skipping the gradual cool-down. Moving cheesecakes straight from a hot oven to room temperature shocks the filling, which contracts unevenly and cracks. The 20-minute rest in the cooling oven costs you nothing and saves the tops. Set a timer so you do not forget them in there.
- 6. Decorating too early. The candy shells can soften and bleed color if they sit too long, and whipped cream deflates and weeps. Decorate within a few hours of serving — it takes ten minutes and makes all the difference in the final presentation.
What Are the Best Mini Egg Cheesecake Variations to Try?
These five variations keep the same method and just swap flavors or toppings.
- 1. Chocolate Ganache Mini Egg Cheesecake. Replace the whipped cream with a silky ganache: heat ½ cup heavy cream until steaming, pour over 4 oz chopped semi-sweet chocolate, rest 2 minutes, then stir until glossy. Spoon a tablespoon over each chilled cheesecake and let it set 15 minutes before adding the mini eggs. The dark chocolate against the pastel candy looks stunning and tastes like a chocolate truffle met a cheesecake.
- 2. Lemon Mini Egg Cheesecake. Add 1 tablespoon of lemon zest and an extra teaspoon of lemon juice to the filling, and skip the vanilla. The bright citrus cuts the richness and pairs beautifully with the sweet candy eggs. Top with whipped cream, mini eggs, and a tiny twist of lemon zest for a fresh, springtime look.
- 3. Oreo Crust Mini Egg Cheesecake. Swap the graham crackers for 20 crushed chocolate sandwich cookies (filling and all) mixed with 4 tablespoons melted butter — skip the added sugar, since the cookies are sweet enough. The dark, chocolatey crust against the pale filling and colorful eggs is dramatic, and chocolate-cookie lovers will fight over these.
- 4. Peanut Butter Mini Egg Cheesecake. Beat ⅓ cup creamy peanut butter into the filling along with the sour cream, and use a chocolate cookie crust. Top with whipped cream, mini eggs, and a drizzle of melted peanut butter. It tastes like a peanut butter cup grew up and got elegant — rich, salty-sweet, and completely addictive.
- 5. No-Bake Mini Egg Cheesecake Cups. For a summer-friendly version, skip the oven entirely: beat the filling as directed but fold in 1 cup of whipped cream instead of baking, spoon it over the pre-baked (or no-bake) crusts in the lined tin, and freeze 3 hours until firm. Thaw 20 minutes before decorating and serving. The texture is mousse-like rather than dense — lighter, airier, and perfect when you refuse to turn on the oven.
How Do You Store and Reheat Mini Egg Cheesecake?
Refrigerator (up to 5 days): Store undecorated cheesecakes in an airtight container in the fridge, with parchment between layers if stacking. They actually taste better on day two and three as the flavors meld. Add whipped cream and mini eggs fresh when serving — do not store them fully decorated for more than a day, since the cream weeps and the candy shells soften.
Freezer (up to 2 months): These freeze exceptionally well. Freeze the plain baked cheesecakes (no toppings) on a tray until solid, then wrap each in plastic wrap and tuck into a freezer bag. Thaw overnight in the refrigerator, then decorate and serve. The texture stays creamy and smooth — most people cannot tell they were frozen. Do not freeze decorated cheesecakes; whipped cream turns watery and mini eggs lose their crunch.
Reheating: Cheesecake is served chilled, so there is no reheating involved — just thawing. Move frozen cheesecakes to the fridge the night before you need them. In a hurry? Thaw at room temperature for 1–2 hours, but do not leave them out longer than 2 hours for food safety. Serve straight from the fridge for the firmest, cleanest bite; 15 minutes at room temperature softens them into an extra-creamy texture if you prefer.
How Should You Serve Mini Egg Cheesecake?
Presentation is half the joy of this dessert. Here are the serving ideas that earn the most compliments:
- Easter dessert table: Arrange them on a tiered stand with pastel decorations, fresh flowers, and a scattering of extra mini eggs around the base. They are the undisputed star of any spring spread.
- Build-your-own topping bar: Set out plain chilled cheesecakes with bowls of mini eggs, crushed cookies, fresh berries, chocolate sauce, and caramel. Guests — especially kids — love decorating their own. It doubles as entertainment.
- Party favors: Tuck one cheesecake into a small bakery box tied with ribbon for each guest to take home. They travel beautifully and feel far more special than a bag of candy.
- Baby or bridal shower: Match the mini egg colors to your theme (pastels work for almost everything) and arrange them on a pretty platter with doilies or fresh greenery. They photograph like a dream.
- Dessert board: Place them alongside brownies, macarons, and fresh fruit on a big wooden board for a grazing-style dessert spread.
For drinks, pair them with cold milk, hot coffee, or a glass of dessert wine like Moscato. At Easter brunch, they sit happily next to mimosas and coffee. For kids' parties, serve with hot chocolate — the chocolate-on-chocolate combination is pure joy.

Mini Egg Cheesecake FAQs
Can I make mini egg cheesecake without a water bath?
Yes — that is the entire point of this recipe. The small muffin-tin format, low baking temperature (300°F/150°C), and gradual cool-down replace the water bath's job of gentle, even heating. You get smooth, crack-free tops with none of the foil-wrapping, hot-water-juggling hassle of a traditional cheesecake.
Why did my mini cheesecakes crack on top?
Cracks almost always come from one of three things: overbeaten batter (too much air), too hot an oven, or cooling too fast. Mix the eggs in gently on low speed, verify your oven temperature with a thermometer if you suspect it runs hot, and always do the 20-minute rest in the turned-off oven. Small cracks can also just be hidden under the whipped cream topping — the oldest trick in the cheesecake book.
Can I use low-fat cream cheese?
You can, but the texture suffers. Low-fat cream cheese contains more water and gums, which makes the filling softer, less rich, and more prone to cracking. For the dense, creamy bite that makes cheesecake worth making, full-fat block cream cheese is worth it. This is a dessert — embrace the richness.
How do I know when the mini cheesecakes are done?
Watch for set edges and centers that still jiggle like gelatin when you gently shake the pan — usually at 18–22 minutes. They should not look wet or sloshy, but they should definitely wobble. They firm up as they cool and chill. When in doubt, pull them early; carryover cooking and the long chill finish the job.
Can I make these ahead of time?
Absolutely — they are an ideal make-ahead dessert. Bake up to 3 days ahead and refrigerate undecorated in an airtight container, or freeze up to 2 months. Decorate with whipped cream and mini eggs within a few hours of serving for the freshest look and texture.
Do I have to use cupcake liners?
Liners make removal foolproof, so they are strongly recommended — especially paper or foil cupcake liners. Without liners, you would need to grease the tin very thoroughly and the cheesecakes may still stick or break on removal. Foil liners are the prettiest option and peel away the cleanest.
Can I make a full-size cheesecake with this recipe?
This recipe is calibrated for the mini format and does not scale directly to a 9-inch springform — a big cheesecake needs a longer bake and usually a water bath. If you want a full-size version, look for a classic New York cheesecake recipe instead. Or simply make two dozen minis; a crowd always prefers them.
What are mini eggs, exactly?
Mini eggs are bite-size milk chocolate eggs wrapped in a thin, crisp candy shell, usually in pastel speckles. Any small candy-coated chocolate egg works in this recipe — pick your favorite colors.
Can I make these gluten-free?
Yes. Swap the graham crackers for gluten-free graham-style crackers or gluten-free digestive biscuits, and replace the tablespoon of flour in the filling with cornstarch. Everything else in the recipe is naturally gluten-free. Check your mini egg packaging too, since some candy coatings contain gluten — most major brands are gluten-free, but verify the label.
Final Thoughts
Mini egg cheesecake is proof that the best desserts do not have to be the most complicated. A muffin tin, a bowl, and a little patience produce twelve perfect, creamy, crack-free cheesecakes — no water bath, no springform, no stress. The mini chocolate eggs on top add the playful crunch and color that turn a classic dessert into a celebration.
Make them for a birthday, a shower, or a random Wednesday that needs brightening. However you serve them, the formula never fails: buttery crust, silky filling, and that delightful candy crunch on top. Bake a batch, decorate with abandon, and enjoy every adorable bite.
If you loved these creamy bite-size treats, you’ll also enjoy our Sweet Focaccia Bread — soft, bakery-style dessert bread that’s just as shareable — and our Homemade Peppermint Bark for another easy make-ahead sweet.
📌 Love this recipe? Pin it on Pinterest to save it for later!