What Makes This the Best Buttermilk Pie Recipe?
Some desserts impress you with spectacle. Buttermilk pie impresses you with honesty. One bite of a good buttermilk pie gives you a golden, lightly caramelized top, a filling that tastes like creamy vanilla custard with a gentle tang, and a flaky crust that shatters just right. It does all of that with ingredients you already keep in your kitchen — flour, sugar, eggs, butter, and of course, buttermilk.
This classic buttermilk pie recipe is the one Southern grandmothers have passed down for generations, and it has earned its fame for one simple reason: it never fails to delight. The filling mixes up in a single bowl in about five minutes. There is no fancy technique, no special equipment, and no tempering or water bath. You pour the custard into a raw pie shell, slide it into the oven, and an hour later the whole house smells like a country bakery.
What makes this version the best is the balance. Many buttermilk pies come out too sweet, too eggy, or too jiggly in the middle. This recipe fixes all three. It uses just the right amount of sugar so the buttermilk’s tang can shine through. It bakes the pie until the center has a confident set — no soupy slices, no rubbery texture. And it builds flavor with real butter, pure vanilla, and a whisper of nutmeg that makes the custard taste warm and rounded instead of flat.
Whether you grew up eating buttermilk pie at church picnics and holiday tables or you are discovering it for the first time, this guide walks you through everything: the ingredients, the equipment, step-by-step instructions, pro tips, the mistakes to avoid, five wonderful variations, storage and make-ahead advice, and answers to the questions bakers ask most.
Why Is Buttermilk Pie So Popular in the South?
Buttermilk pie earned its place in Southern kitchens out of pure practicality. Long ago, farm families always had buttermilk on hand — it was the leftover liquid from churning butter, and nobody wanted to waste it. Resourceful cooks whisked it with eggs, sugar, flour, and butter, poured it into a pie crust, and created a dessert that tasted rich and luxurious from humble beginnings. It became known as one of the great “pantry pies” or “desperation pies,” baked from whatever the kitchen already held.
That practicality is exactly why buttermilk pie still matters today. It costs almost nothing to make. It needs no seasonal fruit, no expensive chocolate, no special trip to the store. When guests surprise you or when the holiday dessert table needs one more pie, you can pull this off without leaving the house.
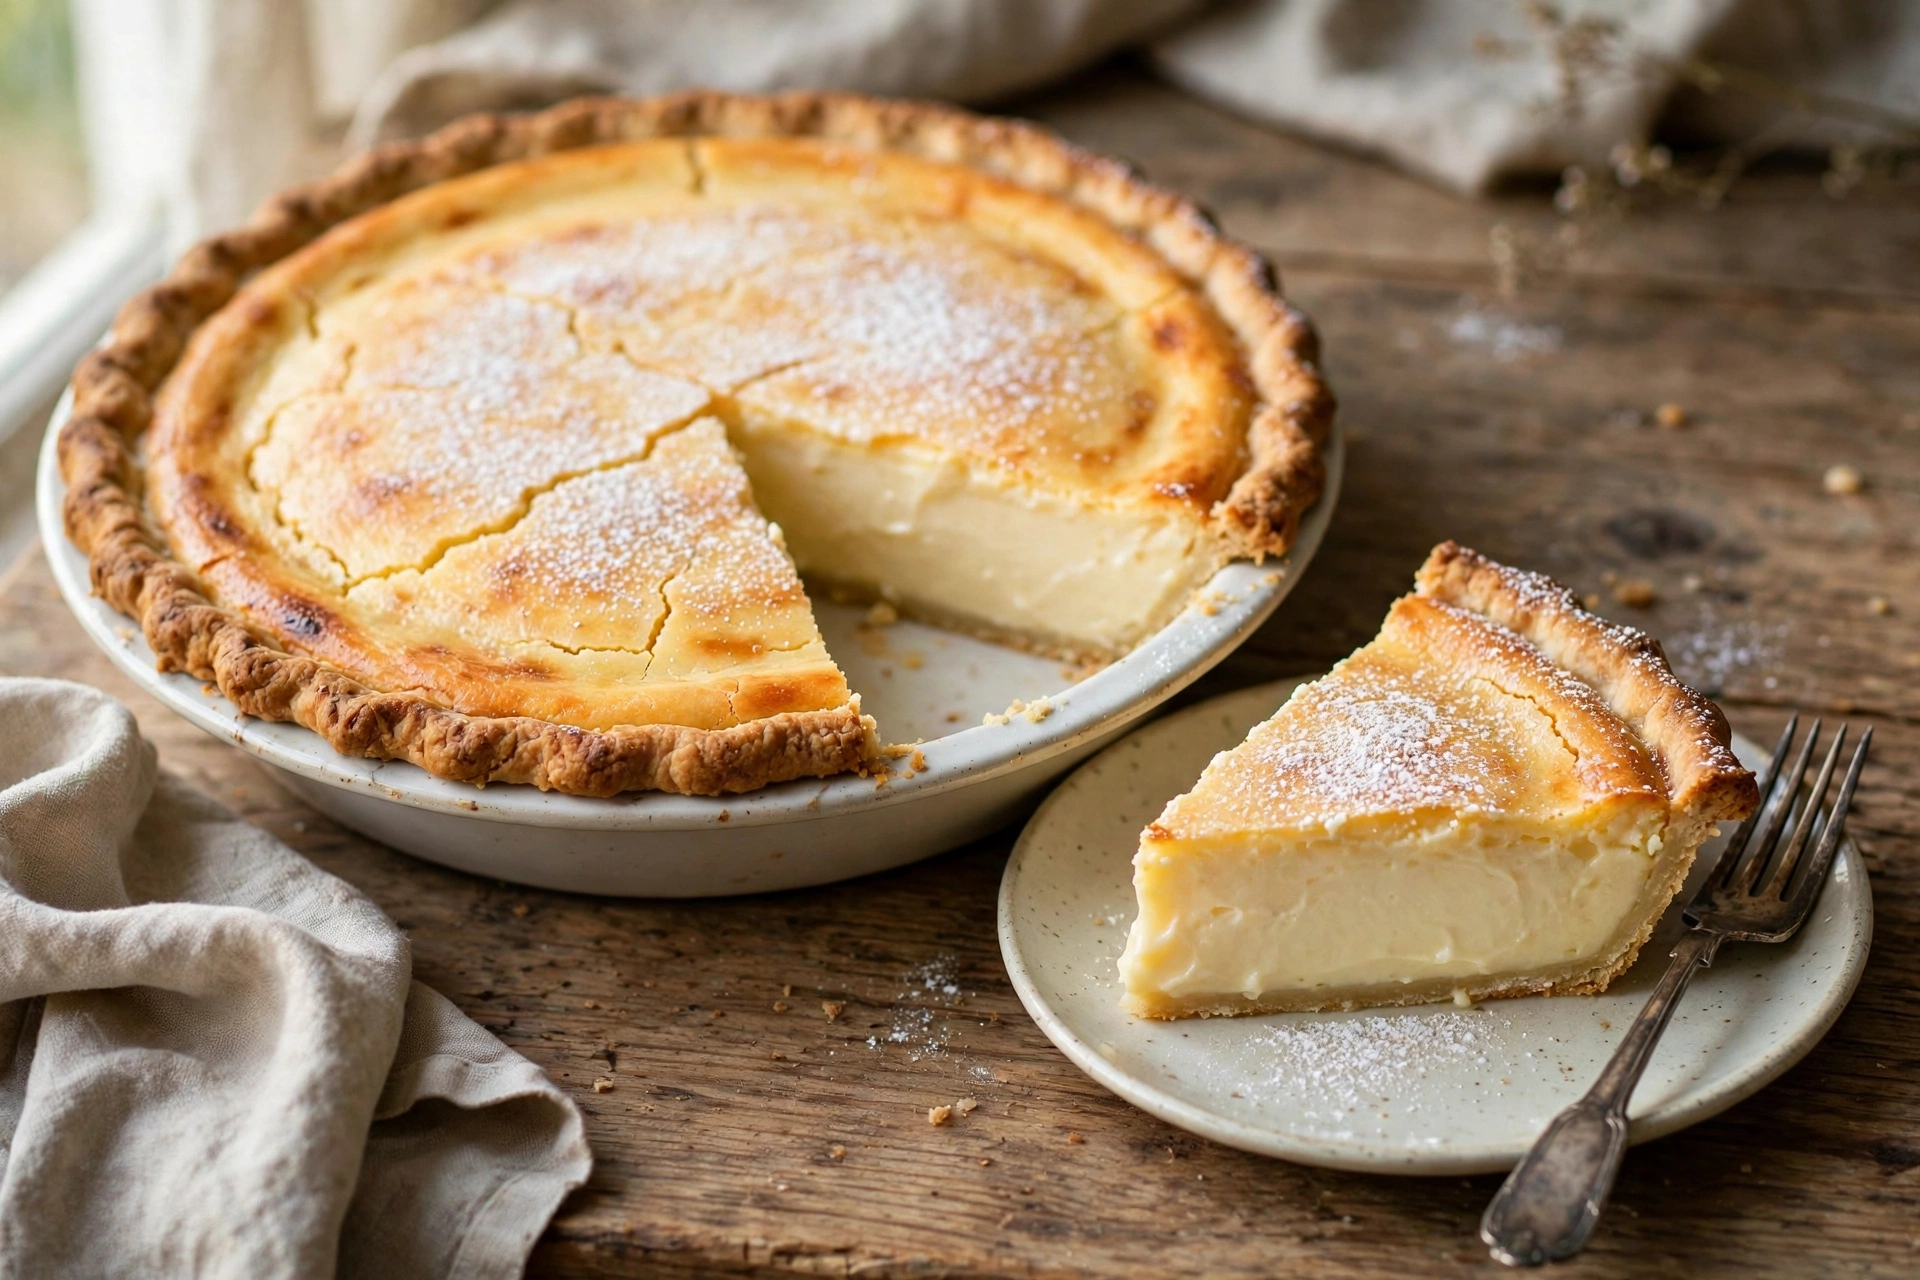
But popularity is never just about thrift. People love buttermilk pie because of the way it eats. The texture sits somewhere between crème brûlée and chess pie — silky, smooth, and custardy, with a crackled golden top that looks beautiful without any decorating skill. The flavor is tangy and sweet at the same time, like cheesecake’s friendlier cousin. A slice tastes indulgent, yet it feels lighter than pecan pie or chocolate pie, which is why it disappears fast at Thanksgiving and Christmas gatherings.
Buttermilk pie also travels beautifully. It holds its shape at room temperature for a few hours, slices cleanly once chilled, and actually tastes better the next day as the flavors settle. Make it ahead, bring it to the party, and watch it vanish.
What Ingredients Do You Need for Buttermilk Pie?
One of the greatest joys of this classic buttermilk pie recipe is the short, honest ingredient list. You likely own every single one of these already.
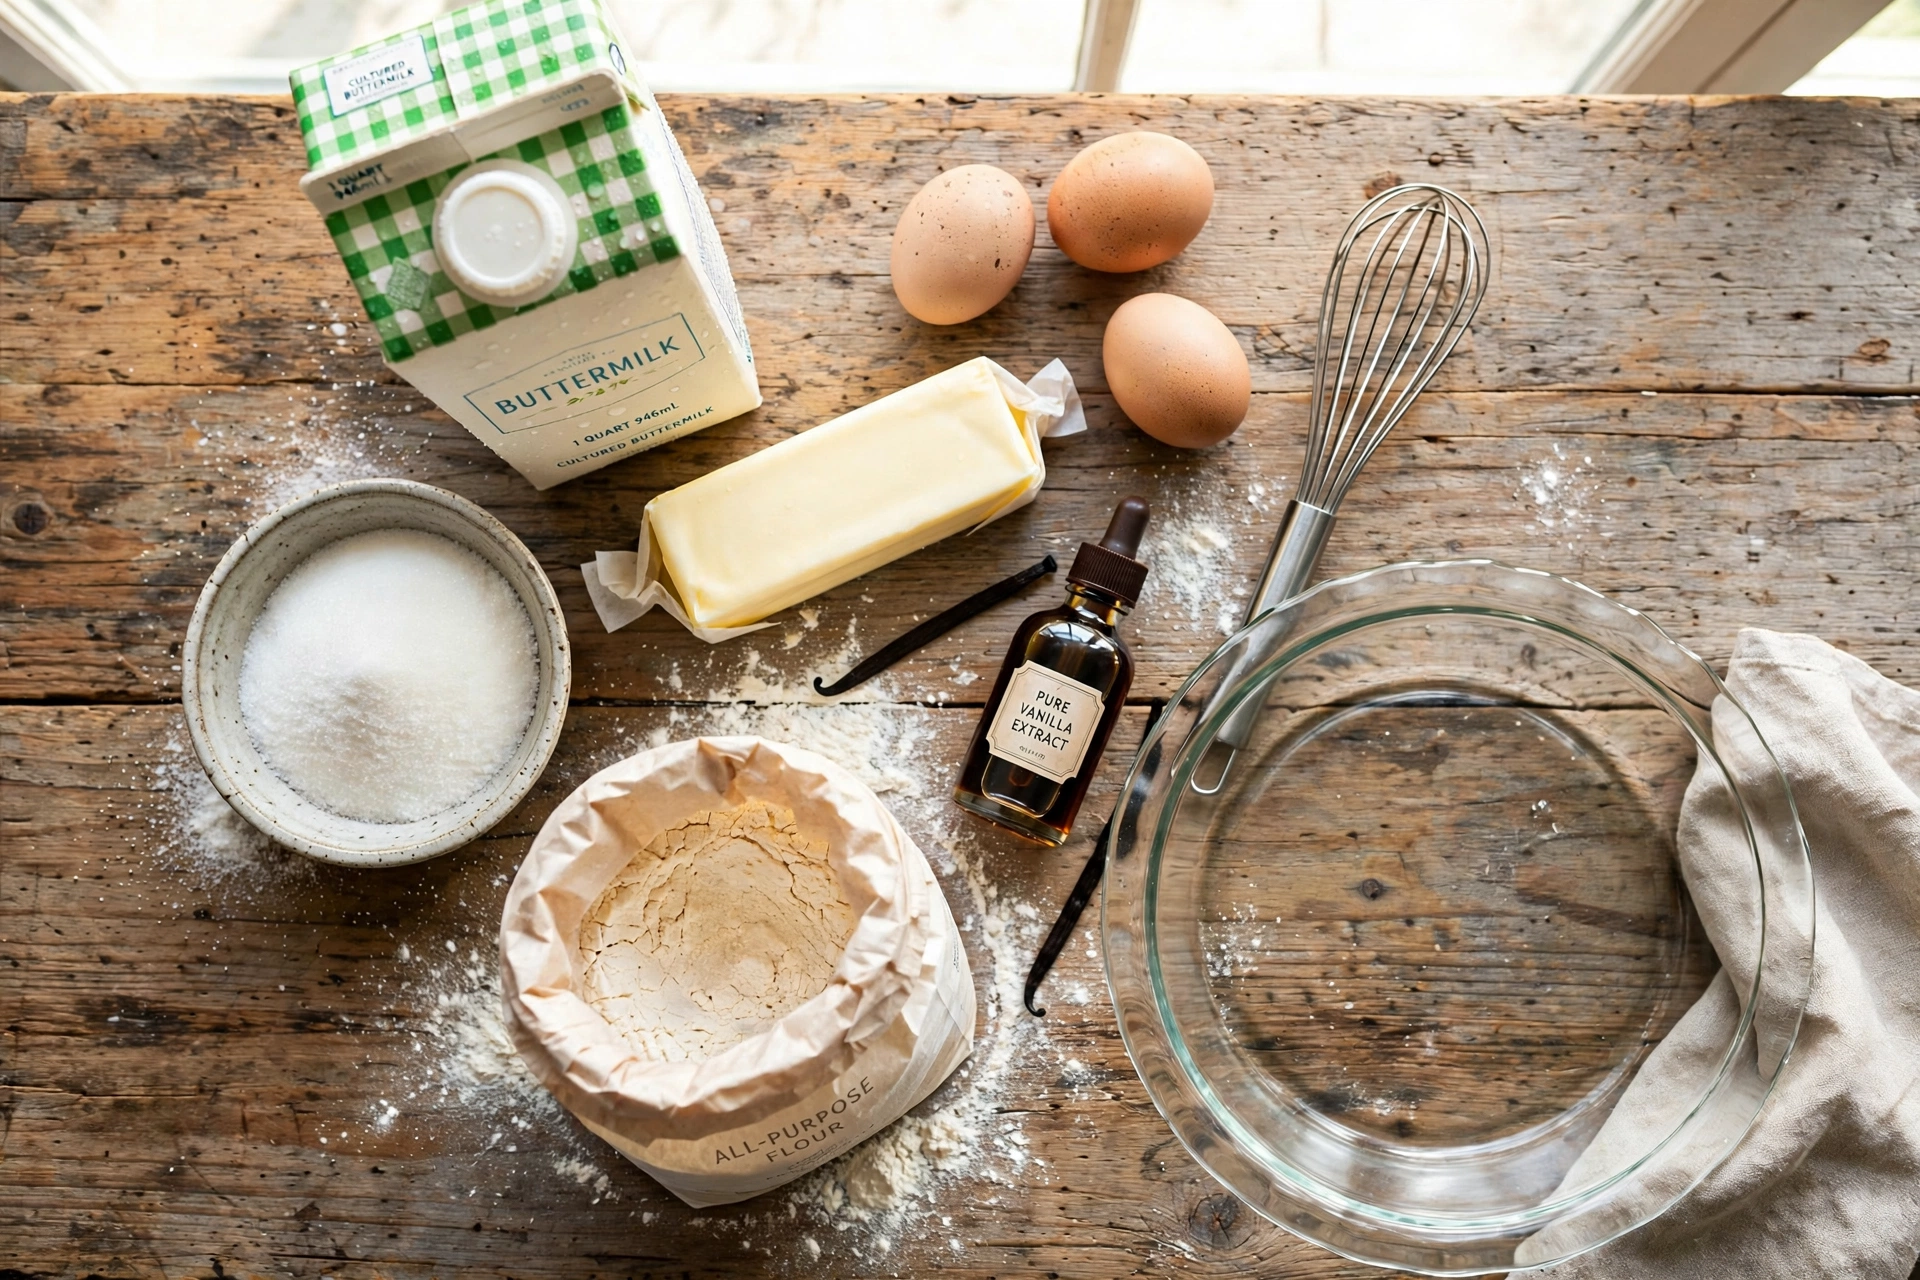
For one 9-inch buttermilk pie (8 generous servings), you will need:
- 1 unbaked 9-inch pie crust (homemade or store-bought)
- 1 1/2 cups granulated sugar
- 3 tablespoons all-purpose flour
- 1/4 teaspoon salt
- 3 large eggs, at room temperature
- 1 cup buttermilk, well shaken, at room temperature
- 1/2 cup (1 stick) unsalted butter, melted and slightly cooled
- 2 teaspoons pure vanilla extract
- 1/4 teaspoon freshly grated nutmeg (plus extra for dusting the top, optional)
That is the entire list. Nothing exotic, nothing expensive. Now let’s talk about why each ingredient matters and how to get it right.
The pie crust is your foundation. A homemade all-butter crust gives the flakiest, most flavorful result, and this recipe works beautifully with one. But a quality store-bought crust works too — buttermilk pie is forgiving, and the custard is the star. Just make sure the crust fits a standard 9-inch pie plate and is unbaked when you start.
Sugar sweetens the custard and helps create that signature crackled golden top. Granulated white sugar keeps the filling pale and classic. Do not reduce the sugar too aggressively — it does more than sweeten; it sets the custard’s structure.
Flour acts as the thickener. Just three tablespoons is enough to help the custard set into clean, creamy slices. It also prevents the filling from weeping. Measure it carefully — too much flour makes the pie pasty, too little makes it wobbly.
Salt sounds minor, but it wakes up every other flavor. Without it, the pie tastes flat and one-dimensional. With it, the tang, the vanilla, and the butter all taste brighter.
Eggs provide structure and richness. Room-temperature eggs blend more smoothly into the batter, which gives you a silkier filling. If you forget to set them out, place cold eggs in a bowl of warm water for ten minutes.
Buttermilk is the soul of the recipe. Its acidity tenderizes the custard, adds that signature tangy flavor, and reacts with the flour to give the filling its silky body. Use real cultured buttermilk from the dairy aisle — the thick kind, not a homemade milk-and-vinegar stand-in, which tastes thinner and less tangy. Give the carton a good shake before measuring.
Melted butter adds richness and helps the top caramelize. Unsalted butter lets you control the salt level. Melt it gently and let it cool until it feels warm, not hot — hot butter can scramble the eggs when you mix.
Pure vanilla extract rounds out the flavor. Use real vanilla, not imitation, for the best taste. Two teaspoons sounds like a lot, but custard loves vanilla, and the generous amount is part of what makes this pie taste special.
Freshly grated nutmeg is the finishing touch. A little nutmeg in the custard and a light dusting on top before baking gives the pie its classic look and a warm, aromatic flavor. Fresh nutmeg tastes noticeably better than the pre-ground kind — if you can, grate it yourself.
What Equipment Do You Need to Make Buttermilk Pie?
You do not need a single-purpose gadget to make buttermilk pie. This recipe rewards basic, well-loved kitchen tools. Here is what to pull out:
- 9-inch pie plate: Glass or ceramic works best because you can see the crust browning on the bottom. Metal works too, but glass gives you a clearer read on doneness.
- Large mixing bowl: Big enough to whisk the filling comfortably without sloshing.
- Whisk: A balloon whisk blends the custard smoothly and quickly. A fork works in a pinch, but a whisk gives a silkier result.
- Measuring cups and spoons: Accurate measurements keep the custard balanced. A kitchen scale works too if you prefer weighing.
- Fine-mesh sieve (optional but recommended): Straining the filling before pouring removes any tiny bits of egg or flour lumps and guarantees a perfectly smooth custard.
- Rimmed baking sheet: Set the pie plate on a baking sheet before it goes in the oven. It catches any drips, makes the pie easier to move, and promotes even baking.
- Pie shield or aluminum foil: The crust edges brown faster than the filling sets, so you will want to shield the edges partway through baking.
- Wire cooling rack: The pie needs to cool completely so the custard finishes setting.
- Oven thermometer (optional): If your oven runs hot or cold, a thermometer removes the guesswork — custard is sensitive to temperature.
That is everything. No stand mixer, no double boiler, no pastry blender required.
How Do You Make Buttermilk Pie Step by Step?
Read through these steps once before you start. The whole process takes about 15 minutes of hands-on work and roughly 50 to 60 minutes in the oven, plus cooling time. Here is the complete method.
- Preheat and prepare. Position a rack in the lower third of your oven and preheat to 350°F (175°C). Set your pie plate on a rimmed baking sheet. If you are using a homemade crust, fit it into the pie plate, crimp the edges, and chill it while the oven heats. A cold crust going into a hot oven bakes up flakier.
- Mix the dry ingredients. In your large mixing bowl, whisk together the sugar, flour, and salt. Whisking the dry ingredients first distributes the flour evenly so you never get a pasty lump in the finished custard. This small step makes a real difference in texture.
- Add the eggs. Crack the three room-temperature eggs into the bowl with the dry ingredients and whisk until the mixture is smooth, pale, and slightly thickened — about a full minute of steady whisking. You want the sugar to start dissolving and the eggs to fully incorporate. Scrape down the sides of the bowl halfway through so no dry pockets hide at the edges.
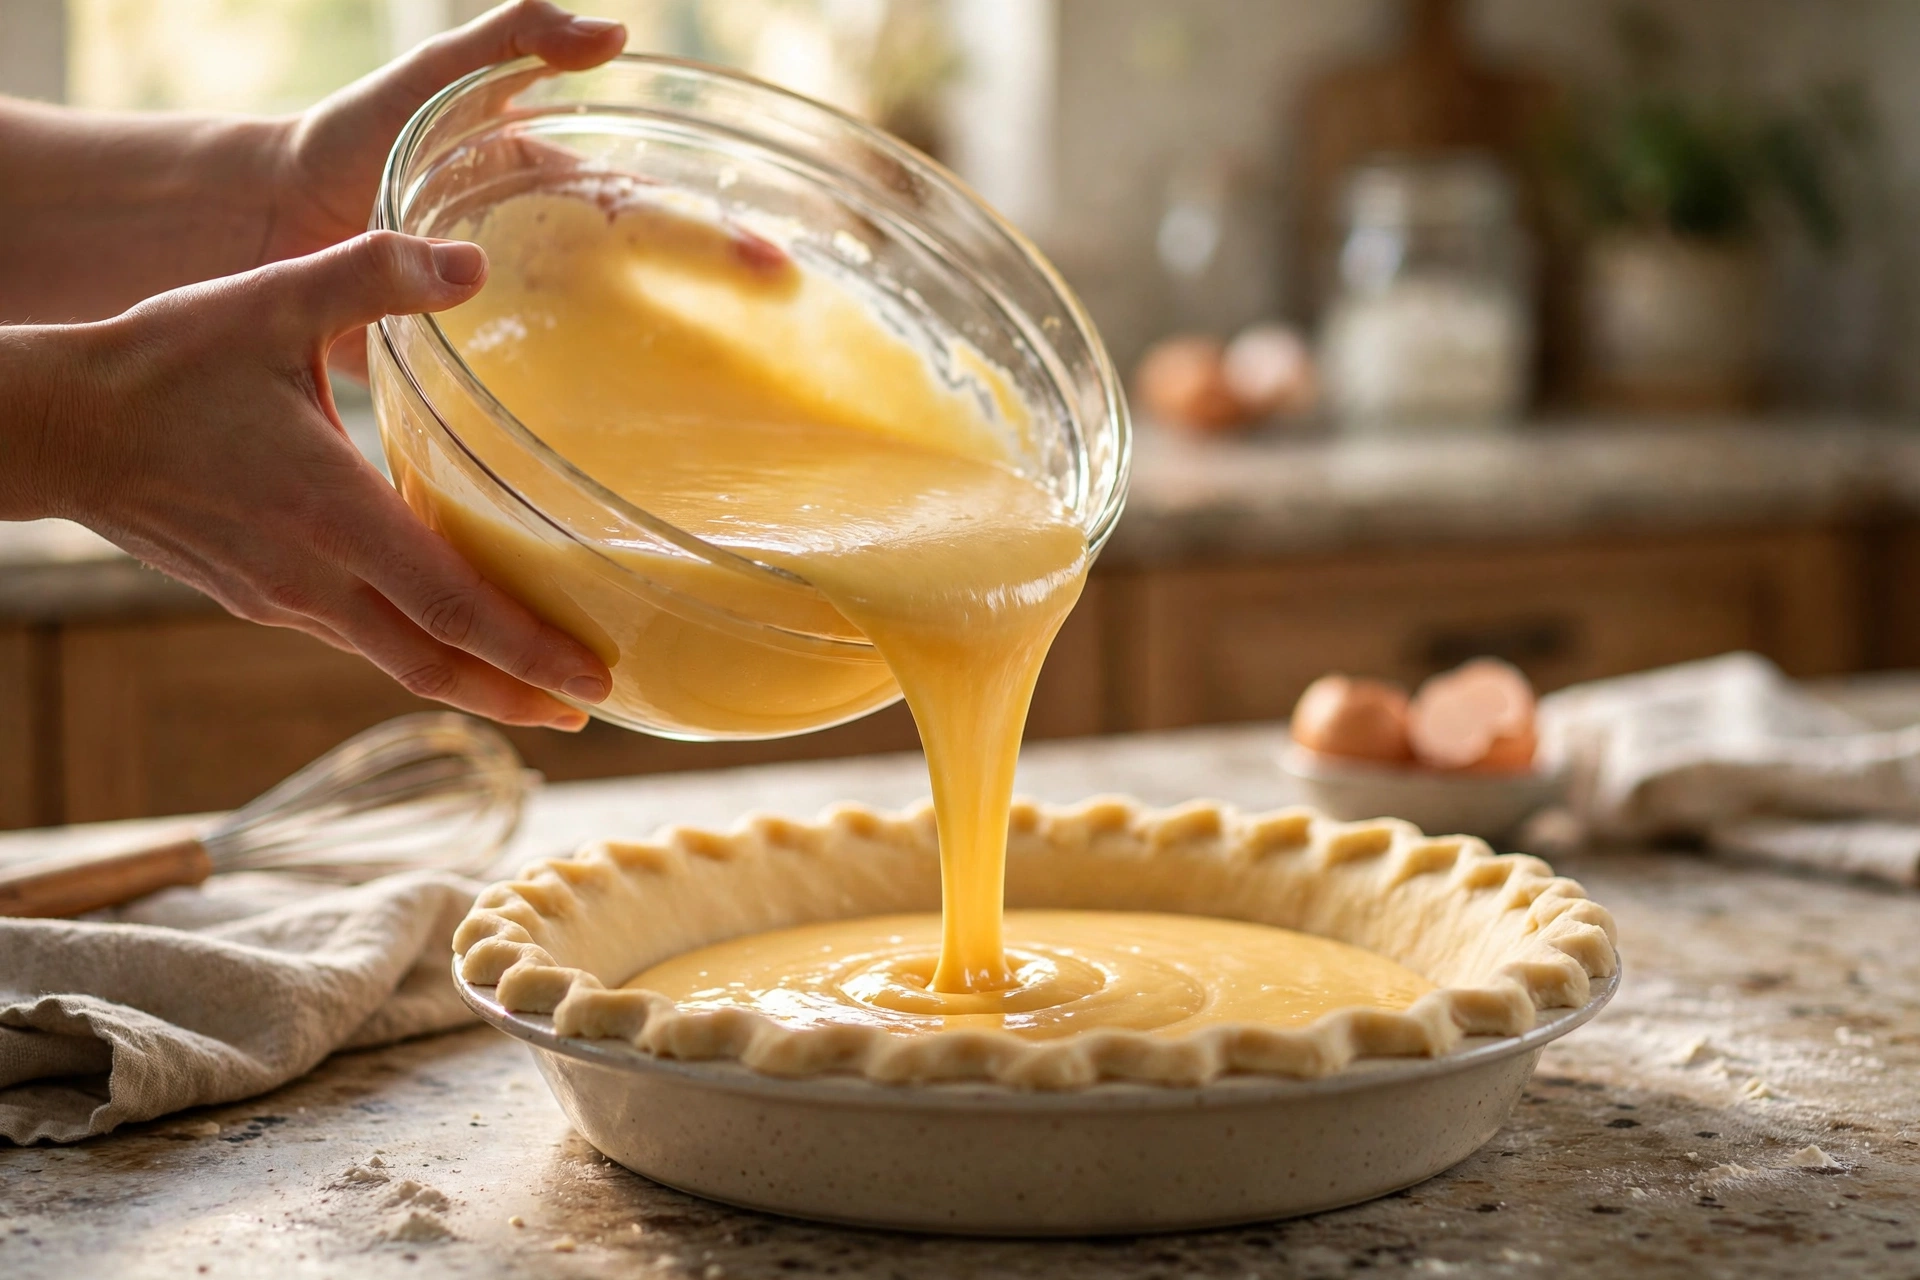
- Whisk in the wet ingredients. Pour in the buttermilk, the melted (but not hot) butter, and the vanilla extract. Whisk everything together until the batter looks completely smooth and uniform. It will be thin — thinner than pancake batter. That is exactly right. Do not worry; the eggs and flour will set it into a creamy custard in the oven.
- Add the nutmeg. Grate the nutmeg directly into the bowl and whisk it in. Then, for an extra-smooth filling, pour the batter through a fine-mesh sieve into a large measuring cup or pitcher. This catches any tiny egg strands or flour bits. It takes thirty seconds and it is the secret behind a truly silky slice.
- Fill the crust. Set your prepared pie shell on the baking sheet. Pour the strained filling into the unbaked crust. Fill it nearly to the top — the custard will puff slightly as it bakes, then settle back down. If you like, dust the surface very lightly with a pinch more nutmeg for that classic speckled top.
- Bake low and slow. Slide the baking sheet into the oven and bake at 350°F (175°C) for 50 to 60 minutes. After about 25 to 30 minutes, check the crust edges. If they are browning quickly, cover them loosely with a pie shield or strips of aluminum foil. The pie is done when the edges are set and golden, the top has a crackled caramelized look, and the very center still has a slight jiggle — about the wobble of set gelatin. It should not slosh like liquid. A toothpick inserted near the edge should come out clean, while one in the center may show a little moist custard.
- Cool completely. This step requires patience, and it matters. Transfer the pie (on its baking sheet) to a wire rack and let it cool for at least 2 hours at room temperature. The custard finishes setting as it cools — slicing too early gives you a runny center. Once cool, you can serve it at room temperature or chill it for 2 to 3 hours for the cleanest slices.
- Slice and serve. Cut with a sharp knife, wiping the blade clean between slices for the neatest cuts. Serve plain, or dress it up with lightly sweetened whipped cream, fresh berries, or a drizzle of honey. Watch how fast it disappears.
What Are the Best Pro Tips for Buttermilk Pie?
These are the small habits that separate a good buttermilk pie from a great one. They cost you nothing and they pay off in every slice.
Bring everything to room temperature. Cold eggs and cold buttermilk do not blend smoothly. They leave the batter lumpy and the custard streaky. Set your eggs and buttermilk on the counter about 30 minutes before you start. Room-temperature ingredients whisk into a perfectly uniform filling.
Strain the filling. Pouring the batter through a fine-mesh sieve takes seconds and guarantees a silky texture. Even careful whisking can leave tiny bits of egg white behind, and straining catches them all.
Bake on the lower rack. Custard pies bake best with strong heat under the crust. The lower third of the oven keeps the bottom crust crisp instead of soggy. A baking sheet under the pie plate adds even more bottom heat and makes the pie easy to slide in and out.
Shield the crust edges. The thin edges of the crust brown much faster than the custard sets. Check the pie at the halfway mark and cover the edges with foil or a pie shield if they look golden. Burnt edges ruin the look and taste of an otherwise perfect pie.
Learn the jiggle test. The single most useful skill in custard baking is reading the center. Gently nudge the pie — the outer two-thirds should look firm and set, while the very center quivers like gelatin. That residual heat finishes the job as the pie cools. A pie that looks completely firm in the oven will be overbaked by the time it cools.
Cool completely before slicing. The custard needs at least two hours at room temperature to finish setting. Warm slices collapse and weep. Patient slices hold tall and creamy. If you want the cleanest possible cuts, chill the cooled pie for a couple of hours.
Use real buttermilk. The thick, cultured buttermilk from the dairy case gives the pie its signature tang and creamy body. Homemade substitutes made with milk and vinegar or lemon juice work in a pinch, but they taste thinner and less complex. Since buttermilk is the headline ingredient, buy the real thing.
Grate your own nutmeg. Pre-ground nutmeg loses its aroma fast. A whole nutmeg and a small grater cost little and transform the pie’s fragrance. The difference is genuinely noticeable — warm, sweet, and complex instead of dusty and flat.
What Are the Most Common Buttermilk Pie Mistakes?
Even a simple recipe has traps. Here are the six mistakes bakers make most often with buttermilk pie, and exactly how to avoid each one.
Mistake 1: Overbaking the pie. This is the number one buttermilk pie killer. An overbaked pie turns rubbery, curdled, and dry instead of silky. The eggs seize up and the texture goes grainy. Remember the jiggle test — pull the pie when the center still quivers slightly. It firms up as it cools, I promise.
Mistake 2: Slicing before the pie cools. Warm custard has not finished setting. If you cut into the pie after only 30 or 45 minutes, the filling oozes and the slices fall apart. Give it a full two hours at room temperature. The pie is still delicious at room temperature, so you are not sacrificing anything by waiting.
Mistake 3: Using a hot oven. Some old recipes call for starting the pie at 425°F and then dropping the temperature. That blast of heat often scorches the top before the custard sets and can make the filling puff up and then sink dramatically. A steady 350°F from start to finish gives you a gentler, more even bake and a smoother top.
Mistake 4: Skipping the crust shield. Unprotected crust edges burn while the center finishes baking. Foil strips or a reusable pie shield take ten seconds to apply and keep the edges golden instead of blackened. Check at the 25-minute mark and shield as needed.
Mistake 5: Overmixing the batter. Once the wet ingredients go in, whisk just until smooth. Vigorous, prolonged beating whips air into the custard, which makes it puff up in the oven and then collapse into a sunken, cracked center. Mix gently and confidently, then stop.
Mistake 6: Using cold ingredients. Cold buttermilk and eggs resist blending, leaving streaks and lumps in the batter. Cold filling also hits the oven at a disadvantage and bakes unevenly. Thirty minutes on the counter fixes everything. Make room-temperature ingredients a non-negotiable habit.
Variation 1: Lemon Buttermilk Pie
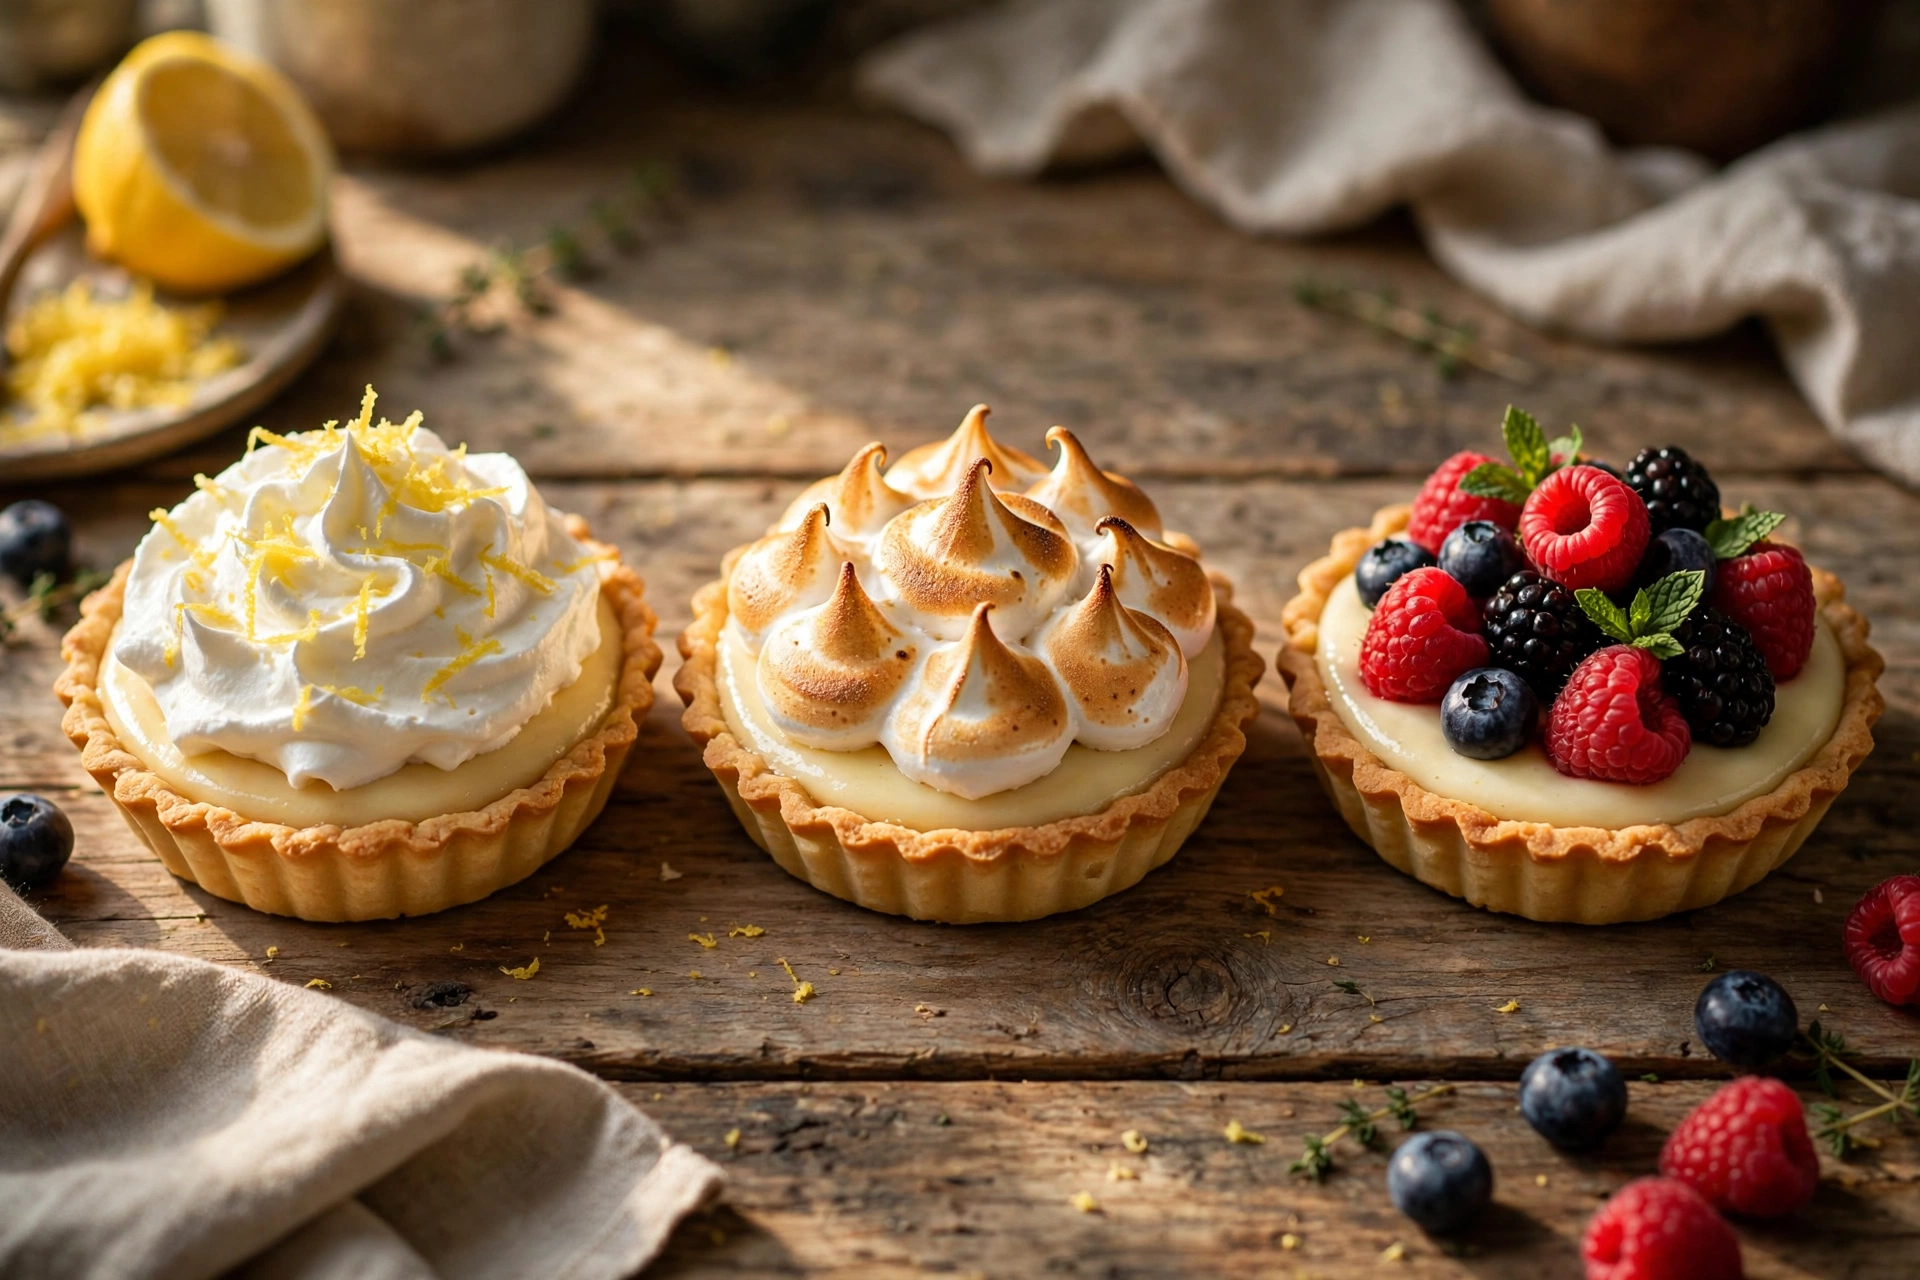
Add 2 tablespoons of fresh lemon juice and 1 tablespoon of finely grated lemon zest to the batter when you add the buttermilk. The citrus brightens the custard beautifully and makes the pie taste fresh and sunny. This version is a favorite for spring gatherings and Easter tables. Serve it with a dollop of whipped cream and a few extra curls of lemon zest on top. Reduce the vanilla to 1 teaspoon so the lemon can lead.
Variation 2: Chocolate Buttermilk Pie
Whisk 1/4 cup of unsweetened cocoa powder into the dry ingredients at the start. The result is a deep, dark custard that tastes like the love child of buttermilk pie and fudge. Increase the sugar to 1 3/4 cups to balance the cocoa’s bitterness, and serve each slice with whipped cream or a scoop of vanilla ice cream. Chocolate lovers will ask for this one by name.
Variation 3: Coconut Buttermilk Pie
Fold 1 cup of sweetened shredded coconut into the finished batter before pouring it into the crust. The coconut rises slightly during baking and toasts on the golden top, giving you a chewy, caramelized layer over the creamy custard. Swap the vanilla for 1 teaspoon of coconut extract if you want to lean into the tropical flavor. This variation tastes like a vacation in pie form.
Variation 4: Buttermilk Pie with Meringue Topping
Bake the pie as directed, then whip 3 egg whites with 1/4 cup of sugar and 1/4 teaspoon of cream of tartar until stiff, glossy peaks form. Spread the meringue over the hot pie, swirling it into peaks, and return it to a 400°F oven for 5 to 7 minutes until the tips turn golden. The cloud of toasted meringue over the tangy custard is pure Southern celebration. Serve the same day for the best meringue texture.
Variation 5: Brown Butter Buttermilk Pie
Brown the butter before you start: melt it in a light-colored pan over medium heat, swirling, until it foams, smells nutty, and turns amber with browned bits at the bottom — about 5 minutes. Let it cool slightly, then use it in place of the plain melted butter. Brown butter adds an incredible toasty, caramel depth that makes the whole pie taste more complex and grown-up. This is the variation that converts skeptics.
How Do You Store Buttermilk Pie?
Buttermilk pie stores wonderfully, which is one reason it makes such a great holiday dessert — you can bake it ahead and stop worrying.
Room temperature: A freshly baked buttermilk pie can sit at room temperature for up to 2 hours while it cools. After that, it needs refrigeration because of the egg-and-dairy custard. Do not leave it on the counter overnight.
Refrigerator: Once the pie has cooled completely, cover it loosely with plastic wrap or aluminum foil and refrigerate. It keeps beautifully for 4 to 5 days. In fact, many bakers swear the flavor improves on day two as the tang mellows and the custard firms up. Keep the pie in its plate and avoid stacking anything on top of the delicate surface.
Freezer: Buttermilk pie freezes well for up to 3 months. Cool the pie completely, then wrap it tightly in two layers of plastic wrap followed by a layer of aluminum foil. Label it with the date. For the best texture, freeze the whole pie unsliced — slices dry out faster. Thaw overnight in the refrigerator, never on the counter.
Reheating: Buttermilk pie tastes best at room temperature or slightly chilled, so reheating is optional. If you prefer it warm, let a refrigerated pie sit on the counter for 30 minutes, or warm individual slices in a 300°F oven for 8 to 10 minutes. Avoid the microwave — it makes the custard rubbery and the crust soggy. Never reheat the whole pie from frozen; thaw it in the fridge first.
What Should You Serve With Buttermilk Pie?
Buttermilk pie is lovely on its own, but the right accompaniment turns a slice into a dessert worth remembering.
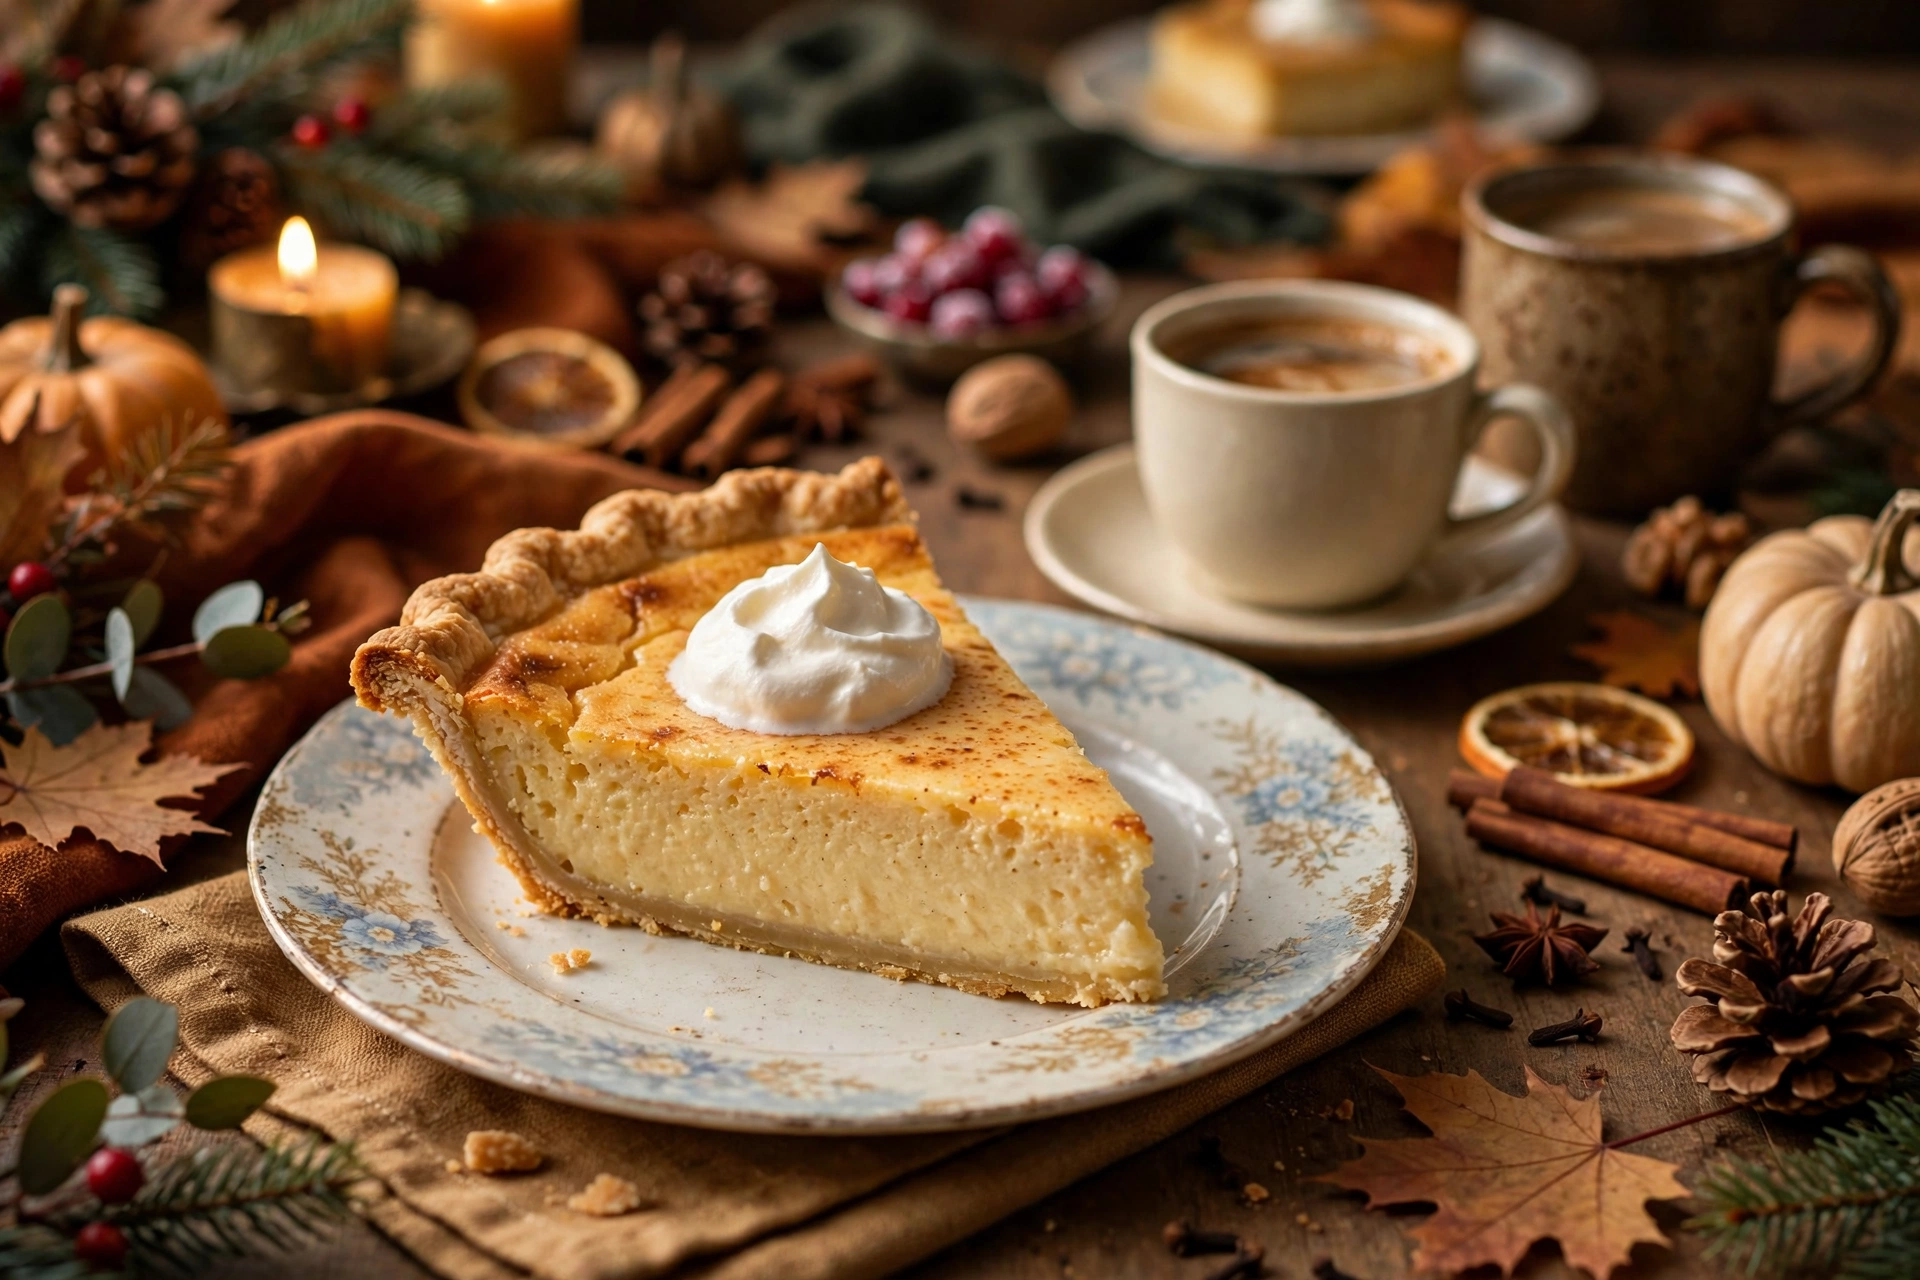
Lightly sweetened whipped cream is the classic partner. Whip cold heavy cream with a tablespoon of powdered sugar and a splash of vanilla until soft peaks form. The airy cream balances the dense, rich custard perfectly.
Fresh berries — strawberries, blueberries, raspberries, or blackberries — add color, freshness, and a tart contrast that plays beautifully against the sweet-tangy filling. A small pile of macerated berries (tossed with a spoonful of sugar and left to sit for 15 minutes) makes an elegant topping.
A drizzle of honey or fruit compote works wonderfully for a fancier presentation. Warm honey poured over a room-temperature slice soaks in just slightly. Berry compote, peach preserves thinned with a little water, or even a spoonful of lemon curd all complement the custard.
Vanilla ice cream turns the pie into a full celebration. Serve the pie at room temperature with a scoop of good vanilla ice cream melting alongside it. The hot-cold, creamy-creamy combination is irresistible.
Coffee and tea deserve a mention because buttermilk pie is a natural afternoon-coffee companion. A strong cup of coffee, a milky latte, or a pot of black tea cuts through the richness and makes the whole experience feel like a proper Southern gathering. For holidays, a glass of cold milk never misses with kids.
Buttermilk Pie FAQs
Why did my buttermilk pie crack on top?
Cracks usually mean the pie baked a little too hot or a little too long. A cracked top is purely cosmetic — the pie still tastes wonderful. Next time, check for doneness a few minutes earlier, keep the oven at a steady 350°F, and avoid opening the oven door repeatedly, which causes temperature swings. A dusting of powdered sugar or a cloud of whipped cream hides any crack completely.
Can I make buttermilk pie ahead of time?
Absolutely — buttermilk pie is one of the best make-ahead holiday desserts. Bake it up to 2 days before serving, cool it completely, cover, and refrigerate. The flavor actually deepens overnight. Bring it to room temperature about 30 minutes before serving, or serve it chilled. For longer storage, freeze it for up to 3 months.
What does buttermilk pie taste like?
Buttermilk pie tastes like a sweet, tangy vanilla custard with a lightly caramelized top and a buttery, flaky crust. The texture is silky and smooth, similar to crème brûlée or chess pie. The buttermilk adds a gentle tang that keeps the sweetness from feeling heavy — think of cheesecake’s lighter, friendlier cousin.
Can I use a store-bought pie crust?
Yes. A good-quality refrigerated or frozen store-bought crust works well with this recipe and saves real time. Blind baking is not needed — the filling and crust bake together. That said, a homemade all-butter crust tastes noticeably better and flakes more beautifully, so use homemade when you have the time.
Why is my buttermilk pie runny in the middle?
A runny center almost always means underbaking or slicing too soon. Make sure the pie bakes until the edges are firmly set and only the very center jiggles slightly. Then cool it for a full 2 hours at room temperature so the residual heat finishes setting the custard. If the center still sloshes like liquid when you pull it from the oven, it needs more time.
Can I make buttermilk pie without buttermilk?
You can substitute in a pinch, but the flavor will not be quite the same. Stir 1 tablespoon of lemon juice or white vinegar into 1 cup of milk and let it stand for 5 to 10 minutes until slightly thickened. This mimics buttermilk’s acidity. The pie will still set and taste good, but real cultured buttermilk gives a richer tang and creamier texture, so use it when you can.
Should buttermilk pie be served warm or cold?
Buttermilk pie is delicious at room temperature, slightly chilled, or gently warmed — it is genuinely hard to get wrong. Most Southern bakers serve it at room temperature or chilled, which gives the cleanest slices and the firmest custard. If you love warm pie, let slices come to room temperature or warm them briefly in a low oven. Avoid serving it hot from the oven; the custard needs cooling time to set.
How do I know when buttermilk pie is done?
Use the jiggle test. The pie is done when the edges look set and golden, the top is crackled and lightly browned, and the center — about a 2-inch circle in the middle — still wobbles gently like set gelatin when you nudge the pan. A toothpick inserted an inch from the edge should come out clean. Remember that the pie keeps cooking from residual heat as it cools, so pull it a touch early rather than late.
Can I freeze buttermilk pie?
Yes, buttermilk pie freezes very well for up to 3 months. Cool the pie completely, wrap it tightly in plastic wrap and then foil, and freeze it whole. Thaw overnight in the refrigerator before serving. The texture stays creamy and the flavor holds up beautifully, making this a smart strategy for stress-free holiday baking.
Is buttermilk pie the same as chess pie?
They are close cousins but not identical. Both are Southern custard pies made from pantry staples. The key difference is the liquid: buttermilk pie uses buttermilk, which gives it a distinctive tang and a creamier, more custard-like texture. Chess pie typically uses milk or cream plus an acid like vinegar or lemon juice, and it often bakes up a bit sweeter with a cracklier, almost brownie-like top. If you love one, you will almost certainly love the other.
Final Thoughts
Buttermilk pie is proof that the simplest ingredients, treated with a little care, can become something extraordinary. No exotic fruit, no expensive chocolate, no complicated technique — just buttermilk, eggs, sugar, butter, and a flaky crust, baked into a golden custard that has comforted Southern tables for well over a century.
This classic buttermilk pie recipe gives you everything you need to join that tradition: a balanced filling that sets silky instead of rubbery, a method that takes fifteen minutes of real work, and make-ahead flexibility that makes holiday baking genuinely easier. Bake it once and it becomes part of your rotation. Bake it twice and people start requesting it.
So preheat the oven, shake the buttermilk, and give this old-fashioned treasure a try. Then come back and tell me — did you go classic, or did one of the variations steal your heart? Either way, I have a feeling this buttermilk pie will earn a permanent spot in your recipe box.
If you’re planning a full holiday dessert spread, serve this pie alongside our best homemade Egg Nog and a plate of classic Xmas Cookies — together they make a timeless Southern holiday table everyone will love.