
Every December, my kitchen smells like chocolate and peppermint, and this homemade peppermint bark is the reason why. It is the treat I make first when the holiday season starts, the one I pack into gift bags for neighbors, and the one that disappears from the cookie platter before anything else.
If you have never made it before, you are in for a happy surprise. Peppermint bark looks like something from a fancy chocolate shop, but it takes about 30 minutes of active time and zero baking skills. You melt chocolate, spread it in layers, sprinkle crushed candy canes on top, and let the fridge do the rest. That is truly all there is to it.
In this guide, I will walk you through the exact steps, share the tricks that keep your bark from cracking or separating, and give you fun variations to try. By the end, you will have a batch of crisp, minty, chocolatey bark that tastes better than anything you can buy in a tin.

Why Will You Love This Homemade Peppermint Bark?
There are plenty of Christmas treats out there, but peppermint bark earns its spot every single year. Here is why this recipe is worth making:
You only need five ingredients. Dark chocolate, white chocolate, peppermint extract, candy canes, and a pinch of salt. You probably have half of them in your pantry already, and the rest cost very little at any grocery store.
There is no baking involved. If your oven is already working overtime with cookies and roasts, this is your break. Everything happens on the stovetop or in the microwave, and the refrigerator handles the setting.
It is ready fast. Active time is about 30 minutes. After a couple of hours in the fridge, you can break it into pieces and start snacking. Few holiday treats give you this much payoff for this little effort.
It makes a wonderful gift. Stack pieces in a cellophane bag, tie it with ribbon, and you have a homemade gift that looks thoughtful and tastes amazing. Teachers, coworkers, and hosts all love receiving it.
Kids can help. Crushing candy canes and sprinkling them over melted chocolate is a perfect job for little hands. Just keep them away from the hot chocolate itself.
What Ingredients Do You Need for Homemade Peppermint Bark?
Simple recipes live or die by ingredient quality, so let us look at each one and why it matters.
- Dark or semisweet chocolate (8 ounces): This forms the bottom layer. Use chocolate bars, not chocolate chips, if you can. Bars melt more smoothly because they contain more cocoa butter. Chips have stabilizers that help them hold their shape, which works against you here.
- White chocolate (8 ounces): This is the top layer that holds the candy cane pieces. Again, bars beat chips for smooth melting. Look for real white chocolate made with cocoa butter, not “white baking chips” made mostly of palm oil.
- Peppermint extract (1 teaspoon, divided): This is what makes the bark taste like peppermint instead of just minty chocolate. Use extract, not peppermint oil, unless you know your oil is food-safe and you measure in drops. Extract is gentler and easier to control.
- Candy canes (6 to 8): You will crush these for the topping. Classic red-and-white canes give the prettiest look, but any flavor works. About half a cup of crushed pieces is the sweet spot.
- Fine sea salt (1 pinch): Salt sounds odd in a sweet treat, but a tiny pinch sharpens the chocolate flavor and balances the sweetness. Do not skip it.
- Coconut oil (1 teaspoon, optional): A little oil stirred into each chocolate layer makes the melted chocolate easier to spread and gives the finished bark a slight sheen. Use refined coconut oil so it does not add coconut flavor.
A quick note on peppermint extract: Add half to the dark chocolate layer and half to the white chocolate layer so the mint flavor runs all the way through. And measure carefully. Peppermint extract is strong, and too much will make your bark taste like toothpaste instead of dessert.
How Do You Make Homemade Peppermint Bark?
Here is the full process, step by step. Read through once before you start so you know what is coming.
Step 1: Line your pan. Line a 9×13-inch baking sheet or quarter sheet pan with parchment paper, leaving some overhang on the sides. The overhang works like handles later when you lift the bark out. Do not use wax paper, which can stick to chocolate.
Step 2: Crush the candy canes. Place the unwrapped candy canes in a zip-top bag, press out most of the air, and seal it. Lay the bag on a cutting board and tap the canes with a rolling pin or the bottom of a heavy pan until you have a mix of small chunks and fine bits. You want some texture, not powder. Set the crushed candy aside.
Step 3: Melt the dark chocolate. Chop the dark chocolate into rough pieces and place them in a heatproof bowl. Set the bowl over a pot of barely simmering water, making sure the bowl does not touch the water. Stir gently and constantly until the chocolate is about 90 percent melted, then remove it from the heat and keep stirring until the last bits melt from the residual warmth. Stir in half a teaspoon of peppermint extract, the pinch of salt, and half a teaspoon of coconut oil if you are using it. Work quickly but calmly. If you prefer the microwave, heat the chocolate in 20-second bursts, stirring between each, until smooth.
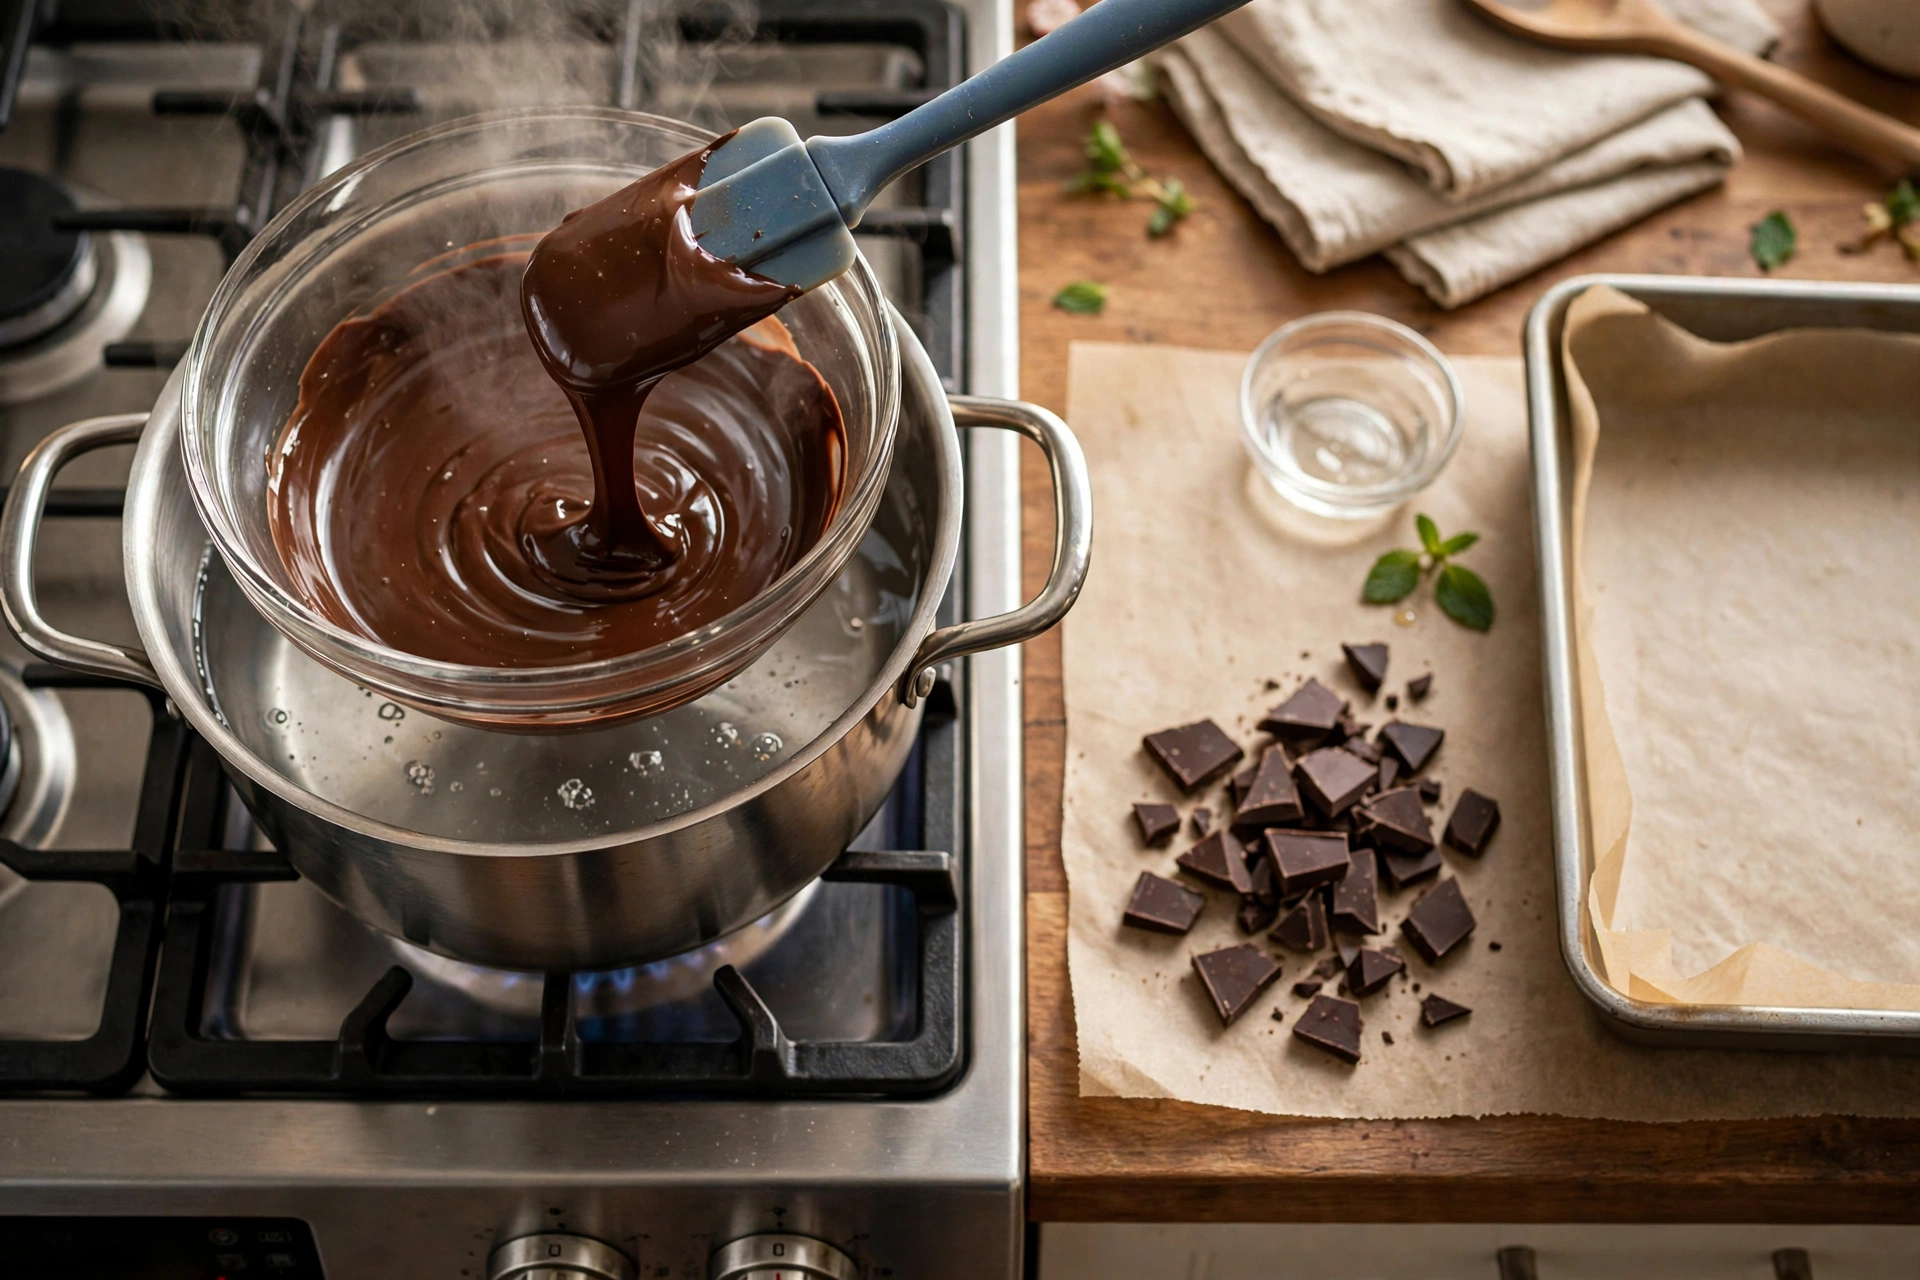
Step 4: Spread the dark layer. Pour the melted dark chocolate onto the lined pan and spread it into an even layer about one-quarter inch thick using an offset spatula or the back of a spoon. It does not need to reach every corner perfectly. Slide the pan into the refrigerator for 15 to 20 minutes, just until the chocolate is firm to the touch but not ice cold.
Step 5: Melt the white chocolate. While the dark layer chills, melt the white chocolate the same way you melted the dark. White chocolate scorches more easily, so keep the heat low and stir even more patiently. Stir in the remaining half teaspoon of peppermint extract and the rest of the coconut oil if using.
Step 6: Add the white layer and the topping. Pour the white chocolate over the chilled dark layer and spread it gently so you do not drag the dark chocolate up through it. Immediately sprinkle the crushed candy canes evenly over the top, pressing them down very lightly with your fingertips so they stick.

Step 7: Chill until completely firm. Return the pan to the refrigerator for at least 2 hours, or until the bark is fully hard. Do not rush this. Cutting or breaking bark that is still soft at the center gives you ragged, bendy pieces.
Step 8: Break into pieces. Lift the bark out of the pan using the parchment overhang. Break it into rustic pieces with your hands, or score it with a sharp knife for neater squares. Irregular pieces look charming and homemade, so do not stress about perfection.
How Do You Keep Peppermint Bark From Cracking or Separating?
The two most common peppermint bark problems are layers that peel apart and bark that cracks into sad little shards. Both are easy to prevent once you know why they happen.
Let the dark layer set, but not freeze. If the dark chocolate is still soft when you pour on the white chocolate, the layers swirl together instead of staying distinct. If it is ice cold and frosty, the white layer cannot grip it and the two sheets separate later. Firm to the touch at room coolness is the target. Fifteen to twenty minutes in the fridge usually does it.
Keep water away from melting chocolate. Even a few drops of water will make chocolate seize into a grainy, stiff mass. Dry your bowl and spatula completely, and keep steam from the double boiler from drifting into the bowl. If your chocolate does seize, you can sometimes rescue it by stirring in warm cream a spoonful at a time, but prevention is far easier.
Do not overheat. Chocolate that gets too hot turns thick and dull instead of glossy and fluid. Take it off the heat when it is almost melted and let the last pieces melt off the heat. White chocolate is the most fragile, so treat it gently.
Score before it fully hardens. If you want neat squares, score the top layer lightly with a knife about 30 minutes into the final chill, when the bark is firm but not rock hard. Then break along the lines once it is fully set.
Break, do not saw. When breaking the finished bark, snap pieces apart with your hands or press the knife straight down. Sawing back and forth shatters the layers.
How Can You Customize This Peppermint Bark Recipe?
Classic peppermint bark is wonderful as is, but it is also a blank canvas. Try one of these twists once you have the basic method down.
Triple chocolate bark: Add a middle layer of melted milk chocolate between the dark and white. Chill each layer briefly before adding the next. The striped cross-section looks stunning.
Dark chocolate only: Skip the white layer entirely and sprinkle the candy canes over a single thick dark chocolate base. This version tastes more grown-up and less sweet.
Pretzel crunch bark: Press a layer of crushed pretzels into the dark chocolate before it sets. The salty crunch against the sweet mint is addictive.
Cookies and cream bark: Swap the candy canes for crushed chocolate sandwich cookies and use mint extract instead of peppermint for a cookies-and-cream vibe.
Sea salt finish: Sprinkle flaky sea salt over the top along with the candy canes. Salt and chocolate are a classic pairing for a reason.
Orange-mint bark: Replace the peppermint extract in the dark layer with orange extract and top with candied orange peel instead of candy canes. It tastes like a fancy chocolate orange.
Nutty bark: Scatter toasted chopped pistachios or almonds over the white chocolate with the candy canes. The green pistachios look especially festive.
Vegan peppermint bark: Use dairy-free dark chocolate and dairy-free white chocolate, and check that your candy canes are gelatin-free. The method stays exactly the same.
For more holiday baking ideas, try pairing this bark with classic Christmas cookies or a batch of homemade jelly candy on the same gift platter.
How Do You Serve and Store Homemade Peppermint Bark?
Serving ideas: The simplest way to serve peppermint bark is piled on a platter with other holiday treats. It also makes an excellent stirrer for hot cocoa. Drop a shard into a mug of creamy crockpot hot chocolate and watch it melt into pepperminty richness. Crumble it over vanilla ice cream for an instant holiday sundae, or chop it finely and fold it into brownie batter before baking.
Gifting: Layer pieces between sheets of parchment in a tin or box, or stand them upright in a clear cellophane bag tied with ribbon. A handwritten tag makes it feel extra special. Bark keeps well, so you can make gifts several days before you hand them out.

How long does it last? Stored in an airtight container at cool room temperature, peppermint bark stays fresh for about two weeks. In the refrigerator, it keeps for up to a month. For longer storage, freeze it for up to three months. Separate layers with parchment so the pieces do not stick together.
Watch the temperature. Chocolate blooms, which means it develops a whitish haze, when it sits somewhere warm or goes through temperature swings. Bloomed chocolate is still perfectly safe to eat, but it does not look as pretty. A cool pantry or the fridge is the safest home for your bark.
Homemade Peppermint Bark FAQs
Can I use peppermint oil instead of peppermint extract?
You can, but be very careful. Peppermint oil is much stronger than extract. Start with just two or three drops for the whole batch and taste before adding more. Make sure the oil is labeled food-safe. For most bakers, extract is the safer and more forgiving choice.
Why did my white chocolate seize up?
Seizing almost always means water got into the chocolate or it overheated. Even steam from a double boiler can do it. Melt white chocolate slowly over gentle heat, keep every utensil bone dry, and stir constantly. If it seizes, try stirring in a spoonful of warm cream, though badly seized chocolate is hard to save.
Can I make peppermint bark ahead of time?
Yes, and you should. Peppermint bark is an ideal make-ahead treat because it keeps for weeks. Make it up to two weeks before you need it and store it airtight at cool room temperature, or make it a month ahead and refrigerate it. It also freezes beautifully for up to three months.
Is peppermint bark gluten-free?
The bark itself is naturally gluten-free as long as your chocolate and candy canes are certified gluten-free. Most plain chocolate bars are, but always check labels, especially on white chocolate and flavored candy canes, since some brands add gluten-containing ingredients.
Can I use milk chocolate instead of dark chocolate?
Absolutely. Milk chocolate makes a sweeter, creamier bark that kids tend to love. The method does not change at all. Just know that the finished bark will be sweeter overall, so you may want to use a little less candy cane topping to keep it balanced.
How do I crush candy canes without making a huge mess?
The zip-top bag method is the cleanest. Seal the canes in the bag with most of the air pressed out, lay it flat on a sturdy cutting board, and tap with a rolling pin. The bag contains all the shards. Do it over the sink or a tray for extra insurance, and do not smash too hard or you will get powder instead of pretty chunks.
Final Thoughts
Homemade peppermint bark is one of those recipes that makes you look like a holiday hero with almost no effort. Five ingredients, thirty minutes of active time, and a refrigerator do all the heavy lifting. The result is crisp, creamy, minty, and gorgeous enough to gift.
Make a batch this weekend and see how fast it disappears. Then make a second batch, because the first one will not survive until Christmas. If you are building a full holiday dessert spread, add old-fashioned buttermilk pie and creamy homemade egg nog alongside the bark for a platter that covers every craving.

Have you tried a fun variation? The classic will always be my favorite, but I love hearing how other bakers make it their own. Happy holidays, and happy bark-making.
📌 Love this recipe? Pin it on Pinterest to save it for later!