Homemade Jelly Candy That Looks as Good as It Tastes
SEO Title: Homemade Jelly Candy Aesthetic: Pretty Gummies & Jellies
Meta Description: Learn to make glossy homemade jelly candy with the perfect jelly candy aesthetic — fruity gummies, layered jelly cubes, styling tips, and pro tricks.
What Makes This the Best Homemade Jelly Candy Recipe?
Some recipes fill your stomach. This one fills your camera roll too. These homemade jelly candies are glossy, jewel-toned, and almost too pretty to eat — almost. You bite through a shiny surface, and bright fruit flavor bursts out. That is the magic of the jelly candy aesthetic: candy that tastes homemade and looks like it came from a boutique sweet shop.
I have tested this recipe more times than I can count. I have tried store-bought juice, fresh-pressed juice, and even leftover fruit pulp. I have made batches that set up too firm and batches that melted into syrup. After all that trial and error, I landed on a method that works every single time. It uses simple pantry ingredients, no candy thermometer drama, and one small trick that gives every piece that glassy, professional shine.
Why does this version beat the rest? First, the texture. These are not the rubbery, jaw-tiring gummies from a bag. They are soft, bouncy, and they melt cleanly on your tongue. Second, the flavor is real. Because you make them from actual fruit juice, they taste like strawberries, oranges, or mangoes — not like "red flavor number five." Third, the look. Clear molds, careful layering, and a sugar dusting turn a simple recipe into candy that photographs beautifully.
You do not need any special training. If you can stir a pot and pour liquid into a mold, you can make these. Kids love helping, and the recipe doubles or triples easily for parties, gift boxes, and holiday platters. Once you see your first tray of glistening jelly candies pop out of their molds, you will understand why people are obsessed.
Why Is the Jelly Candy Aesthetic So Popular Right Now?
The jelly candy aesthetic is having a moment, and it is easy to see why. People are tired of candy that looks dull and tastes artificial. They want color that comes from real fruit. They want shine that comes from good technique, not a spray coating. Social media helped, of course. A tray of rainbow jelly cubes catching the light is pure eye candy, and videos of glossy gummies being unmolded are oddly satisfying to watch.
But the trend runs deeper than pretty photos. Homemade jelly candy fits how many of us cook today. You control the ingredients. You decide how much sugar goes in. You can skip the corn syrup, the artificial dyes, and the mystery flavors. Parents love that part. A homemade gummy made from apple juice and a spoonful of honey feels like a treat you can feel good about.
There is also a craft side to it. Making jelly candy scratches the same itch as candle-making or sourdough. It is hands-on, a little bit science, and deeply satisfying when it works. Layered jelly cubes, in particular, have become a small art form. Each stripe of color sets before the next one pours, and the finished cube looks like stained glass you can eat.
Gift culture plays a role too. A jar of homemade jelly candies tied with ribbon beats a generic box of chocolates for thoughtfulness. People give them at weddings, baby showers, and holidays. They tuck them into party favor bags. When candy looks this good, it stops being just a snack and becomes a little experience.
Finally, the recipe is forgiving and fun to play with. Swap the juice, and you get a whole new candy. Add coconut milk for creamy layers. Mix in a little citrus zest for sparkle. The base method stays the same, so once you learn it, you can invent endlessly. That mix of reliability and creativity is exactly why the jelly candy aesthetic keeps growing.
What Ingredients Do You Need?
You only need a handful of ingredients, and you probably own most of them already. Here is the full list for one batch, which makes about 60 small gummies or one 8×8-inch pan of jelly cubes:
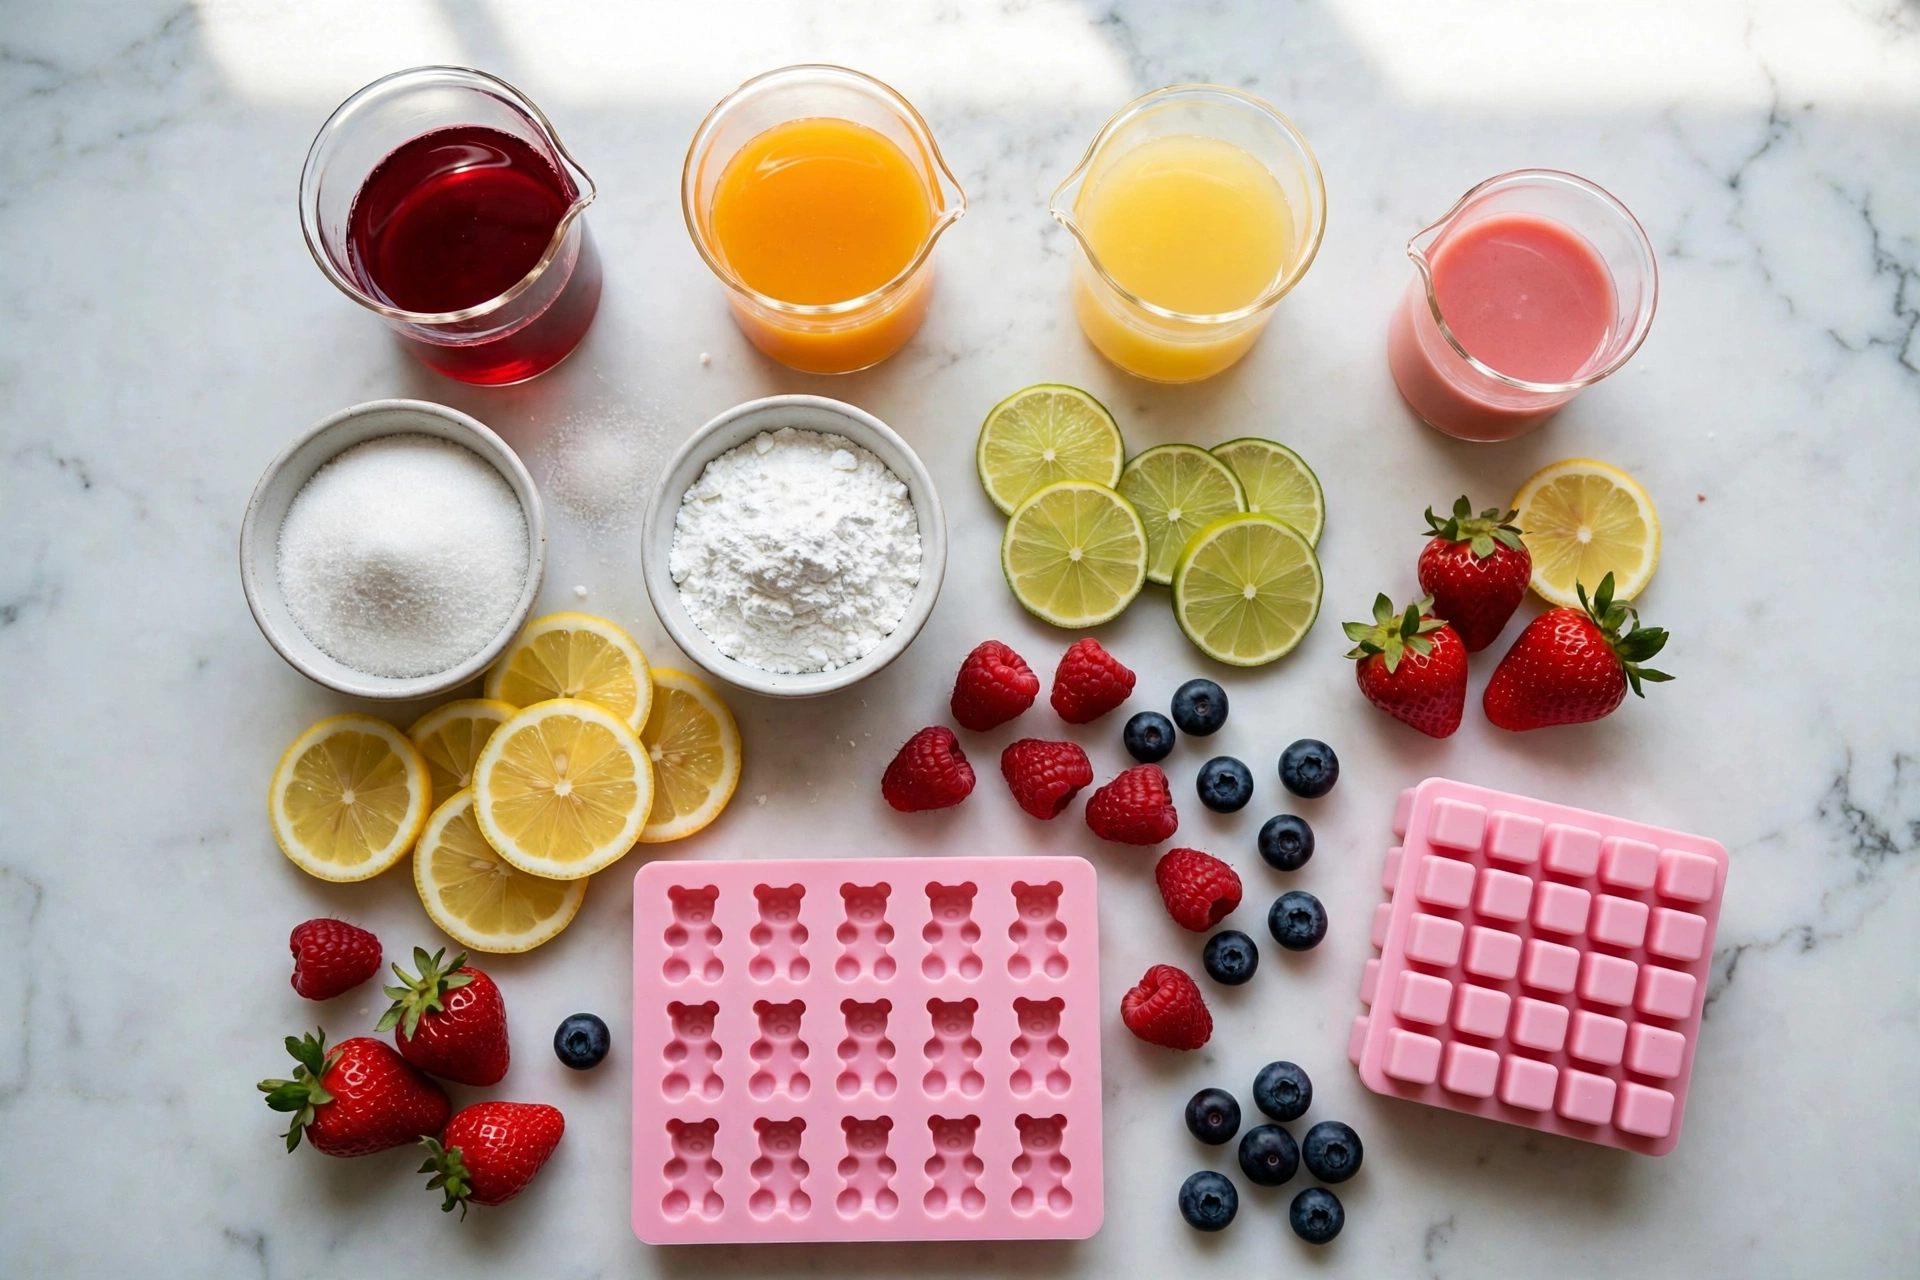
- Fruit juice, 2 cups (480 ml) — 100% juice with no added sugar works best. Apple, white grape, and cranberry juices give the clearest, glossiest results. Fresh-squeezed orange or berry juice works too.
- Unflavored gelatin, 4 tablespoons (about 4 packets or 36 g) — this is the backbone of the candy. Do not swap in flavored gelatin; it adds artificial color and taste.
- Granulated sugar, 1/2 to 3/4 cup (100–150 g) — adjust to your taste and to how sweet your juice already is. Start with 1/2 cup for sweet juice.
- Honey or agave, 2 tablespoons (optional) — adds a rounder sweetness and a little extra shine.
- Fresh lemon juice, 1 tablespoon — brightens every flavor and helps the candy taste fresh instead of flat.
- Fine sugar for coating, 1/2 cup (optional) — for the classic sugared-gummy finish.
- A tiny pinch of salt — you will not taste it, but it makes the fruit flavor pop.
For layered jelly cubes, you will repeat the recipe with two or three different juice colors. For creamy white layers, swap one batch of juice for light coconut milk plus 2 extra tablespoons of sugar.
A quick note on juice choice: clear juices make the prettiest, most translucent candy. Cloudy juices like fresh orange still taste wonderful, but they set up opaque. Both are delicious, so pick based on the look you want. If you want deep, jewel-like reds and purples, use cranberry, pomegranate, or tart cherry juice. They photograph beautifully and need less sugar because their tartness balances the sweetness.
What Equipment Do You Need?
Nothing fancy. Here is everything that makes the process smooth:
- Small saucepan — a heavy-bottomed one heats the mixture evenly without scorching.
- Whisk — for dissolving the gelatin completely. A small balloon whisk works best.
- Silicone candy molds — bears, hearts, stars, domes, whatever shapes you love. Silicone releases the candy easily.
- An 8×8-inch glass baking dish — if you are making jelly cubes instead of shaped gummies.
- Dropper or squeeze bottle — optional, but it makes filling tiny molds much neater.
- Fine-mesh strainer — catches any undissolved bits so the candy sets perfectly clear.
- Parchment paper — for lining the dish and for drying the finished candy.
- Airtight container or glass jars — for storing your finished jelly candy.
If you do not own silicone molds yet, start with one tray. They cost very little and last for years. Look for food-grade silicone with small cavities; tiny shapes set faster and look more delicate. A dropper or squeeze bottle is the one tool I recommend most for the true jelly candy aesthetic, because neat filling means neat edges, and neat edges photograph beautifully.
How Do You Make Jelly Candy Step by Step?
This is the heart of the recipe. Read through the steps once before you start, keep your molds nearby, and work at a relaxed pace. The whole active process takes about 20 minutes, plus setting time.
- Prepare your molds. Set your silicone molds on a small baking sheet or tray. This keeps them steady when you carry them to the fridge. If you are making cubes, line your 8×8-inch dish with parchment paper, leaving a little overhang so you can lift the slab out later.
- Bloom the gelatin. Pour 1/2 cup of cold juice into a small bowl. Sprinkle all 4 tablespoons of gelatin evenly over the surface. Do not dump it in one clump. Let it sit undisturbed for 5 to 10 minutes. The gelatin will absorb the liquid and turn thick and wrinkly, like applesauce. This step, called blooming, is what keeps your candy smooth instead of lumpy.
- Warm the remaining juice. Pour the remaining 1 1/2 cups of juice into your saucepan. Add the sugar, honey (if using), lemon juice, and the pinch of salt. Warm it over medium-low heat, stirring gently, until the sugar dissolves completely. You want it hot and steaming, around 160–170°F, but never boiling. Boiling weakens gelatin and dulls the flavor.
- Melt in the bloomed gelatin. Take the pan off the heat. Scoop the bloomed gelatin into the warm juice and whisk slowly until every grain disappears. This takes about a minute. The mixture should look completely smooth and glossy. If you see any specks, keep whisking — undissolved gelatin causes cloudy spots and rubbery bits.
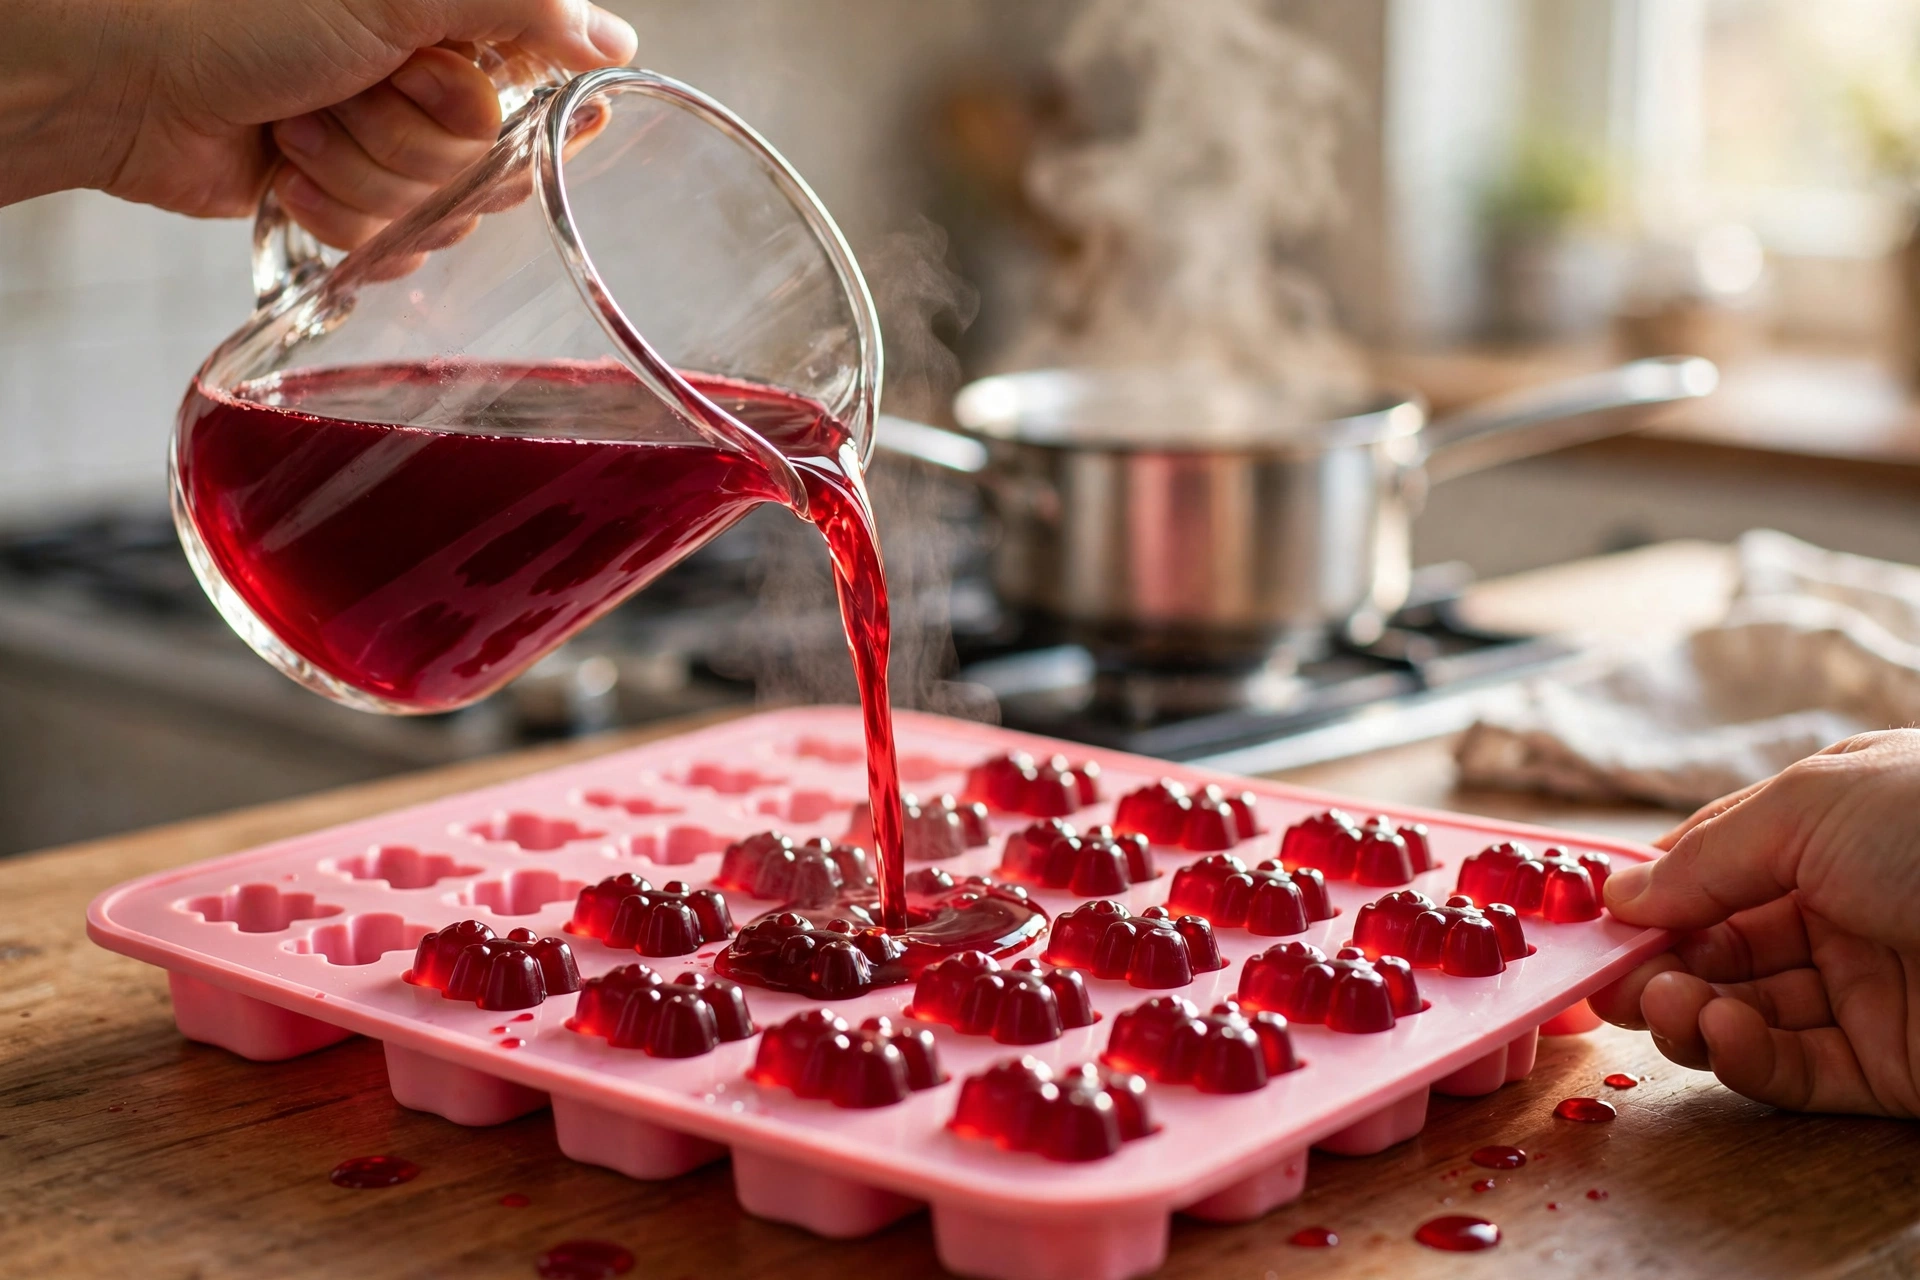
- Strain for a glass-clear finish. Pour the mixture through your fine-mesh strainer into a measuring jug or a bowl with a spout. This one step is the difference between homemade-looking candy and boutique-looking candy. It catches foam and stray specks so every piece sets crystal clear.
- Fill the molds. Pour or drop the warm liquid into your molds, filling each cavity nearly to the top. Work fairly quickly but do not rush — the mixture stays pourable for a good 10 to 15 minutes. If a thin skin forms on the surface of your jug, just whisk it back in.
- Chill until firm. Slide the tray of molds into the refrigerator. Small gummies set in 1 to 2 hours; a full slab for cubes needs 3 to 4 hours. Do not freeze them to speed things up — freezing makes the texture grainy. The candy is ready when it feels firm and springs back lightly when you press it.
- Unmold with care. Pop each candy out of its silicone mold with clean, dry hands. For the slab, lift it out by the parchment overhang and cut it into neat cubes with a sharp knife. Wipe the knife between cuts for the cleanest edges.
- Dry and finish. Spread the candies on parchment paper in a single layer and let them air-dry at room temperature for 4 to 6 hours, or overnight. This step firms up the outside and gives you that satisfying chewy bite. If you want the sugared look, toss the dried candies in fine sugar right before serving or storing.
- Admire, photograph, and enjoy. Arrange your jelly candies in a glass jar or on a pretty plate. Watch the light shine through them. Then eat one — you earned it.
For layered jelly cubes, the process shifts slightly. Make one color batch and pour a thin layer, about 1/4 inch, into your lined dish. Chill 20 to 30 minutes until just set but still slightly tacky. Pour the next color gently over the back of a spoon so it does not break through the layer below. Repeat until you have 4 to 6 layers, then chill the whole slab for 4 hours before cutting.
What Are the Pro Tips for a Flawless Jelly Candy Aesthetic?
The basic recipe gives you tasty candy. These tips give you stunning candy — the kind that makes people ask which shop you bought it from.
Keep everything warm but never boiling. Gelatin is happiest between 140 and 170°F. Hot enough to melt fully, cool enough to keep its setting power. If your mixture ever boils, the gelatin loses strength and your candy turns soft and weepy. When in doubt, pull the pan off the heat early.
Bloom patiently and sprinkle widely. The single biggest cause of lumpy gummies is gelatin dumped into liquid in one heap. Sprinkle it across the whole surface of the cold juice like falling snow, and give it the full 10 minutes. Rushing the bloom is never worth it.
Skim the foam. After whisking, a little foam usually floats on top. Skim it off with a spoon before pouring, or strain the mixture — foam creates dull, pitted surfaces on your finished candy. Clear, calm liquid pours into glassy candy.
Warm your molds slightly. If your kitchen is cold, run the silicone molds under warm water and dry them before filling. Cold molds can shock the mixture and cause streaks. This tiny step keeps colors even and surfaces smooth.
Use the back-of-the-spoon trick for layers. When pouring a new layer over a set one, pour onto the back of a spoon held just above the surface. It spreads the liquid gently instead of punching a hole through the layer beneath. Your stripes stay crisp and your layers stay even.
Dry before you sugar. Tossing wet candy in sugar gives you a sticky, clumpy coat that melts within hours. Let the candies air-dry first so the sugar clings in a fine, even layer that stays put. For the prettiest finish, use superfine sugar instead of regular granulated.
Style with light behind the candy. For photos, place your jelly candies between the camera and a window. Backlighting makes the colors glow like stained glass. A white plate, a linen napkin, and a few fresh berries complete the jelly candy aesthetic without any extra effort.
Save your scraps. Trimmed edges and imperfect pieces still taste great. Chop them up and fold them into vanilla ice cream, or melt them gently into hot tea for a fruity sweetener. Nothing goes to waste.
What Are the Most Common Mistakes When Making Jelly Candy?
Every candy maker hits these bumps at first. Here is how to dodge them.
1. Boiling the mixture. This is the number one mistake. High heat breaks down gelatin's proteins, and your candy will set soft, sticky, or not at all. Keep the heat at medium-low, stir often, and pull the pan off as soon as the sugar dissolves. Steam is fine; rolling bubbles are not.
2. Skipping the bloom. Tossing dry gelatin straight into hot liquid seems faster, but it creates clumps that never fully dissolve. Those clumps become chewy lumps in the finished candy. Always bloom in cold liquid first. It takes 10 minutes of waiting and zero minutes of effort.
3. Using fresh pineapple, kiwi, mango, or papaya juice. These fruits contain natural enzymes that digest gelatin — literally. Your candy will stay liquid no matter how long you chill it. If you love those flavors, use pasteurized or canned juice instead, because heat destroys the enzymes. Or switch the recipe to agar-agar, which those enzymes cannot break down.
4. Freezing to set faster. The freezer feels like a shortcut, but ice crystals form inside the candy and the texture turns grainy when it thaws. The fridge does the job perfectly in a couple of hours. Plan ahead instead of rushing.
5. Sugaring too early. Fresh, damp candy plus sugar equals a sticky mess. The sugar draws out moisture and turns into syrup on the surface. Always air-dry the candies first — at least 4 hours, ideally overnight — before tossing them in sugar.
6. Cutting with a dull knife. A dull blade drags and tears the jelly slab, leaving ragged edges that ruin the clean look of layered cubes. Use your sharpest knife, wipe it clean between cuts, and cut in one smooth downward motion instead of sawing.
Which Jelly Candy Variations Should You Try First?
Once you master the base recipe, the fun really begins. Here are five variations that show off the full range of the jelly candy aesthetic. Each one uses the same method with a simple twist.
Variation 1: How Do You Make Classic Fruit Juice Gummies?
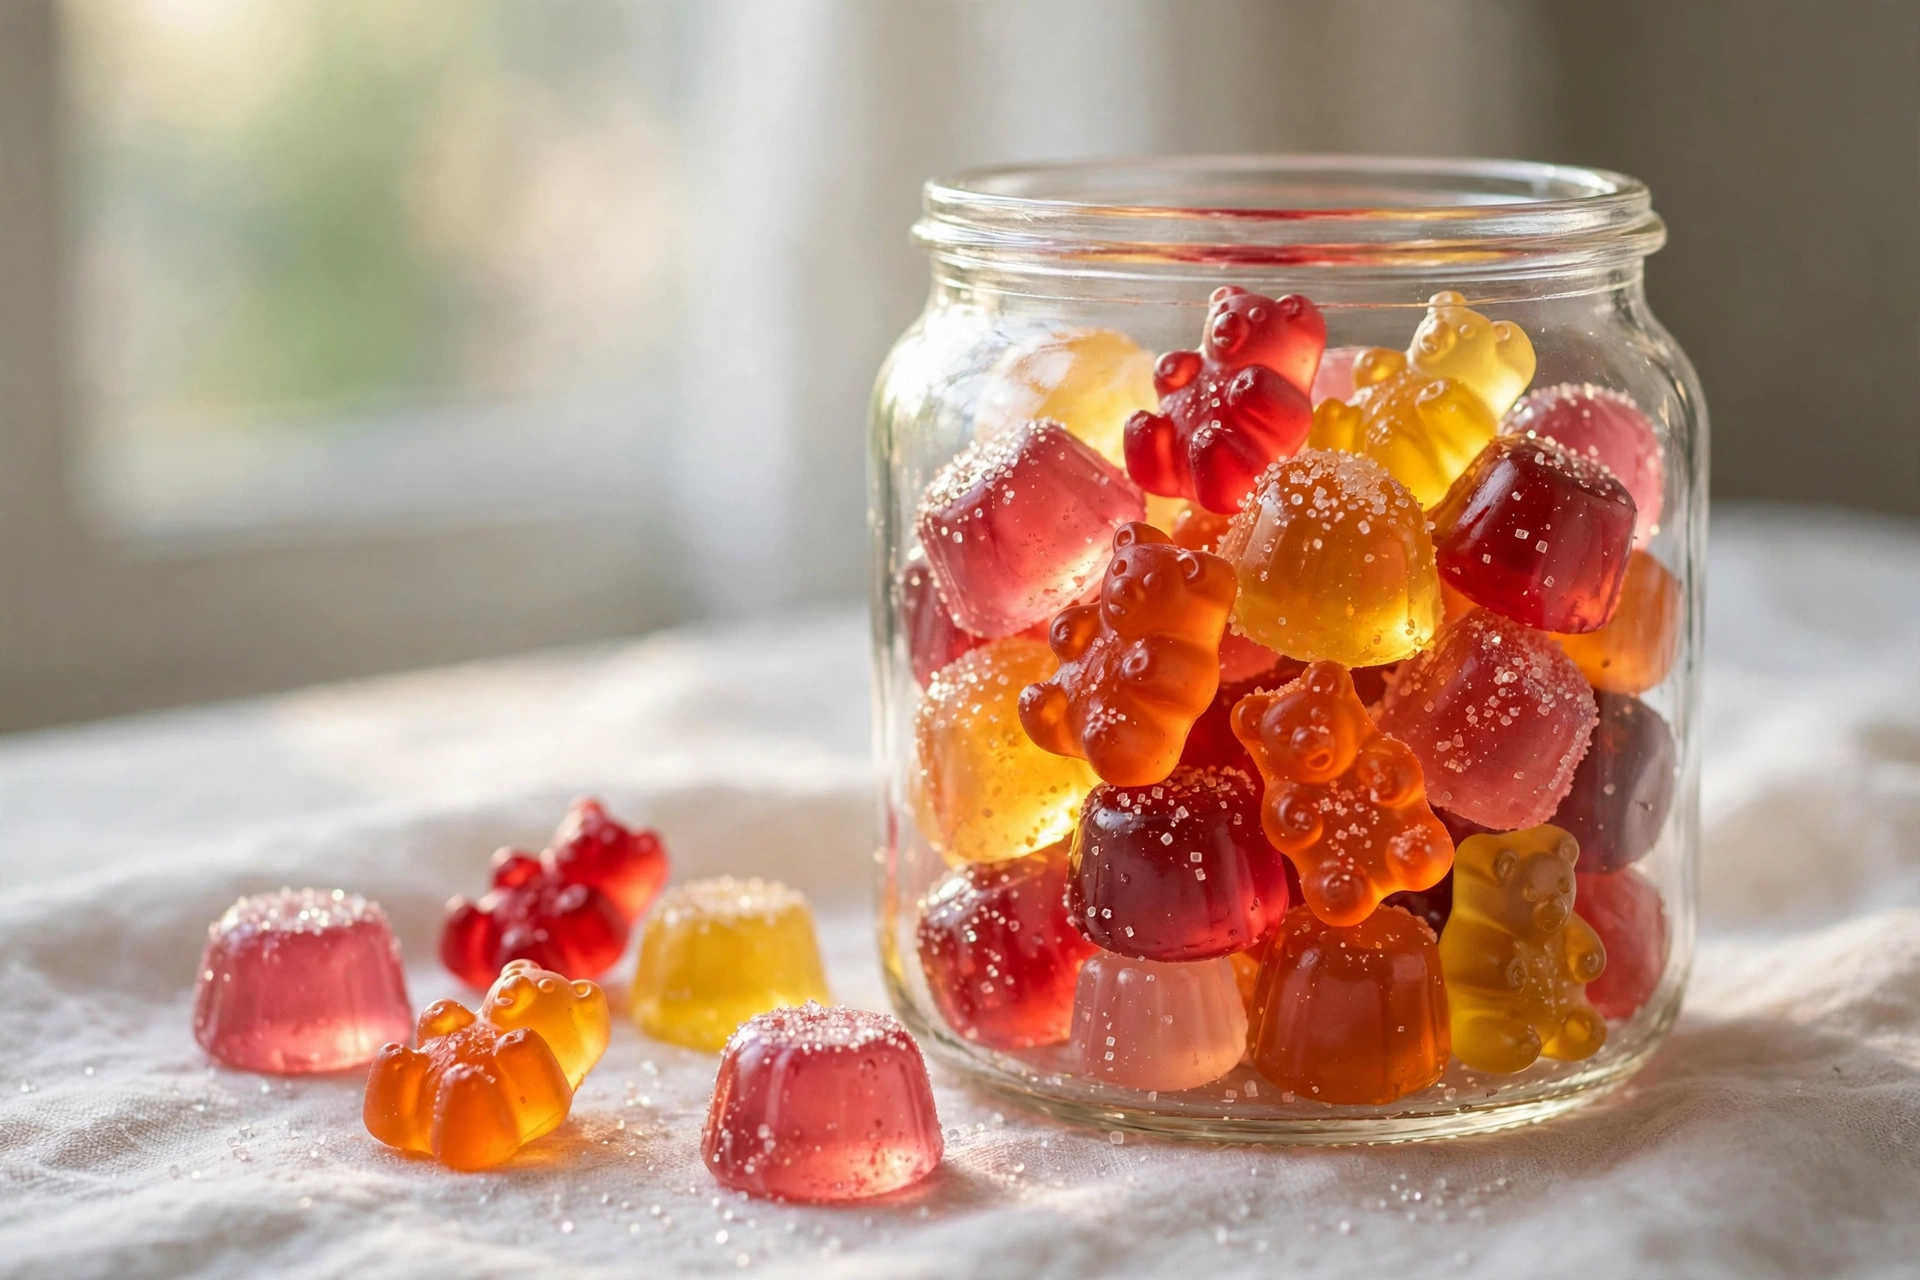
This is the everyday hero. Use a single bold juice — tart cherry, pomegranate, or orange-mango — and pour it into fun silicone shapes. Keep the sugar at the lower end if your juice is already sweet. These set up in small bear or heart molds in about 90 minutes. Toss them in fine sugar for the classic sour-shop look, or leave them glossy and plain for a cleaner finish. They are the perfect lunchbox treat and the easiest entry point into homemade candy.
Variation 2: How Do You Make Rainbow Layered Jelly Cubes?
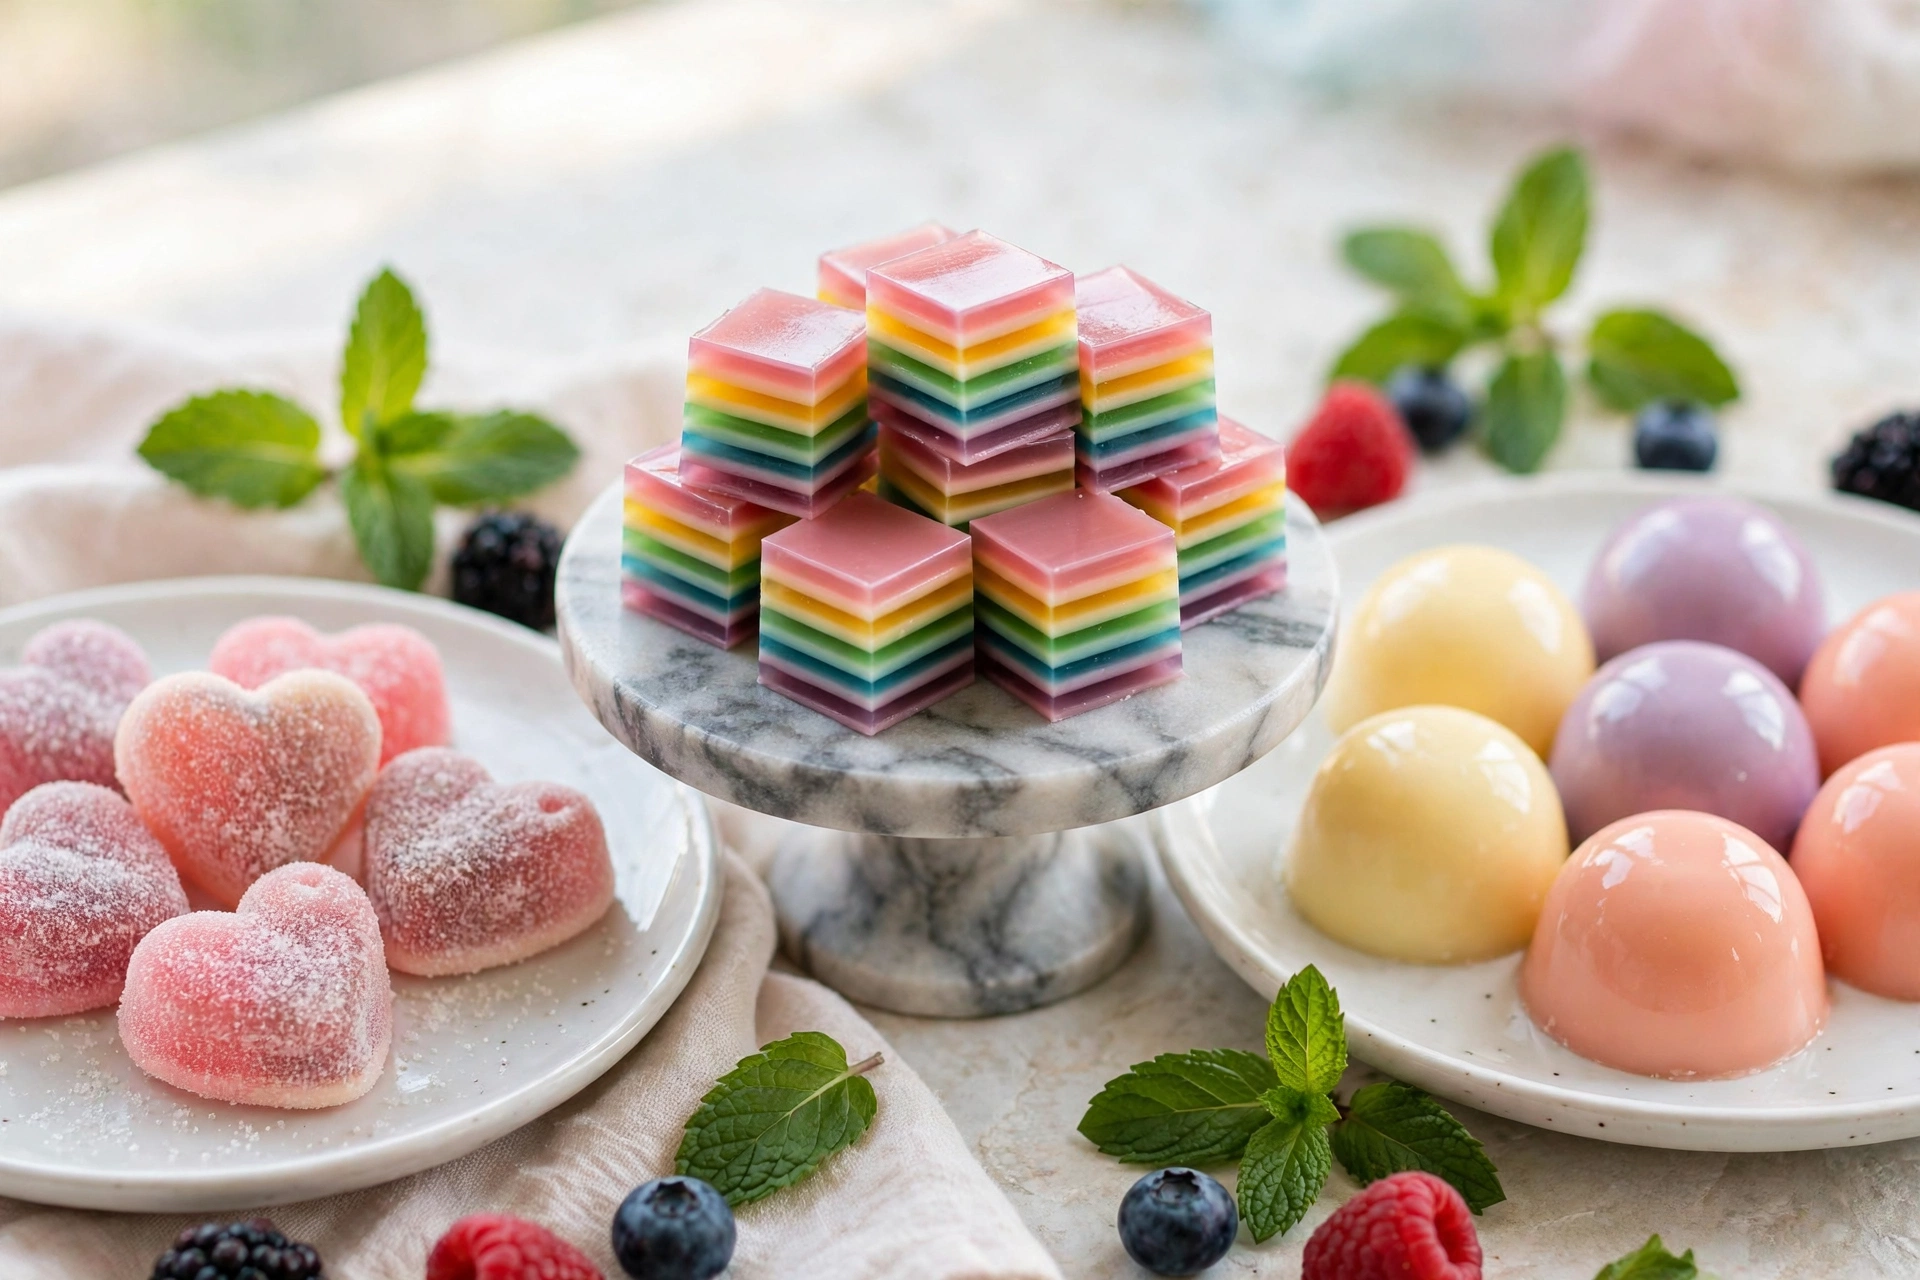
This is the showstopper. Pick three to five juices in a rainbow progression — cherry red, orange, pineapple yellow, lime green, and blueberry. Make each color as its own small batch using the base recipe, and build thin layers in a lined 8×8 dish, chilling 20 to 30 minutes between layers. The key is patience: each layer must be set but still slightly tacky so the next one bonds. Cut the finished slab into one-inch cubes. The cross-section looks like edible stained glass, and guests always gasp when they see the platter.
Variation 3: How Do You Make Creamy Coconut Jelly Candies?
For a dreamy two-tone look, alternate fruit layers with coconut cream layers. Make the coconut layer by replacing the juice with light coconut milk, adding the same gelatin and an extra 2 tablespoons of sugar plus a splash of vanilla. A strawberry-coconut-strawberry stack looks like a little pink-and-white striped jewel. The creamy layers taste like the center of a fancy chocolate, and the contrast in both color and flavor is wonderful. These are especially pretty cut into domes or diamonds.
Variation 4: How Do You Make Sour Sparkle Gummies?
Love that mouth-puckering candy-shop zing? After your gummies have fully dried, toss them in a mix of 1/2 cup superfine sugar and 1 to 2 teaspoons of citric acid. Start with less citric acid — you can always add more, but you cannot take it away. The crystals catch the light and give each piece a frosty sparkle that fits the jelly candy aesthetic perfectly. Sour apple juice and sour cherry juice are the best bases for this variation.
Variation 5: How Do You Make Honey-Lemon Wellness Gummies?
For a gentler, grown-up candy, skip the refined sugar entirely. Use mild white grape or apple juice, sweeten only with 1/3 cup of honey, and add extra lemon juice plus a teaspoon of finely grated ginger. The result tastes bright and soothing — the kind of candy you reach for with afternoon tea. They set a touch softer than the sugared version, so give them a full overnight chill. Pack them in a small jar with a handwritten label and they make a thoughtful homemade gift.
How Do You Store Homemade Jelly Candy?
Homemade jelly candy keeps beautifully if you treat it right. Once your candies are fully dried, layer them in an airtight container with small sheets of parchment paper between the layers. The parchment stops them from sticking together. Store the container in a cool, dry spot — a pantry shelf or cupboard works perfectly.
At room temperature, plain unsugared gummies stay fresh for up to 2 weeks. Sugared gummies last about 1 to 2 weeks too, though the sugar coat slowly absorbs moisture, so they look their best in the first 5 to 7 days. If you live somewhere humid, the fridge is your friend: refrigerated candy keeps for 3 to 4 weeks in a sealed container. Just let chilled candy sit at room temperature for 15 minutes before serving so the texture softens.
A few storage rules keep everything perfect. Keep candy away from heat and sunlight, which melt the surface and dull the shine. Do not store different flavors touching each other for long periods, because strong flavors like cherry can bleed into mild ones like lemon. And always make sure the container is truly airtight — jelly candy picks up fridge odors faster than you would expect.
Can you freeze homemade jelly candy? Technically yes, but I do not recommend it. Thawed candy weeps moisture and loses its glossy finish. If you must freeze a big batch, freeze the pieces in a single layer on a tray first, then bag them. Thaw in the fridge overnight and re-toss in sugar before serving.
How Should You Serve and Present Your Jelly Candy?
Half the joy of the jelly candy aesthetic is the presentation. Here is how to make your candy look as incredible as it tastes.
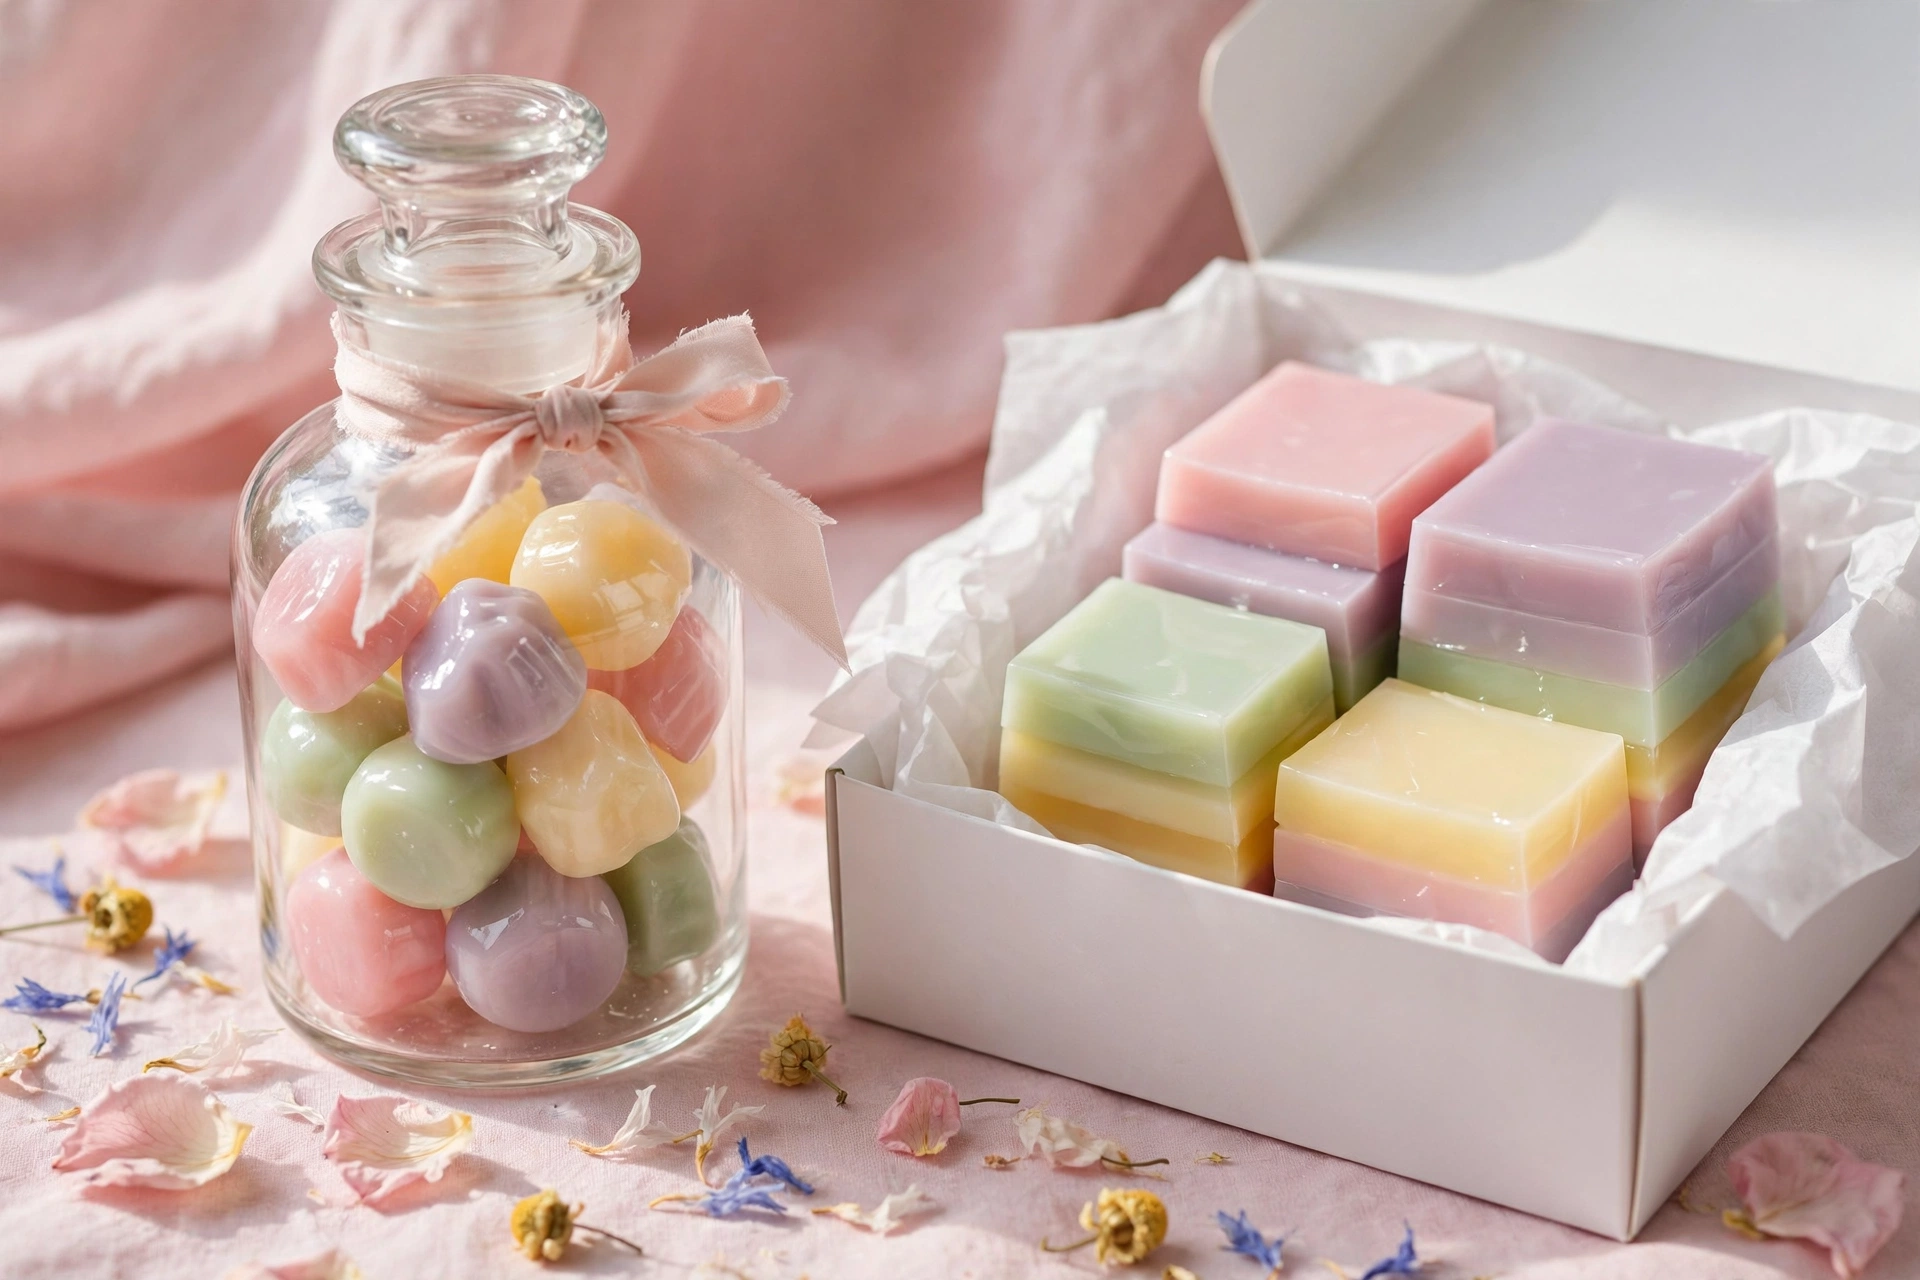
For everyday snacking, fill a clear glass jar or apothecary bottle. The layers of color show through the glass and the jar doubles as kitchen decor. A small scoop or tongs keeps fingers clean and adds a sweet-shop feel.
For parties, build a candy board. Spread your jelly candies on a marble slab or wooden board alongside fresh berries, mint sprigs, and a few chocolate truffles. Mix shapes and colors — sugared hearts next to glossy cubes next to striped layers. The variety is what makes it stunning.
For gifts, layer different colors in a cellophane bag or a small kraft box with tissue paper. Tie it with ribbon and add a handwritten tag with the flavor. Homemade jelly candy gifts feel personal in a way store-bought candy never does. They are perfect for holidays, teacher gifts, and party favors.
For photos, remember the golden rules: backlight, simple background, and odd numbers. Shoot near a window so light glows through the candy. Use a plain white or linen surface so the colors pop. Group candies in threes or fives — it looks more natural than even rows. A light mist of water from a spray bottle just before shooting adds extra sparkle to the surface.
Jelly Candy FAQs
Can I make jelly candy without gelatin?
Yes. Agar-agar is the best vegetarian substitute. Use about 1 tablespoon of agar powder for every 2 cups of juice, and boil the mixture for 2 full minutes to activate it — agar needs a real boil, unlike gelatin. The texture will be firmer and slightly less bouncy, more like a traditional Asian jelly. It also sets at room temperature, which is handy in warm kitchens.
Why is my jelly candy sticky?
Stickiness usually means one of three things: the candy did not dry long enough before sugaring, the kitchen was very humid, or the gelatin ratio was too low. Let the pieces air-dry overnight in a single layer, and if your climate is humid, store them in the fridge. If the centers feel soft and jelly-like rather than chewy, add an extra teaspoon of gelatin next batch.
How do I get my jelly candy extra glossy?
Three things create shine: fully dissolved gelatin, a strained mixture, and proper drying. Strain out all foam before pouring, unmold carefully so you do not scratch the surface, and let the candy dry uncovered. A tiny bit of honey in the recipe also boosts gloss. Avoid touching the finished pieces too much — fingerprints dull the shine.
Can I use fresh fruit puree instead of juice?
You can, but strain it first. Puree contains pulp and tiny seeds that make the candy cloudy and can interfere with setting. Press the puree through a fine-mesh strainer and use the smooth liquid. Reduce very watery purees slightly on the stove first so the candy sets firmly. Raspberry, strawberry, and mango purees make intensely flavored candy this way.
Why did my layered jelly cubes separate?
Layers separate when the bottom layer sets too firmly before the next one goes on. You want each layer just set but still slightly tacky — it should dent when touched but not stick to your finger. If a layer sets rock-hard, lightly score its surface with a fork before pouring the next layer so they grip each other.
Is homemade jelly candy healthier than store-bought?
It can be. You control the sugar, you use real fruit juice, and you skip artificial colors, flavors, and preservatives. That said, it is still candy — sugar is sugar. Think of it as a better-tasting treat with cleaner ingredients rather than a health food. The honey-lemon variation is the lightest option in this article.
How long does it take from start to finish?
Active time is about 20 minutes. Small gummies need 1 to 2 hours to chill plus 4 to 6 hours of drying. Layered cubes need about 3 to 4 hours of chilling, with 20 to 30 minutes between each layer. Start in the morning and you will have finished candy by evening; start after dinner and it will be ready the next day.
Can kids help make jelly candy?
Absolutely — this is a wonderful kid-friendly recipe. Let them pick the juice colors, sprinkle the blooming gelatin, and fill the molds with a dropper. An adult should handle the warm saucepan and any knife work. Kids especially love unmolding the finished shapes and tossing them in sugar.
Why does my candy taste bland?
Bland candy usually needs acid. Fruit juice loses some brightness when heated, so the tablespoon of lemon juice in this recipe matters more than it seems. If your candy still tastes flat, add an extra teaspoon of lemon juice or a pinch of citric acid next time. A tiny pinch of salt also lifts fruit flavors without making the candy salty.
Can I double or triple the recipe?
Yes, it scales beautifully. Use a larger saucepan so the mixture heats evenly, and bloom the gelatin in a bigger bowl of cold juice. Pour into multiple mold trays or two 8×8 dishes. The setting time stays about the same. For very large batches, work in two rounds rather than one giant pot — it is easier to pour neatly.
Final Thoughts
Homemade jelly candy is one of those rare recipes that delivers on every level. It is simple enough for a first-timer, pretty enough for a gift box, and delicious enough that the batch never lasts as long as you planned. The jelly candy aesthetic is not about perfection — it is about color, shine, and the small joy of making something beautiful with your own hands.
Start with the classic fruit gummies to learn the method. Then try the rainbow layers when you are feeling ambitious. Play with flavors, shapes, and presentations until you find your signature style. And when you pull that first tray of glistening candies from the fridge, take the photo — you earned the bragging rights.
If you make this recipe, I would love to hear how it went. Which juice combo became your favorite? Did the layered cubes survive the party, or did they disappear first? Happy candy making.
Once you’ve mastered glossy homemade jelly candy, you’ll want a whole spread of bite-size treats to show off — these mini dessert ideas are perfect for building a party table. And if you’re leaning into a playful theme, a batch of spooky Eyeball Cookies makes the perfect companion.