What Is Fire Cider?
Fire cider is a traditional herbal tonic made by steeping pungent, warming ingredients in raw apple cider vinegar for about four weeks, then straining the liquid and sweetening it with honey. The result is a sharp, spicy, tangy drink that people have made at home for generations as part of their winter kitchen routines. You take it in small doses, usually a spoonful straight or mixed into warm water or tea, and its fierce bite is the whole point.
The recipe comes from the folk herbalism tradition of the 1970s. Herbalist Rosemary Gladstar is widely credited with popularizing the name and the classic formula, sharing it freely with students and teaching it as a homemade winter remedy made from kitchen ingredients. Over the decades, home herbalists passed it along in workshops, newsletters, and cookbooks, and each maker adjusted it to taste. That is why you will find dozens of versions online with the same backbone: apple cider vinegar, onion, garlic, horseradish, ginger, hot peppers, and honey.
This guide gives you the full traditional method in one place. You will learn what each ingredient does and why it belongs in the jar, the exact step-by-step process from chopping day to straining day, how to store the finished cider safely, how people traditionally use it, how to fix the common problems like too much heat or worried-looking vegetables, and a set of easy variations so you can make the batch yours. Read it once through before you start, gather your ingredients, and you will have a jar on the counter by the afternoon.
Why Do People Make Fire Cider in Winter?
People make fire cider in winter for one simple reason: that is when the cold, dark months make a warming kitchen project most welcome, and the traditional recipe uses the sturdy storage ingredients that are easy to find from fall through spring. Onions, garlic, ginger, horseradish, lemons, and hot peppers are all in good supply, and the four-week steep gives you something to look forward to tending.
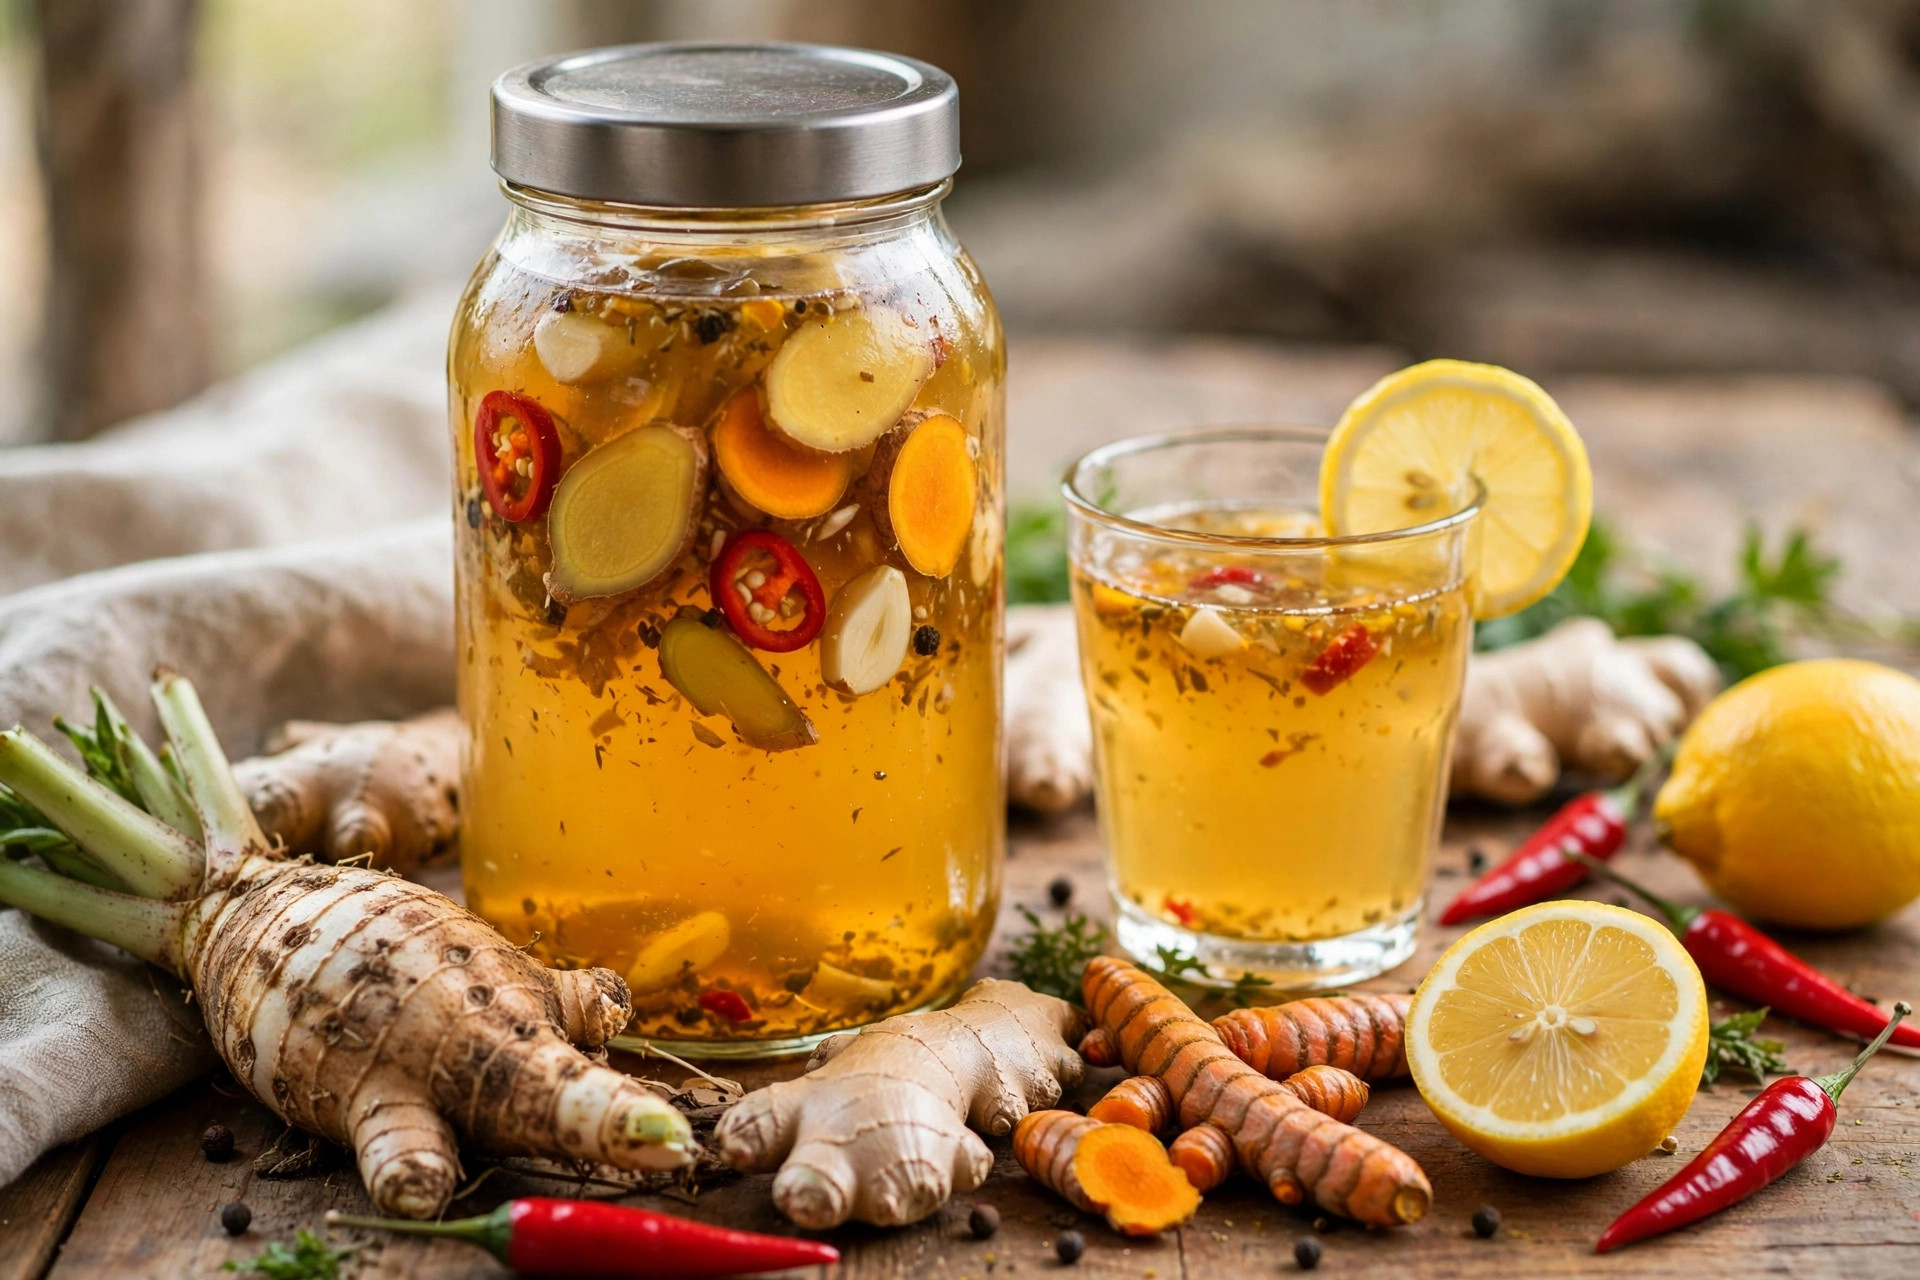
There is also a rhythm to it that fits the season. You chop everything on a crisp afternoon, pack it into a big glass jar, and pour the vinegar over it while the house smells like a bustling kitchen. For the next month, you shake the jar every day or two, watching the liquid darken and take on color. Then, right around the time the weather turns truly cold, you strain and sweeten it, and you have a row of bottles to keep in the pantry. Many makers start their first batch in October or November so the finished cider is ready for the heart of winter.
It is worth saying plainly what fire cider is and is not. It is a home remedy tradition, a folk tonic that people have enjoyed for decades as part of their winter routines. It is not a medicine, and this article makes no claim that it treats, cures, or prevents any illness. Many people simply enjoy the bracing flavor and the ritual of making it. If you have a health condition, take medication, or are unsure about any ingredient, check with a qualified health professional before trying it, just as you would with any new herbal preparation.
What Ingredients Do You Need for Fire Cider?
This recipe fills a 1-quart (about 1 liter) glass jar. Every ingredient plays a role, so here is what to use and why it matters.
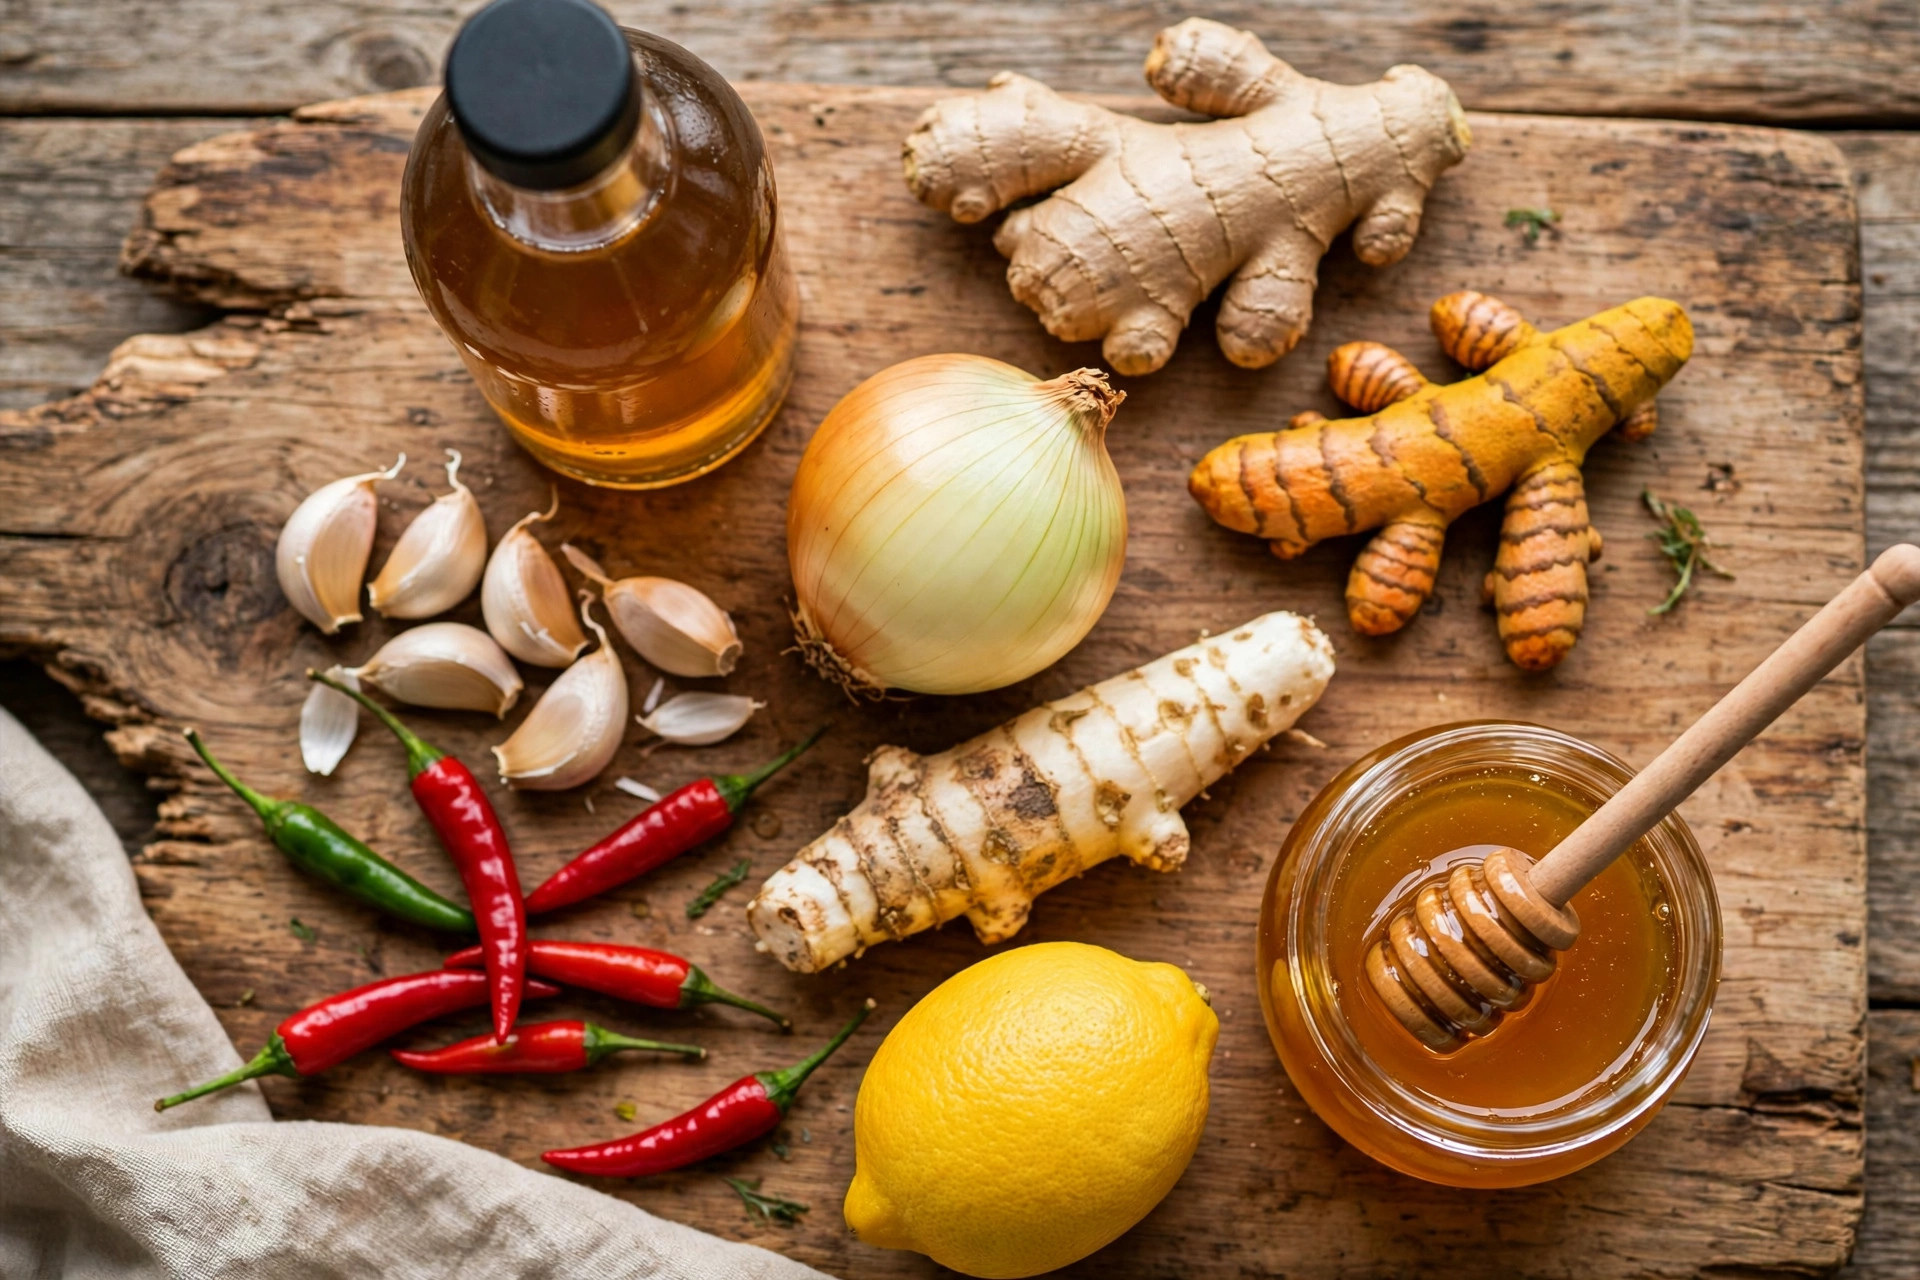
- Raw, unfiltered apple cider vinegar (about 3 to 4 cups): The base and the preserving liquid. The vinegar’s acidity extracts flavor and compounds from the chopped ingredients and keeps the mixture preserved during the long steep. Raw, unfiltered vinegar, the kind with the cloudy “mother” swirling in it, is the traditional choice. Make sure everything in the jar stays submerged in vinegar, because the vinegar is what keeps the batch safe.
- 1 medium yellow onion, chopped: Onion is a classic fire cider ingredient and a workhorse of the winter kitchen. It adds a savory, pungent depth to the finished tonic. Chop it roughly; pieces around half an inch are fine.
- 1 whole head of garlic, cloves separated and lightly crushed: Garlic brings its unmistakable bite. A whole head sounds like a lot, and it is, but the long steep mellows and blends it into the overall flavor. Lightly crush each clove with the flat of a knife so the vinegar can reach inside.
- 1/2 cup fresh horseradish root, grated: Horseradish is the ingredient that makes your eyes water in the best way. It is the backbone of the “fire” flavor. Fresh root is much stronger than prepared horseradish in a jar, so use fresh if you can find it, and grate it just before it goes into the jar. Work in a ventilated area and avoid rubbing your eyes.
- 1/2 cup fresh ginger root, grated: Ginger adds warm, spicy heat and a bright, clean flavor that balances the sharper ingredients. Use fresh ginger root, not dried ground ginger, and grate it with its skin on if it is organic and well scrubbed, or peel it first.
- 1/4 cup fresh turmeric root, grated (or 2 tablespoons ground turmeric): Turmeric gives the finished cider its deep golden color and an earthy warmth. Fresh turmeric root is traditional and easy to find in most grocery stores now. Wear gloves or expect yellow fingers for a day; turmeric stains everything it touches.
- 2 to 3 hot peppers, sliced: Cayenne, jalapeno, habanero, or whatever hot peppers you like. They set the heat level, so choose based on your tolerance. Leave the seeds in for maximum fire, remove them for a gentler batch. Always wash your hands after handling hot peppers, and wear gloves if your skin is sensitive.
- 1 lemon, sliced (or 1 orange): Citrus brightens the whole batch and rounds out the vinegar’s sharpness. Slice it into rounds, peel and all, and tuck them into the jar. Organic citrus is ideal since the peel goes in.
- Optional: 2 to 3 sprigs fresh rosemary or thyme, a tablespoon of black peppercorns, or a cinnamon stick: These are the traditional extras. Rosemary and thyme add an herbal note, peppercorns add bite, and cinnamon adds sweetness and warmth. Use any or none of them.
- Raw honey (about 1/4 to 1/2 cup, added AFTER straining): Honey goes in only after you strain out the solids, never during the steep. It sweetens the sharp vinegar and makes the tonic much easier to take. Add it to taste at the end, starting with a quarter cup and working up. If you are making this for children under one year old, do not use honey at all, and in general this strong tonic is an adult preparation.
A note on ingredient quality: use the freshest roots and vegetables you can find, because they are the flavor of your finished cider. Organic is a nice choice since you are steeping peels and skins, but conventional produce works too if that is what you have. The one ingredient not to compromise on is the vinegar; it should be raw and unfiltered apple cider vinegar with 5 percent acidity, which is the standard strength that keeps the steep safe.
What Equipment Do You Need for Fire Cider?
The equipment list is short, but one item matters more than the rest.
- 1-quart glass mason jar with a wide mouth: Wide mouth makes packing the chopped ingredients easy and straining simple later. A quart jar is the classic batch size, and it fits comfortably on a kitchen counter.
- Parchment paper or a plastic lid: This is the important one. Vinegar corrodes metal, so you must not let the vinegar touch a metal canning lid for four weeks. Either use a plastic storage lid made for mason jars, or lay a square of parchment paper over the jar mouth before screwing on the metal ring and lid. The parchment acts as a barrier between the vinegar and the metal.
- A sharp knife and cutting board: For chopping the onion, crushing the garlic, and slicing the peppers and lemon.
- A box grater: For the horseradish, ginger, and turmeric. A food processor with a grating disc also works and is faster for big batches.
- A fine-mesh strainer and cheesecloth: For straining the solids out after the four-week steep.
- A large bowl: To catch the liquid while you strain.
- Clean glass bottles with caps or corks: For storing the finished fire cider. Amber or dark glass is nice because it protects the liquid from light, but any clean glass bottle works.
Everything that touches the ingredients should be clean. You do not need to sterilize the jars the way you would for canning, because the vinegar’s acidity does the preserving work, but wash everything in hot, soapy water and let it air dry before you start.
How Do You Make Fire Cider?
Set aside about 30 minutes for chopping and packing. Put on some music, maybe start a winter simmer pot on the stove so the house smells wonderful while you work, and chop everything before you pack the jar.
Step 1: Prepare the horseradish, ginger, and turmeric
Scrub or peel the fresh roots, then grate the horseradish, ginger, and turmeric on the coarse side of a box grater. Work with the horseradish last or in a ventilated spot, because freshly grated horseradish is intensely strong and will make your eyes water. Measure out half a cup of grated horseradish, half a cup of grated ginger, and a quarter cup of grated turmeric.
Step 2: Chop the onion and garlic
Chop the onion into rough half-inch pieces and place them in a large bowl. Separate the head of garlic into cloves, lightly crush each clove with the flat of a knife, and add them to the bowl. There is no need for neat knife work here; the pieces just need to be small enough to pack into the jar.
Step 3: Slice the peppers and lemon
Slice the hot peppers into rings, leaving the seeds in for a hotter batch or removing them for a milder one. Slice the lemon into thin rounds. If you are using any extras like rosemary, peppercorns, or a cinnamon stick, have them ready now.
Step 4: Pack the jar
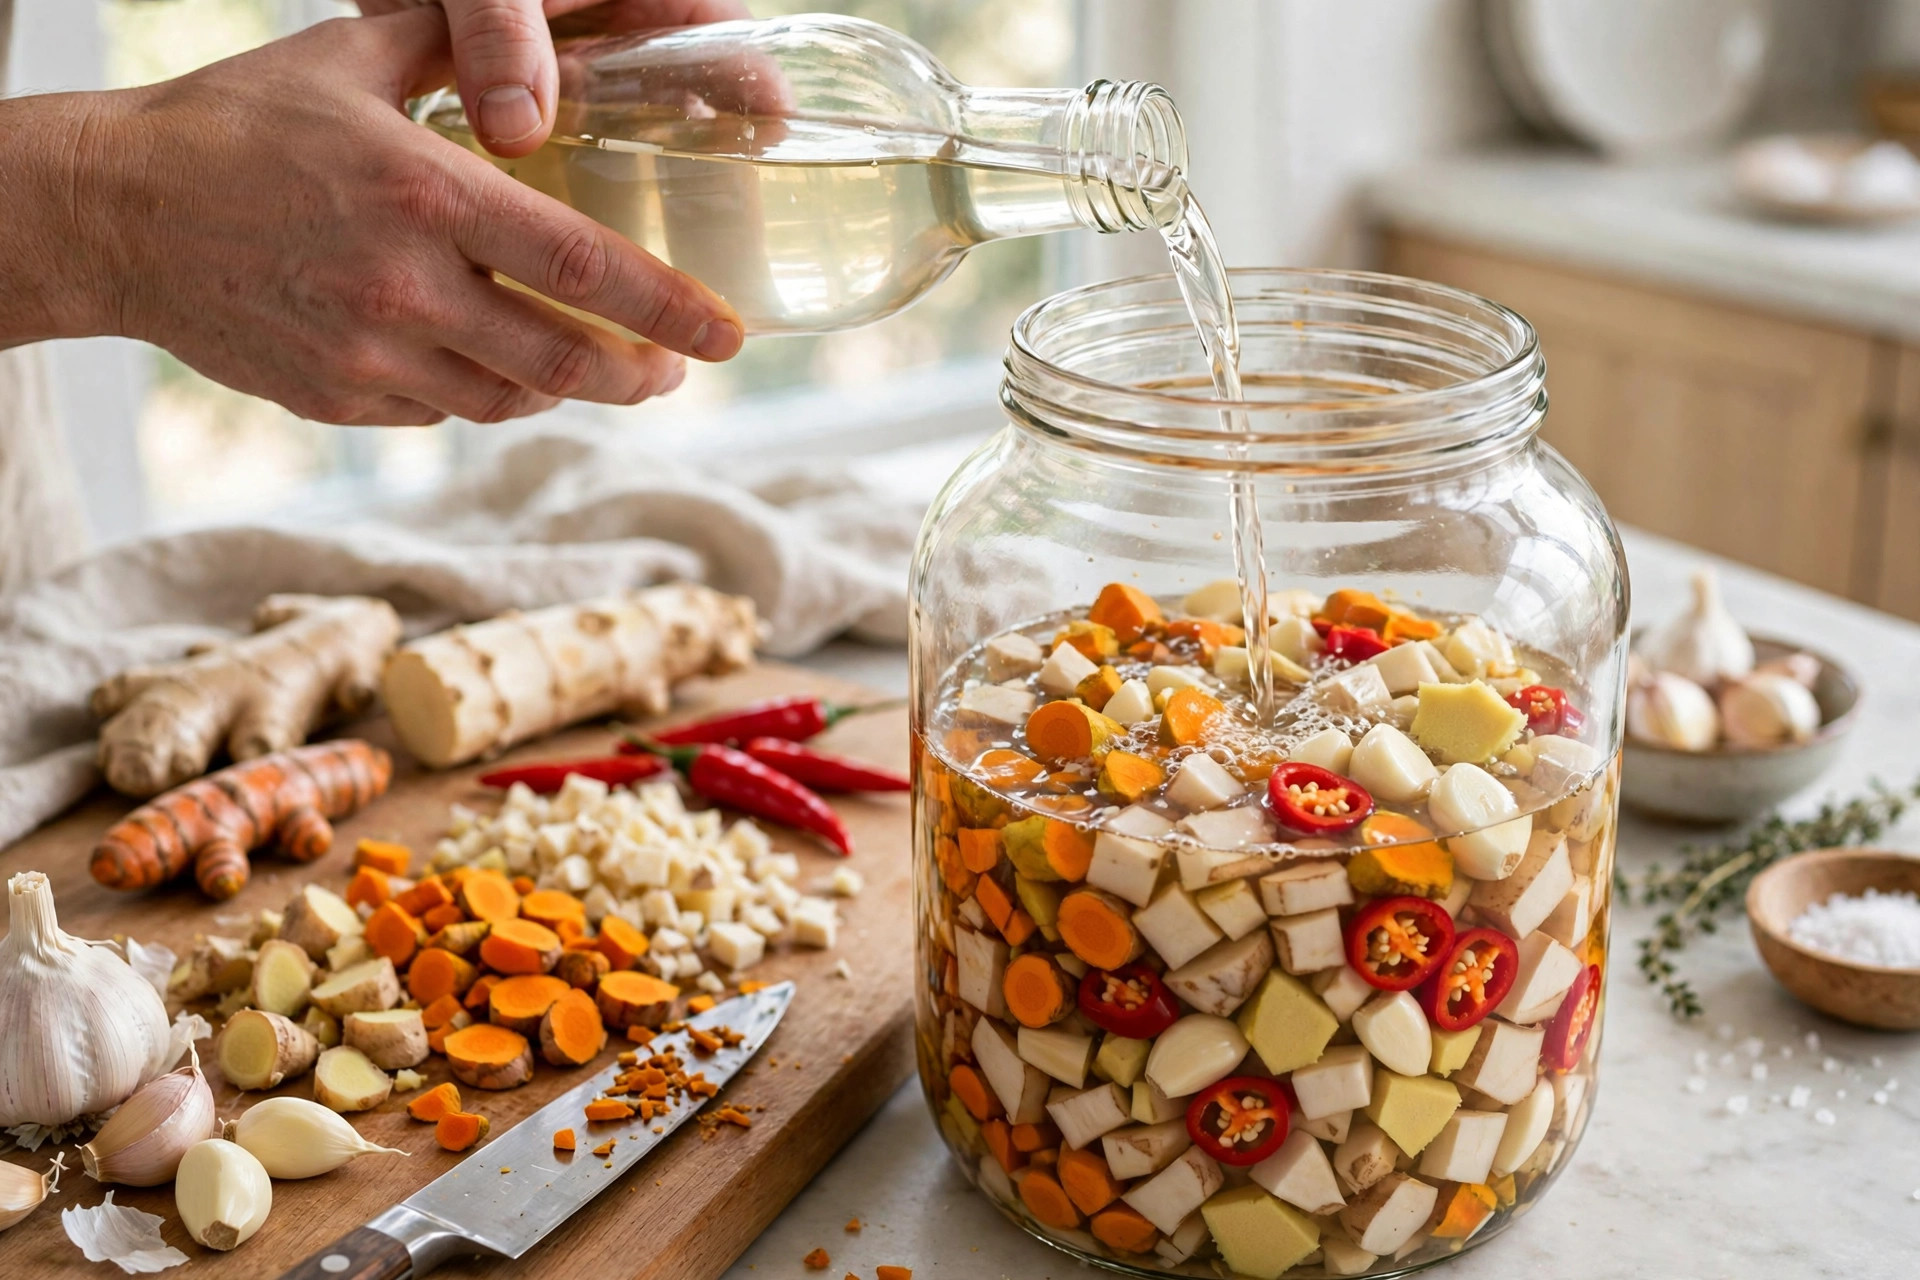
Layer the chopped onion, garlic, grated roots, peppers, and lemon slices into the clean quart jar, pressing down gently as you go. Pack it firmly but not crushed; you want the vinegar to flow around everything. Fill the jar to about three-quarters full, leaving a couple of inches of headspace at the top.
Step 5: Pour in the vinegar
Pour raw, unfiltered apple cider vinegar over the packed ingredients until everything is completely covered, with the vinegar reaching about an inch above the solids. This part is not optional: every piece of vegetable must stay below the surface of the vinegar for the whole steep. If anything pokes up, push it down or add more vinegar. The vinegar is what keeps the mixture preserved and safe.
Step 6: Seal with a non-metal barrier
Lay a square of parchment paper over the mouth of the jar, then screw on the metal lid and ring over the parchment. Or use a plastic storage lid. Label the jar with the date you made it, and place it somewhere at room temperature, away from direct sunlight, like a kitchen counter corner or a pantry shelf.
How Do You Tend Fire Cider During the Four-Week Steep?
Once the jar is packed, the work is almost done, but the batch needs a little attention. Shake the jar once a day, or at least every couple of days. Just pick it up, give it a good swirl and a few shakes, and set it back down. This keeps the ingredients evenly exposed to the vinegar and helps the flavors extract.
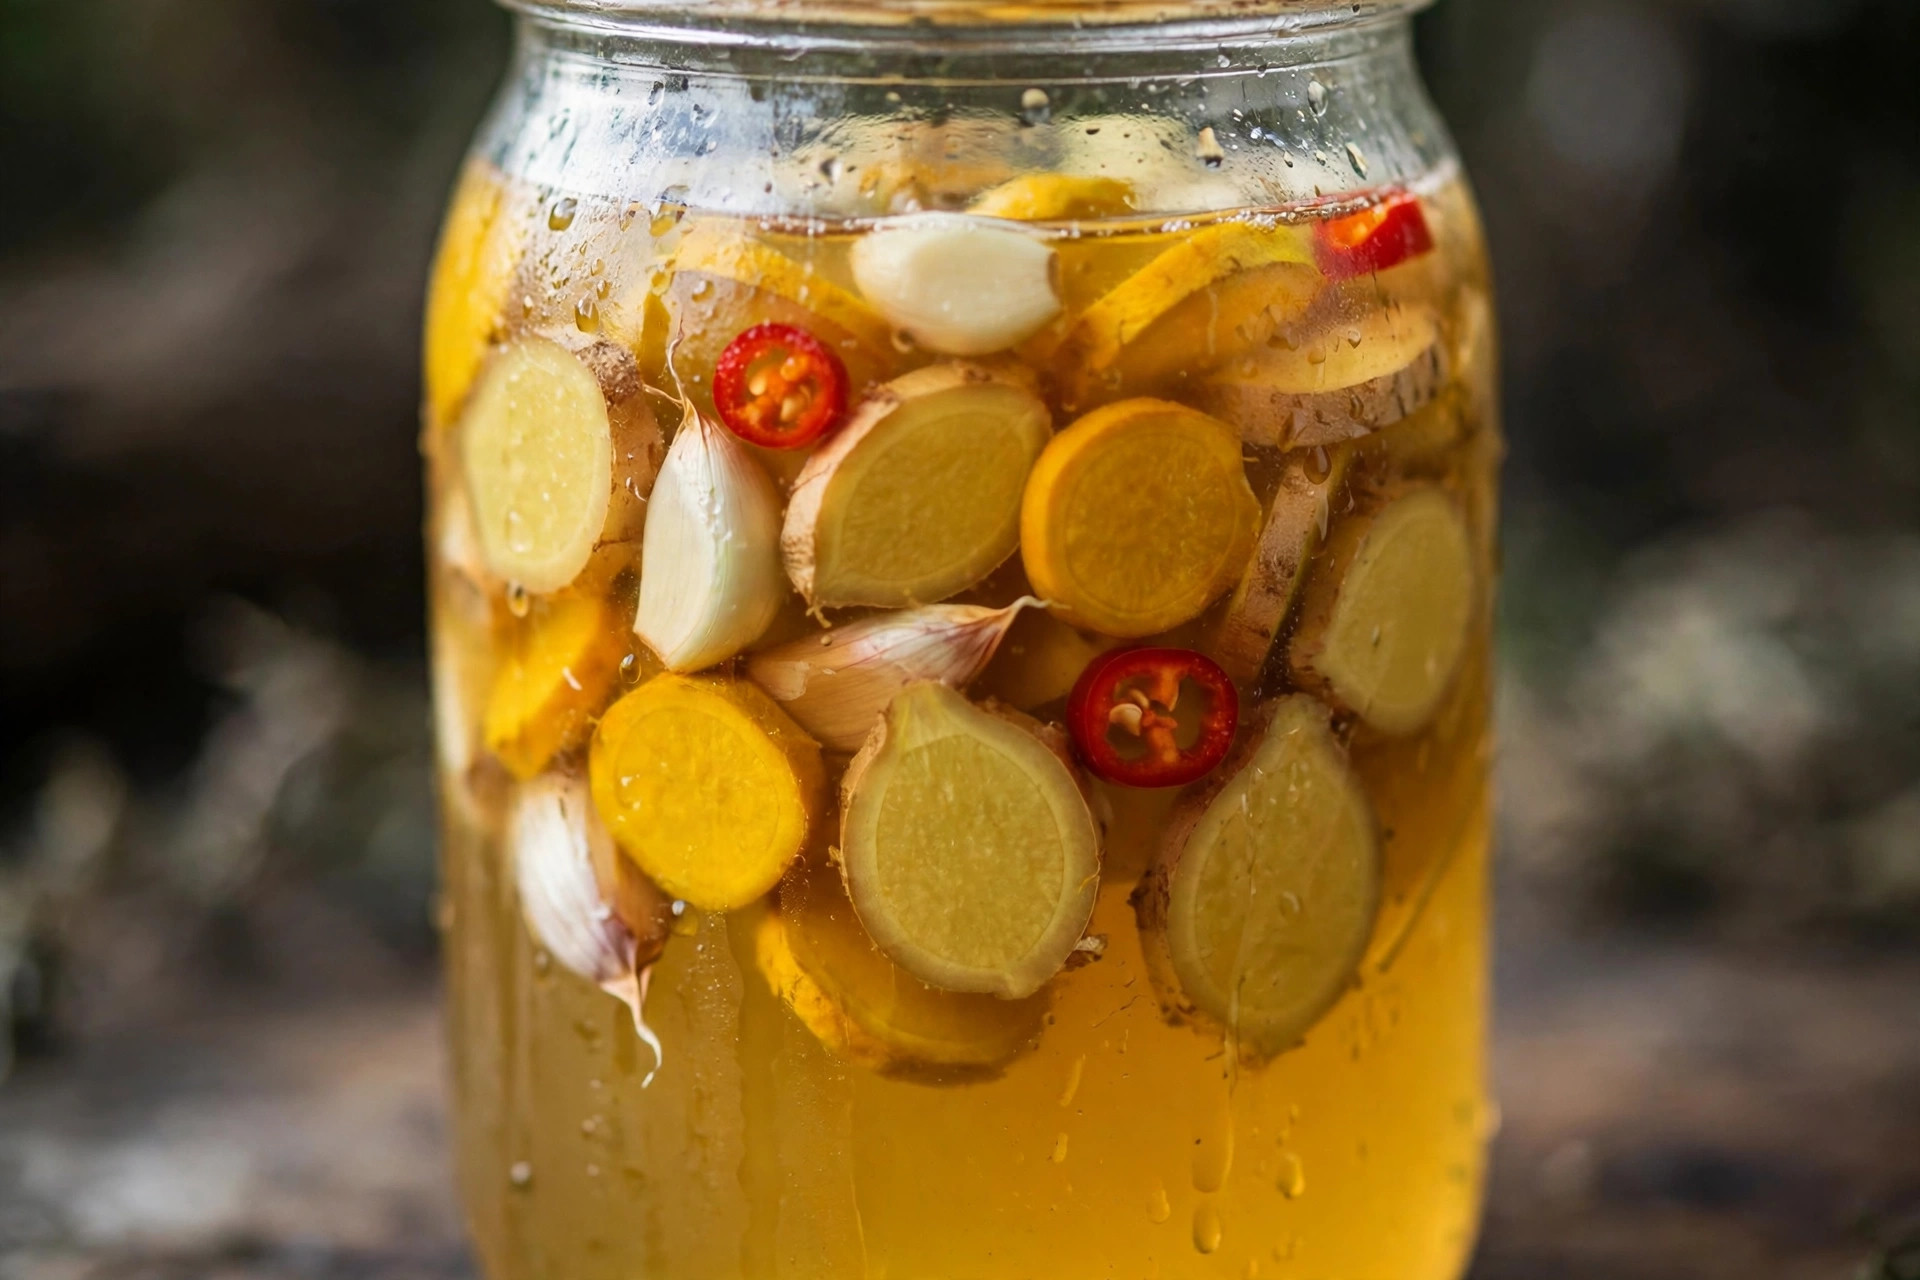
When you shake it, take a quick look inside. The liquid will gradually darken from pale gold to a deep amber or reddish-brown, and the vegetables will soften and look cooked by the acid. That is normal. What you want to watch for is any solid piece floating above the vinegar line. If you see one, push it back under with a clean spoon and top up with a splash of vinegar. Solids exposed to air are the only real spoilage risk in this recipe, and keeping everything submerged prevents it.
After about two weeks, you can sneak a tiny taste if you are curious. Dip a clean spoon in and try a drop. It will be sharp and harsh at this stage, much stronger than the finished product, so do not judge it yet. The flavors need the full four weeks to meld and mellow.
Four weeks is the traditional steeping time, and it is worth waiting for. Some makers go a little longer, up to six weeks, for a stronger extraction, but do not cut it short. The long, slow steep at room temperature is what turns a jar of vinegar and chopped vegetables into actual fire cider.
How Do You Strain and Sweeten Fire Cider?
Straining day is the most satisfying part of the whole project. Here is how to do it cleanly.
Step 1: Strain the liquid
Set a fine-mesh strainer lined with a double layer of cheesecloth over a large bowl. Pour the entire contents of the jar through it. Let it drip for several minutes, then gather up the cheesecloth and squeeze hard to press out every last drop of liquid. The spent solids have given everything they have, so compost them or discard them.
Step 2: Measure what you have
You should end up with roughly 2 to 3 cups of strained liquid from a quart jar, depending on how firmly you packed it and how hard you squeezed. Pour it back into the clean jar or a large measuring cup so you can add the honey evenly.
Step 3: Add honey to taste
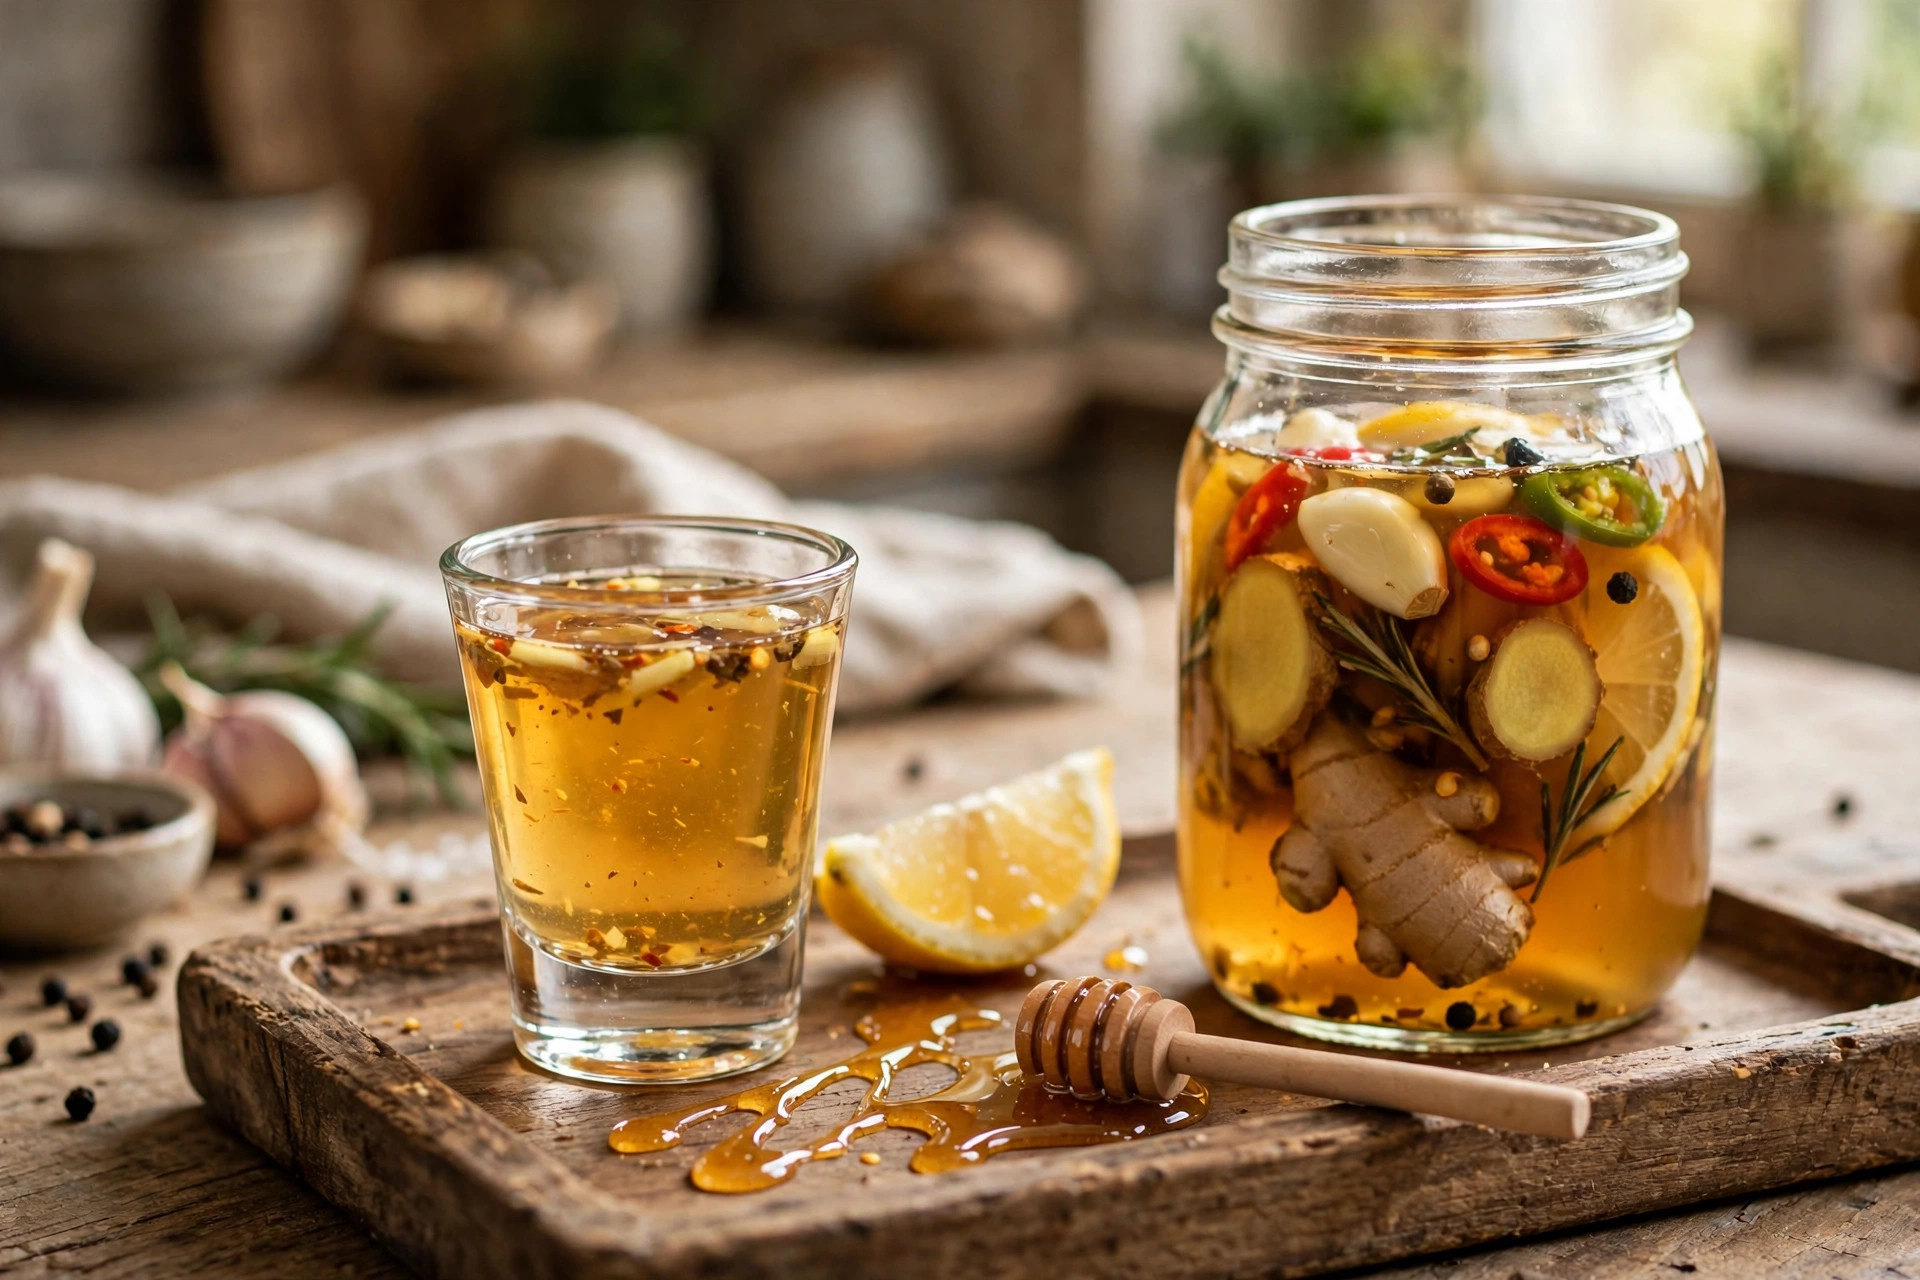
Stir in raw honey, starting with about a quarter cup for the full batch. Taste, then add more until the sharpness softens to a level you enjoy. Most people land somewhere between a quarter cup and half a cup per quart batch. The honey should balance the vinegar, not turn the cider into syrup; you still want that bracing bite. Stir or shake until the honey fully dissolves.
Step 4: Bottle it
Pour the finished fire cider into clean glass bottles using a funnel. Amber bottles are ideal because they block light, but any glass bottle with a good cap works. Label each bottle with the contents and the date. A single quart batch usually fills two to three smaller bottles, which makes lovely gifts.
Taste the finished cider before you bottle it all. It should be fiery, tangy, and a little sweet, with the flavors blended rather than harsh. If it tastes too sharp, add a bit more honey. If it tastes too sweet for your liking, you can stir in a splash more apple cider vinegar. Now is the time to adjust, because once it is bottled and stored, the flavor stays fairly stable.
How Do You Store Fire Cider, and How Long Does It Last?
Store your finished fire cider in a cool, dark place. A pantry shelf or kitchen cabinet is perfect. The refrigerator also works and keeps the flavor especially crisp, but it is not required, because the vinegar and honey both act as preservatives. Many makers keep one bottle on the counter for daily use and the rest in the pantry.
Properly made and bottled fire cider lasts a long time. At room temperature in a cool, dark spot, it keeps well for six months to a year. In the refrigerator, it easily lasts a year or more. Over time the flavors continue to mellow and blend, and the color may deepen. That is normal aging, not spoilage.
Trust your senses before each use. If the cider smells pleasantly sharp and vinegary, it is fine. If it ever smells rotten, looks slimy, or shows actual fuzzy mold, discard it. With everything kept submerged during the steep and clean bottles at the end, spoilage is rare, but it is always smart to check. When in doubt, throw it out and start a fresh batch; the ingredients are inexpensive and the method is simple.
For a cozy winter morning routine, many people keep their fire cider near the kettle. If you enjoy warm spiced drinks in cold weather, you might also like a classic hot apple cider, which is a gentler, sweeter way to warm up on the days you skip the fire cider.
How Do People Traditionally Take Fire Cider?
Fire cider is strong stuff, so the traditional serving is small. The classic dose is one tablespoon, taken straight from a spoon or a small shot glass. Some people take it daily through the winter as a morning ritual; others reach for it occasionally when they want something bracing. There is no official schedule, just tradition and personal preference.
If the straight spoonful is too intense for you, there are gentler ways to take it. Stir a tablespoon into a mug of warm (not boiling) water with an extra squeeze of lemon for a quick tonic tea. Mix a teaspoon into hot herbal tea, where the other flavors soften the vinegar bite. Some people add a splash to a glass of sparkling water with ice for a spicy shrub-like drink, which is surprisingly refreshing.
It also works in the kitchen. A spoonful of fire cider wakes up salad dressings, adds punch to marinades, and livens up a bowl of soup. Try a teaspoon stirred into a bowl of stove top chicken and dumplings just before serving, or whisk it into a vinaigrette for a winter salad. Used this way, it behaves like any flavored vinegar, just with a lot more character.
Start small, especially your first time. Take a teaspoon to see how you like the heat and acidity before working up to a tablespoon. And remember the careful framing from earlier: this is a folk tradition people enjoy, not a treatment for anything. Enjoy it for its flavor and its ritual.
What If Your Fire Cider Is Too Spicy?
Too much heat is the most common complaint, especially for first-time makers who went heavy on the hot peppers. The good news is that you can fix it at several stages.
If you have not strained yet and the jar tastes painfully hot at the two-week taste test, you can fish out some of the pepper slices with a clean spoon. Removing even half the peppers will noticeably lower the heat of the finished batch. You can also add a few more lemon slices or a spoonful of extra honey at the bottling stage to balance the burn.
If the batch is already bottled and it is too spicy to take straight, do not throw it out. Just change how you use it. Dilute a teaspoon in a full mug of warm water or tea instead of taking it straight. Use it as a cooking vinegar in dressings and marinades, where a little goes a long way. Or blend it: mix your too-hot batch half and half with plain raw apple cider vinegar to stretch it into a milder tonic. It is still perfectly good fire cider, just stronger than you expected.
For your next batch, control the heat from the start. Use two jalapenos with the seeds removed instead of three habaneros, or skip the peppers entirely and let the horseradish and ginger carry the warmth. Every pepper variety brings a different level of fire, so once you find your level, write it down and repeat it.
How Do You Prevent Mold and Spoilage in Fire Cider?
This is the safety question every new maker asks, and the answer is reassuringly simple: keep everything under the vinegar. The acidity of the vinegar, at standard 5 percent strength, creates an environment where the chopped ingredients stay preserved. Spoilage happens when pieces of vegetable sit exposed to air above the liquid line, so submersion is the whole game.
Here are the practical rules. Pack the jar so the vinegar sits at least an inch above the solids. Check when you shake the jar, and push down anything that floats up. Use a parchment barrier or plastic lid so the metal lid does not corrode and drip into the batch. Use clean equipment. And use real apple cider vinegar at 5 percent acidity, not a diluted or homemade vinegar of unknown strength.
Know what normal looks like so you do not panic. The liquid darkens over the weeks. The vegetables soften and look pickled. A little sediment at the bottom is normal. White film or scum on the surface can occasionally appear; many makers simply skim it and make sure everything is submerged, though if it ever looks fuzzy or smells wrong, discard the batch. Actual fuzzy mold, slime, or a rotten smell means the batch is done, throw it out, and start fresh. It happens rarely when the submersion rule is followed.
What Are the Best Fire Cider Variations?
Once you have made the classic batch, the variations are where fire cider gets fun. The traditional formula is a starting point, not a law, and herbalists have been riffing on it for decades.
Milder family-style fire cider: Cut the hot peppers down to one mild pepper or skip them entirely, reduce the horseradish to a quarter cup, and increase the honey a little at the end. You still get the warming ginger, garlic, and vinegar character without the fierce burn. Remember that this is still a strong vinegar tonic best suited to adults.
Citrus-forward fire cider: Add both a lemon and an orange, sliced, plus a few strips of grapefruit peel. The extra citrus brightens the finished cider and makes it especially good mixed into sparkling water. This is the version to make if you plan to drink it as a shrub-style beverage rather than a straight tonic.
Elderberry fire cider: Add half a cup of dried elderberries to the jar at packing time. They lend a deep purple-red color and a fruity note that pairs beautifully with the honey. Elderberries must be steeped and strained; never eat them raw in quantity.
Garden herb fire cider: Add a generous handful of fresh thyme, a few sprigs of rosemary, and a bay leaf to the jar. The herbs give the finished cider a savory, almost culinary character that is wonderful in salad dressings and marinades.
Extra-hot fire cider: For the true heat lovers, use three habaneros with seeds, bump the horseradish to three-quarters of a cup, and add a tablespoon of black peppercorns. Label the bottles clearly, because this version will surprise anyone expecting the classic heat level.
Smoky fire cider: Add a teaspoon of smoked paprika and one dried chipotle pepper to the jar. The smoke adds a completely different dimension, and this version is outstanding whisked into barbecue-style sauces and bean dishes.
Whatever variation you try, keep the core rules the same: raw apple cider vinegar at 5 percent acidity, everything submerged, four weeks of steeping, honey only after straining. Those are the bones of the recipe. Everything else is seasoning.
Is Fire Cider Safe? What Should You Know?
For most healthy adults, homemade fire cider made with clean ingredients and proper technique is a traditional kitchen preparation, much like making pickles or flavored vinegar. The vinegar’s acidity preserves the batch, and the ingredients are all ordinary foods. That said, a few sensible cautions apply.
First, it is acidic and spicy. If you have acid reflux, a sensitive stomach, or mouth sores, a spoonful of strong vinegar tonic may bother you. Diluting it in water or tea helps, but listen to your body and skip it if it causes discomfort. People with diabetes should note that the honey adds sugar, and anyone watching blood sugar should factor that in or reduce the honey.
Second, talk to a health professional first if you are pregnant, nursing, taking medication, or managing a health condition. Some of the ingredients, like turmeric and hot peppers in concentrated amounts, can interact with certain medications or conditions. This is standard advice for any herbal preparation, and it applies here too.
Third, keep it away from small children. The heat and acidity make it unsuitable for young kids, and honey must never be given to infants under one year old. Store the bottles where children cannot reach them, just as you would any strong condiment.
Finally, keep expectations honest. Fire cider is a beloved folk tradition, and many people enjoy making and taking it as part of their winter routine. It is not a drug, not a cure, and not a substitute for medical care. Enjoy it for what it is: a bracing, flavorful tonic with a great story and a satisfying ritual behind it.
Frequently Asked Questions About Fire Cider
Do I have to wait the full four weeks?
The four-week steep is the traditional timing, and it exists for a reason: the flavors need time to extract and meld. A two-week batch will taste harsh and one-dimensional compared to a four-week batch. If you are in a hurry, start the jar now and plan your next batch earlier next year. Good fire cider cannot be rushed.
Can I use ground turmeric and ginger instead of fresh?
You can, but fresh is better. Fresh roots give a brighter, cleaner flavor and a nicer color. If you only have ground spices, use about 2 tablespoons of ground turmeric and 2 tablespoons of ground ginger for a quart batch, and expect a cloudier finished cider with some sediment. Shake the bottle before each use.
Why does my fire cider look cloudy?
Cloudiness is normal, especially if you used raw, unfiltered vinegar or ground spices. The “mother” in raw vinegar and fine spice particles both create haze. It does not affect quality. If you want a clearer bottle, strain through a coffee filter after the cheesecloth step, though this is slower.
Can I reuse the strained solids?
The strained vegetables are spent after four weeks in vinegar, and most makers compost them. Some people blend a spoonful of the strained solids into a second small jar of vinegar for a weaker “second press,” but the flavor is much milder. For the best result, start each batch with fresh ingredients.
Does fire cider need to be refrigerated?
No, refrigeration is optional. The vinegar and honey preserve the finished cider at room temperature in a cool, dark place for six months to a year. The fridge extends that to a year or more and keeps the flavor bright. Either way works, so choose based on your space.
Can I make a bigger batch?
Yes. The recipe scales easily. Use a half-gallon jar and double everything, keeping the same proportions and the same rules: vinegar an inch above the solids, parchment or plastic lid, four weeks of steeping, honey after straining. Large batches are great if you want bottles for gifts.
What does fire cider taste like?
Imagine the sharpest, spiciest salad dressing you have ever had, then add honey and fire. It is tangy from the vinegar, hot from the peppers and horseradish, warm from the ginger, and rounded out by onion, garlic, and citrus, with honey softening the edges. The first taste is a shock; by the third, most people are converts.
Is fire cider the same as apple cider vinegar with honey?
No. Plain apple cider vinegar with honey is just sweetened vinegar. Fire cider is a four-week herbal infusion with onion, garlic, horseradish, ginger, turmeric, peppers, and citrus, which gives it a completely different depth and heat. The steeping time and the ingredient list are what make it fire cider.
Ready to Start Your First Batch?
Fire cider is one of those rare kitchen projects that asks almost nothing of you and gives back for months. Thirty minutes of chopping, a month of shaking a jar on the counter, and one satisfying straining day, and you will have bottles of golden, fiery tonic to carry you through the cold season. It makes a thoughtful homemade gift, a bracing morning ritual, and a secret weapon in winter salad dressings.
Start your jar this week so it is ready when winter settles in. And while you wait for the steep, keep the cozy kitchen momentum going: bake a loaf of sweet focaccia bread for slow weekend mornings, or wind down in the evening with a mug of cranberry coffee or a glass of spiked apple cider by the fire. Winter is for warming things, and your fire cider jar is about to
become the fiercest one in the pantry.
For more seasonal kitchen ideas, see our Air Fryer Christmas Recipes: 28 Easy Holiday Ideas and Christmas Cookie Bars: Easy Slice-and-Bake Holiday Bars.
📌 Love this recipe? Pin it on Pinterest to save it for later!