What Makes Mini Desserts the Best Party Choice?
Walk up to any dessert table and watch what happens. Guests hover over the big cake, hesitate, do the mental math on whether they really want a whole slice — and then drift toward the little things. The two-bite cheesecakes. The truffles. The tiny tartlets lined up like jewels. Within twenty minutes, the mini desserts are gone and the cake still has half its slices. I have watched this play out at birthdays, weddings, office parties, and backyard barbecues for years, and it never changes: small desserts win.
Why? Because mini desserts remove every barrier between a guest and a good time. Nobody needs a plate, a fork, or a commitment. You grab one with a napkin, pop it in your mouth, and go back to the conversation. Guests get to taste three or four different things instead of gambling on one big slice. Hosts get a table that looks abundant and generous without baking for two days straight. And from a pure practicality standpoint, bite-size desserts are easier to transport, easier to serve outdoors, and far more forgiving — a slightly cracked mini cheesecake still looks adorable; a cracked full-size cheesecake looks like a disaster.
This collection gives you 25 mini dessert ideas built for real parties, and then walks you through five complete, tested recipes in detail: mini cheesecakes, chocolate truffles, fruit tartlets, chocolate mousse shooters, and mini lemon bars. Every one is make-ahead friendly, crowd-approved, and designed to look impressive with minimal fuss. Whether you are planning for ten people or a hundred, this is your playbook for a dessert table that empties itself.
Why Are Mini Desserts So Popular Right Now?
Mini desserts sit at the center of several big food trends at once. Grazing culture — the whole charcuterie-board, "a little of everything" way of eating — has trained us to prefer variety over volume. Social media rewards food that photographs well, and a tiered stand of tiny, colorful desserts is irresistible on camera. Portion awareness plays a role too: many people genuinely prefer a small indulgence to a large one, especially at events where they have already eaten a full meal.
But the deepest reason is psychological. A mini dessert is a guilt-free yes. There is no decision fatigue, no "should I really?" — it is two bites of joy, and then you move on. Caterers figured this out years ago, which is why passed bite-size desserts dominate weddings and corporate events. Home hosts are just catching up, and once you serve a proper mini dessert spread, you will never go back to the lonely sheet cake.
What Ingredients and Equipment Do You Need for a Mini Dessert Spread?
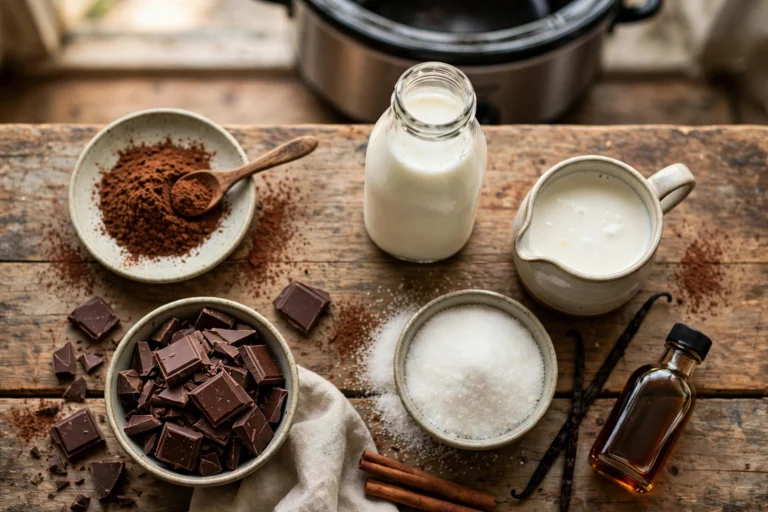
One of the beautiful things about mini desserts is how much pantry overlap there is. Stock the basics once, and you can make half the ideas on this list.
Pantry staples:
- All-purpose flour, granulated sugar, powdered sugar, brown sugar
- Unsweetened cocoa powder and good chocolate (bars or chips) — semi-sweet and dark
- Sweetened condensed milk and evaporated milk
- Graham crackers or digestive biscuits, for crusts
- Vanilla extract, plus almond or lemon extract for variety
- Baking powder, baking soda, fine salt
- Heavy cream, cream cheese, butter, eggs
- Mini cupcake liners and a mini muffin tin — the single most useful tool for this entire list
Finishing touches:
- Fresh berries (raspberries, blueberries, strawberries), lemon and lime for zest
- Mini chocolate chips, crushed nuts, shredded coconut, sprinkles
- Small disposable shooter cups or shot glasses — for layered desserts
- A piping bag with a star tip — instantly makes everything look professional
- Powdered sugar for dusting, cocoa for rolling
Equipment: A mini muffin tin (24-cup) is non-negotiable — it is the workhorse behind mini cheesecakes, tartlet shells, brownie bites, and cookie cups. Add a couple of baking sheets, mixing bowls, a hand mixer or stand mixer, a small saucepan for ganache, and tiered serving stands for the party-day display. That is the whole kit.
How Do You Plan a Mini Dessert Table for a Party?
Before you bake a single thing, plan like a caterer. It saves money, time, and day-of panic.
Step 1: Count heads and do the math. Plan 3–4 mini pieces per guest for a dessert-only spread after a meal, or 5–6 per guest if desserts are a main event (like a dessert party or baby shower). For 20 guests, that is 60–80 pieces — which sounds like a lot until you realize one batch of mini cheesecakes makes 24.
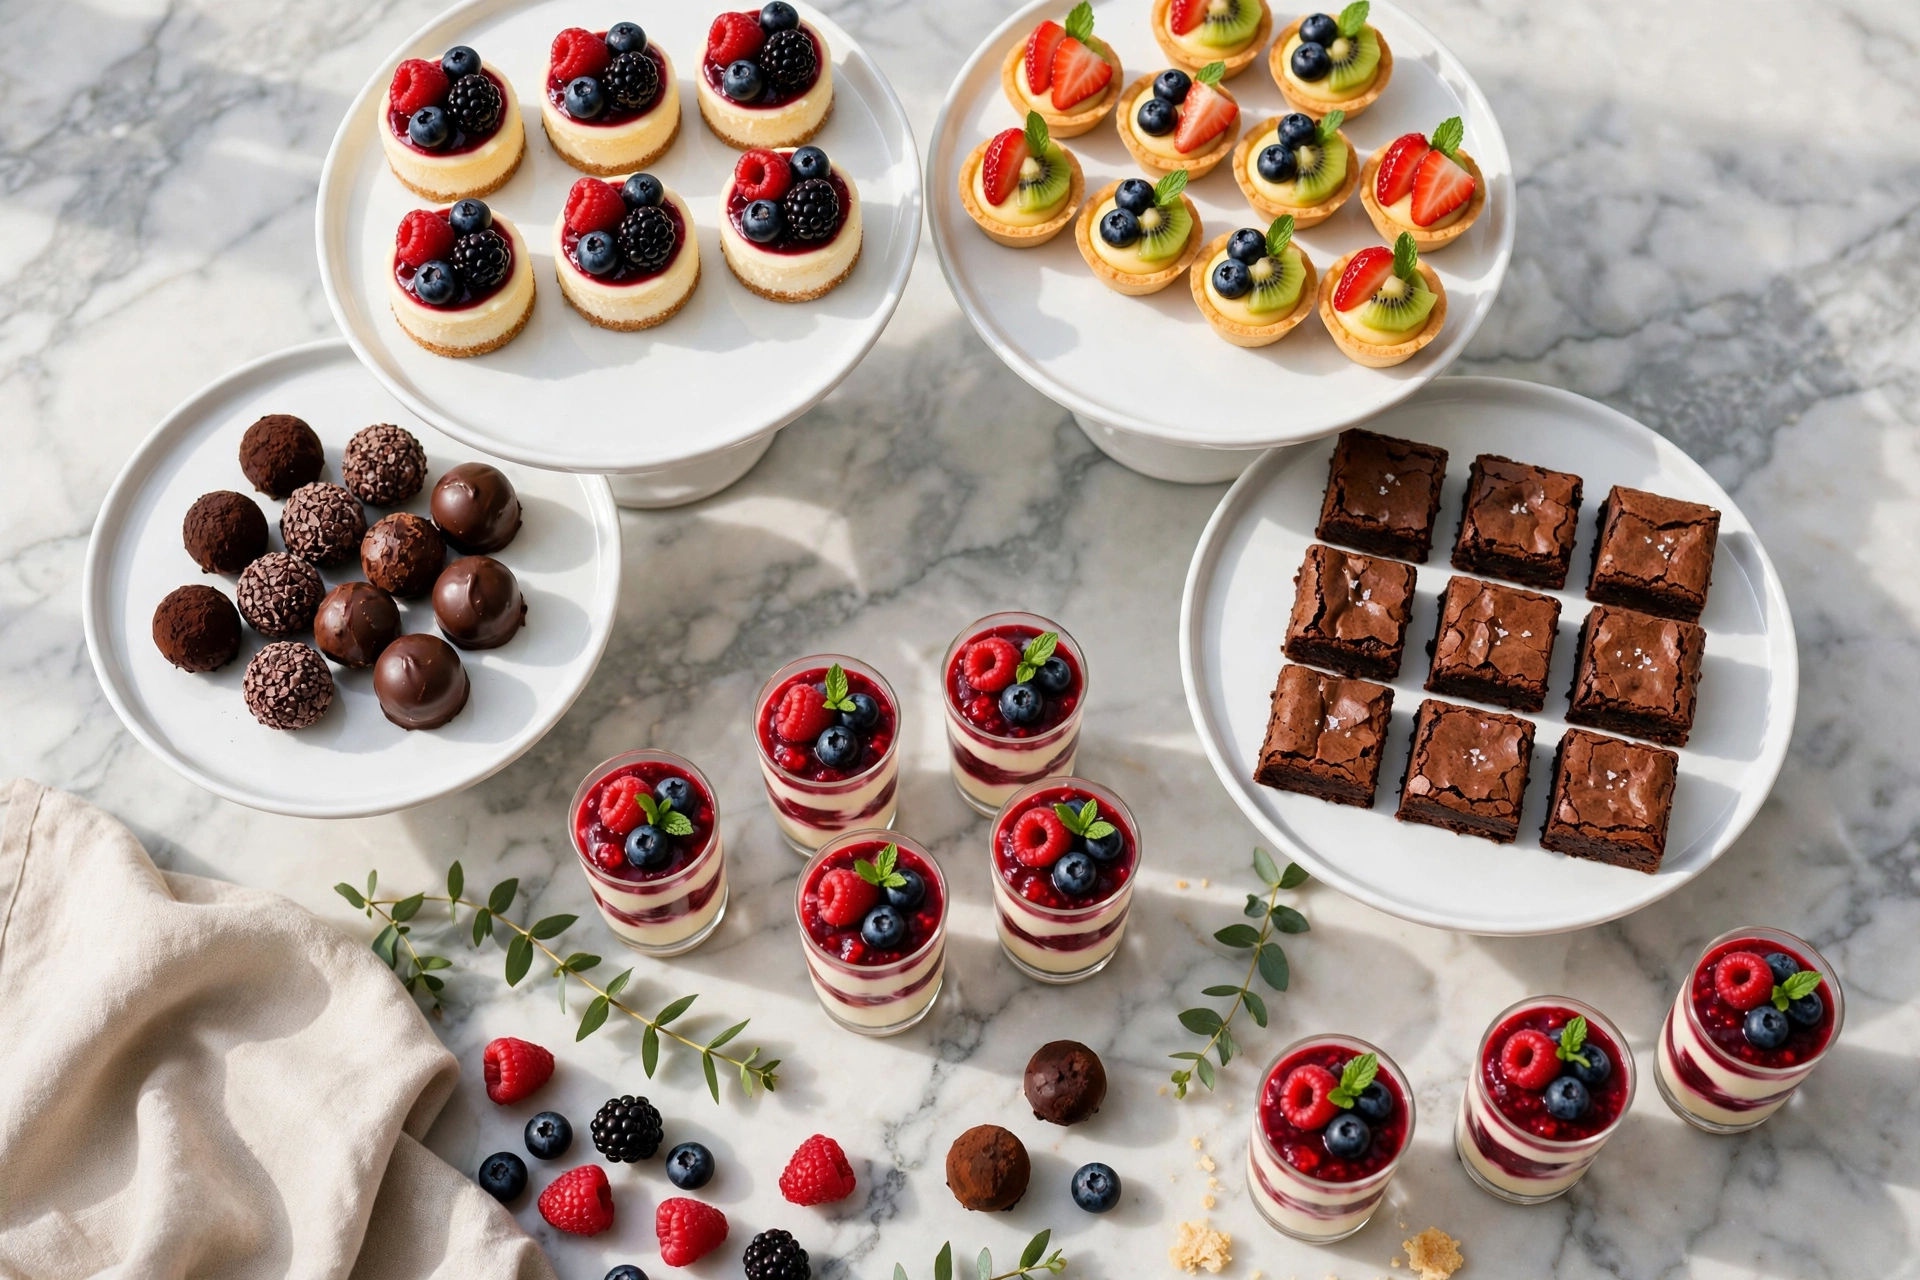
Step 2: Pick 3–5 varieties, not 15. A table with three gorgeous options looks more abundant than a table with ten skimpy ones. Choose across textures and flavors: something creamy (cheesecake bites), something chocolatey (truffles), something fruity (tartlets), something crunchy (cookie cups), and maybe something spoonable (shooters).
Step 3: Balance make-ahead vs. day-of. At least two-thirds of your spread should be fully make-ahead. Truffles, cheesecakes, lemon bars, and brownie bites all improve with a night in the fridge. Reserve day-of work for fresh fruit garnishes, whipped cream dollops, and assembly.
Step 4: Think in color. A dessert table of all-brown treats looks flat. Plan for color contrast: red berries, green mint, white cream, dark chocolate, golden pastry. Your phone camera will thank you, and so will your guests’ appetites.
Step 5: Label everything. Little tent cards with dessert names (and allergen notes — "contains nuts," "gluten-free") look professional and save you answering the same question forty times. It takes ten minutes and elevates the whole table.
Step 6: Stage the table. Use tiered stands, cake pedestals, and boxes draped with cloth to create height. Tall in back, low in front. Refill from backup trays in the kitchen rather than putting everything out at once — a half-empty abundant table beats a picked-over full one.
The 25 Best Mini Dessert Ideas for Parties
Use this master list to mix and match your spread. The five starred recipes get full step-by-step treatment in the variations section below.
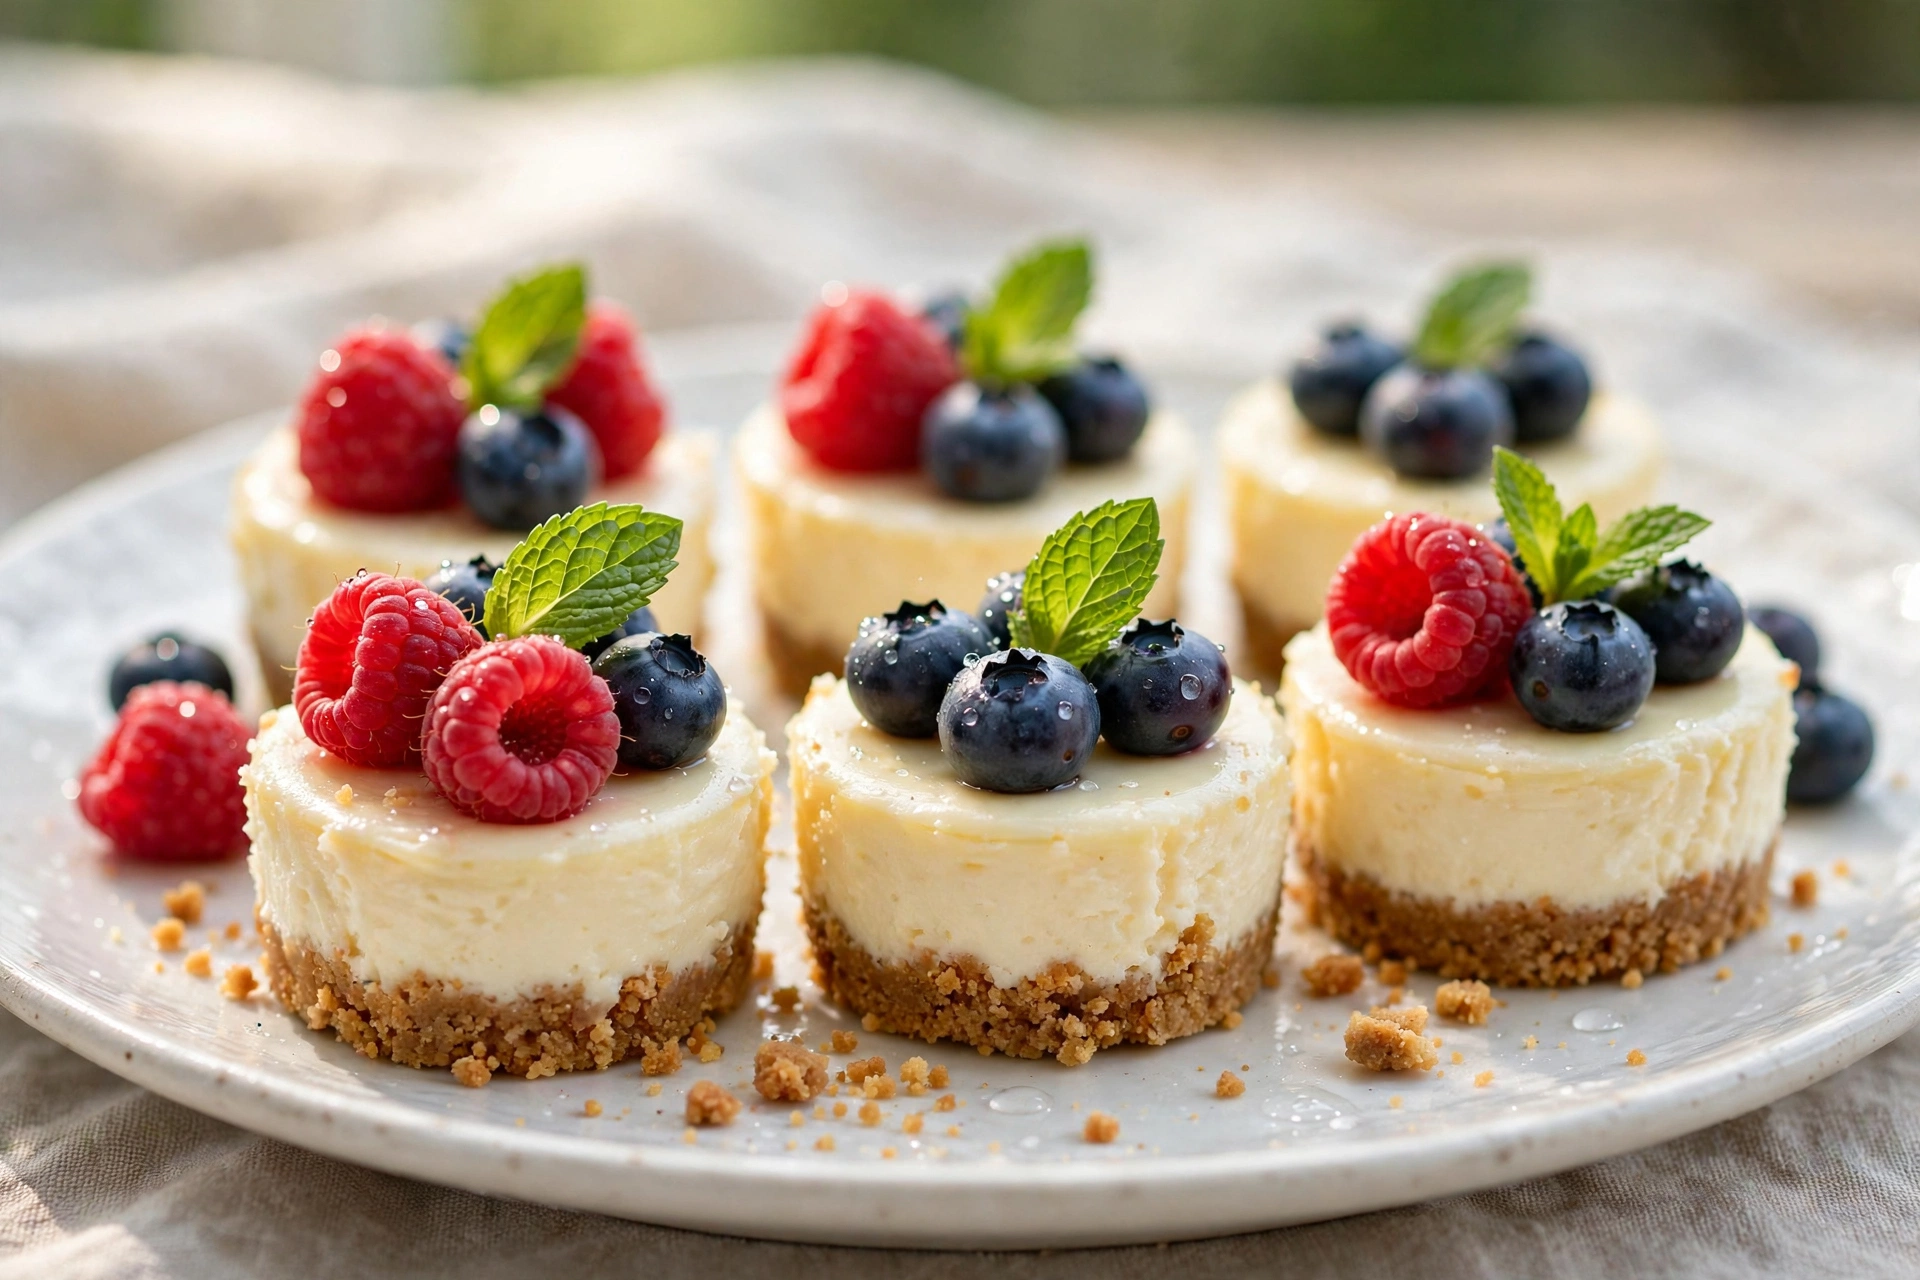
- Mini cheesecakes with berry topping
- Chocolate truffles rolled in cocoa
- Mini fruit tartlets with vanilla custard
- Chocolate mousse shooters
- Mini lemon bars with powdered sugar
- Brownie bites with sea salt
- Mini key lime pies
- Cake pops in fun colors
- Mini Pavlovas with whipped cream and fruit
- Cookie cups filled with Nutella or ganache
- Mini éclairs with chocolate glaze
- Rice crispy treat bites on sticks
- Mini apple pies (hand pies)
- Tiramisu cups
- Mini crème brûlée in ramekins
- Peanut butter buckeye balls
- Mini carrot cake bites with cream cheese frosting
- Strawberry shortcake shooters
- Mini cannoli with ricotta filling
- Chocolate-dipped strawberries
- Mini pecan pies
- No-bake cheesecake jars
- Mini s’mores bites
- Coconut macaroons dipped in chocolate
- Mini banana pudding cups
What Are the Best Pro Tips for Perfect Mini Desserts?
- The mini muffin tin is your best friend. It standardizes size, bakes everything faster, and makes unmolding easy. Line it or grease it well — mini desserts stick with enthusiasm.
- Underbake slightly. Small desserts go from perfect to dry in two minutes. Pull them when the centers still look a touch soft; carryover heat finishes the job.
- Chill before serving. Cheesecakes, truffles, mousse, and tartlets all taste better cold — flavors meld, textures set, and they hold their shape on a warm party table longer.
- Garnish at the last minute. Fresh berries, mint, and whipped cream go on within a few hours of serving, not the night before. Wilted garnish ruins an otherwise perfect bite.
- Use a small cookie scoop. A 1-tablespoon scoop gives you uniform truffles, uniform cheesecake filling, uniform everything. Uniformity is what makes a dessert table look professional.
- Taste at room temperature, serve chilled. Flavors read differently cold. If something tastes perfect warm from the oven, it may need a touch more salt or vanilla to shine when chilled.
- Make more than you think you need. Mini desserts evaporate. Guests take "just one more" because they are small. Always add a 20% buffer to your count.
What Are the Most Common Mistakes to Avoid?
1. Overbaking small desserts. This is the number one killer. Mini cheesecakes, brownie bites, and tartlet shells bake in 12–18 minutes, not 30. Set a timer, check early, and remember that small things carry less residual heat — but they also dry out fast.
2. Choosing too many complicated recipes. Five fussy recipes will break you. Pick one showpiece, two easy wins, and one no-bake option. Your future self, frosting mini éclairs at midnight, will thank your past self for the restraint.
3. Skipping the chill time. Cheesecake bites need at least 4 hours (overnight is better). Truffles need 2 hours to firm up. Mousse needs 4 hours minimum. Rushing the chill gives you soft, sloppy desserts that fall apart on the table.
4. Transporting assembled desserts. Drive with components separate and assemble on site: tartlet shells in one container, custard in a piping bag, fruit in another. Fifteen minutes of assembly at the venue beats a tray of smeared casualties.
5. Forgetting about temperature at outdoor parties. Chocolate melts, whipped cream weeps, and buttercream slides in summer heat. For outdoor events, lean on sturdy choices — truffles, lemon bars, brownie bites — and keep creamy items on ice until serving.
6. No labels or allergen info. Nothing kills the mood like a guest with a nut allergy interrogating every tray. Tent cards take minutes and show you thought of everyone. Mark nuts, gluten, dairy, and egg clearly.
What Are 5 Foolproof Mini Dessert Recipes for Parties?
These are the five workhorses — tested, party-proven, and make-ahead friendly. Each makes about 24 mini pieces.
1. Mini Cheesecakes with Berry Topping
The undisputed champion of mini dessert tables. Creamy, rich, endlessly garnish-able, and they look like you hired a caterer.
Ingredients:
- 1 1/2 cups graham cracker crumbs (about 10 crackers)
- 1/4 cup granulated sugar, plus 1/2 cup for filling
- 6 tablespoons melted butter
- 16 oz (450 g) cream cheese, room temperature
- 2 large eggs, room temperature
- 1 teaspoon vanilla extract
- 1/4 cup sour cream
- Fresh raspberries, blueberries, and mint, for topping
Method:
- Preheat oven to 165°C (325°F). Line a 24-cup mini muffin tin with paper liners.
- Mix graham crumbs, 1/4 cup sugar, and melted butter. Press 1 tablespoon firmly into each liner.
- Beat cream cheese and 1/2 cup sugar until completely smooth — no lumps. Add eggs one at a time, then vanilla and sour cream. Do not overbeat once eggs are in.
- Fill each liner nearly to the top. Tap the tin firmly on the counter to release air bubbles.
- Bake 14–16 minutes, until centers are just set with the faintest jiggle. Cool in the tin 30 minutes, then chill at least 4 hours or overnight.
- Top with fresh berries and a mint leaf just before serving.
2. Easy Chocolate Truffles
Three ingredients, zero baking, infinite elegance. These taste like a chocolate shop and take twenty minutes of actual work.
Ingredients:
- 8 oz (225 g) good dark or semi-sweet chocolate, finely chopped
- 1/2 cup heavy cream
- 2 tablespoons unsalted butter, room temperature
- Cocoa powder, crushed nuts, shredded coconut, or sprinkles, for rolling
- Pinch of fine sea salt
Method:
- Place chopped chocolate in a heatproof bowl. Heat cream until just simmering — small bubbles at the edges, not a rolling boil.
- Pour hot cream over chocolate. Wait 2 full minutes, then stir gently from the center outward until glossy and smooth. Stir in butter and salt.
- Refrigerate 2 hours until firm enough to scoop.
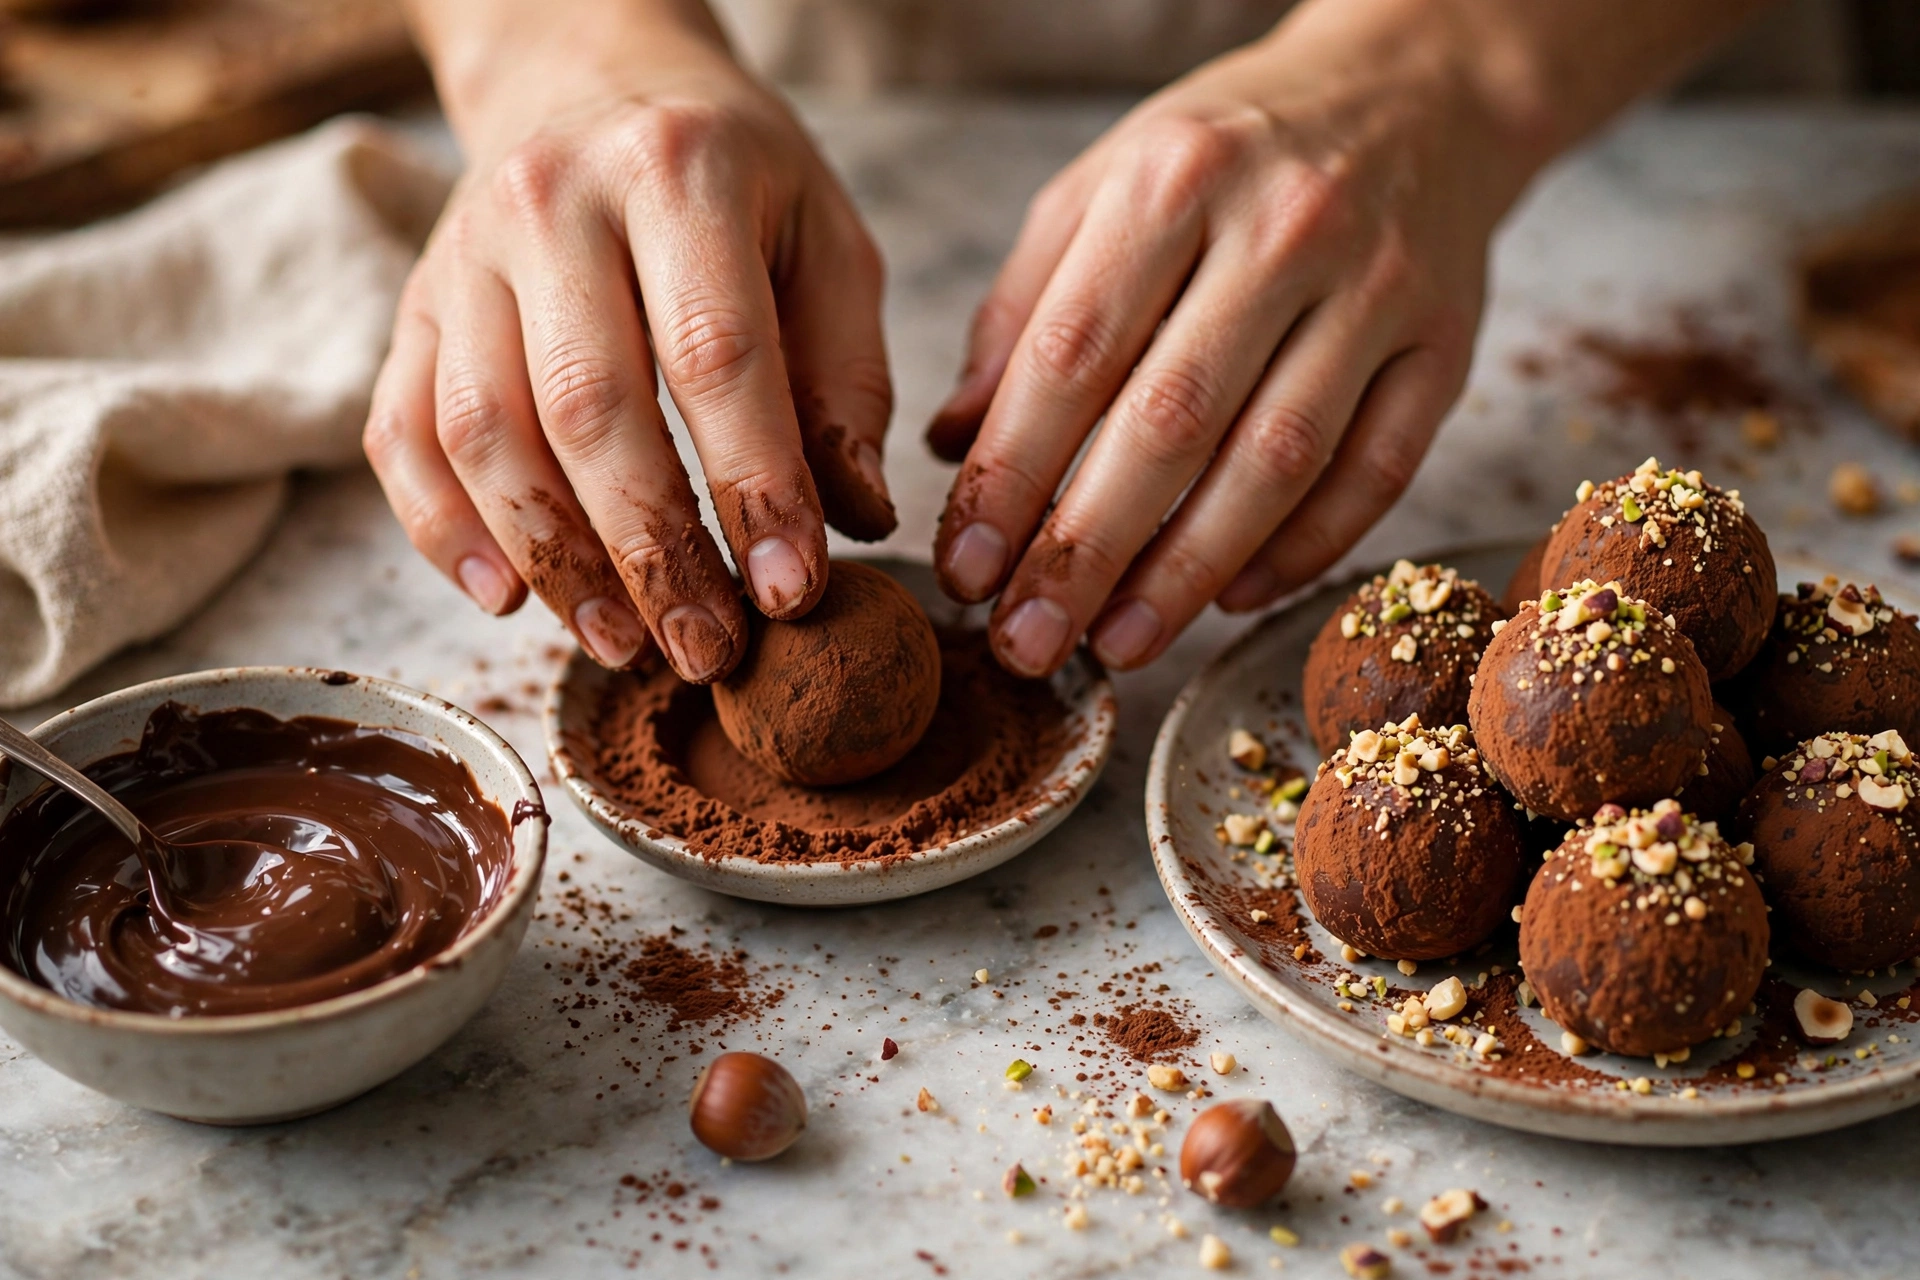
- Scoop tablespoon-size portions, roll quickly between cool palms into balls (warm hands melt them — work fast or chill your hands).
- Roll in cocoa, nuts, coconut, or sprinkles. Chill 30 more minutes to set. Store refrigerated up to 2 weeks — if they last that long.
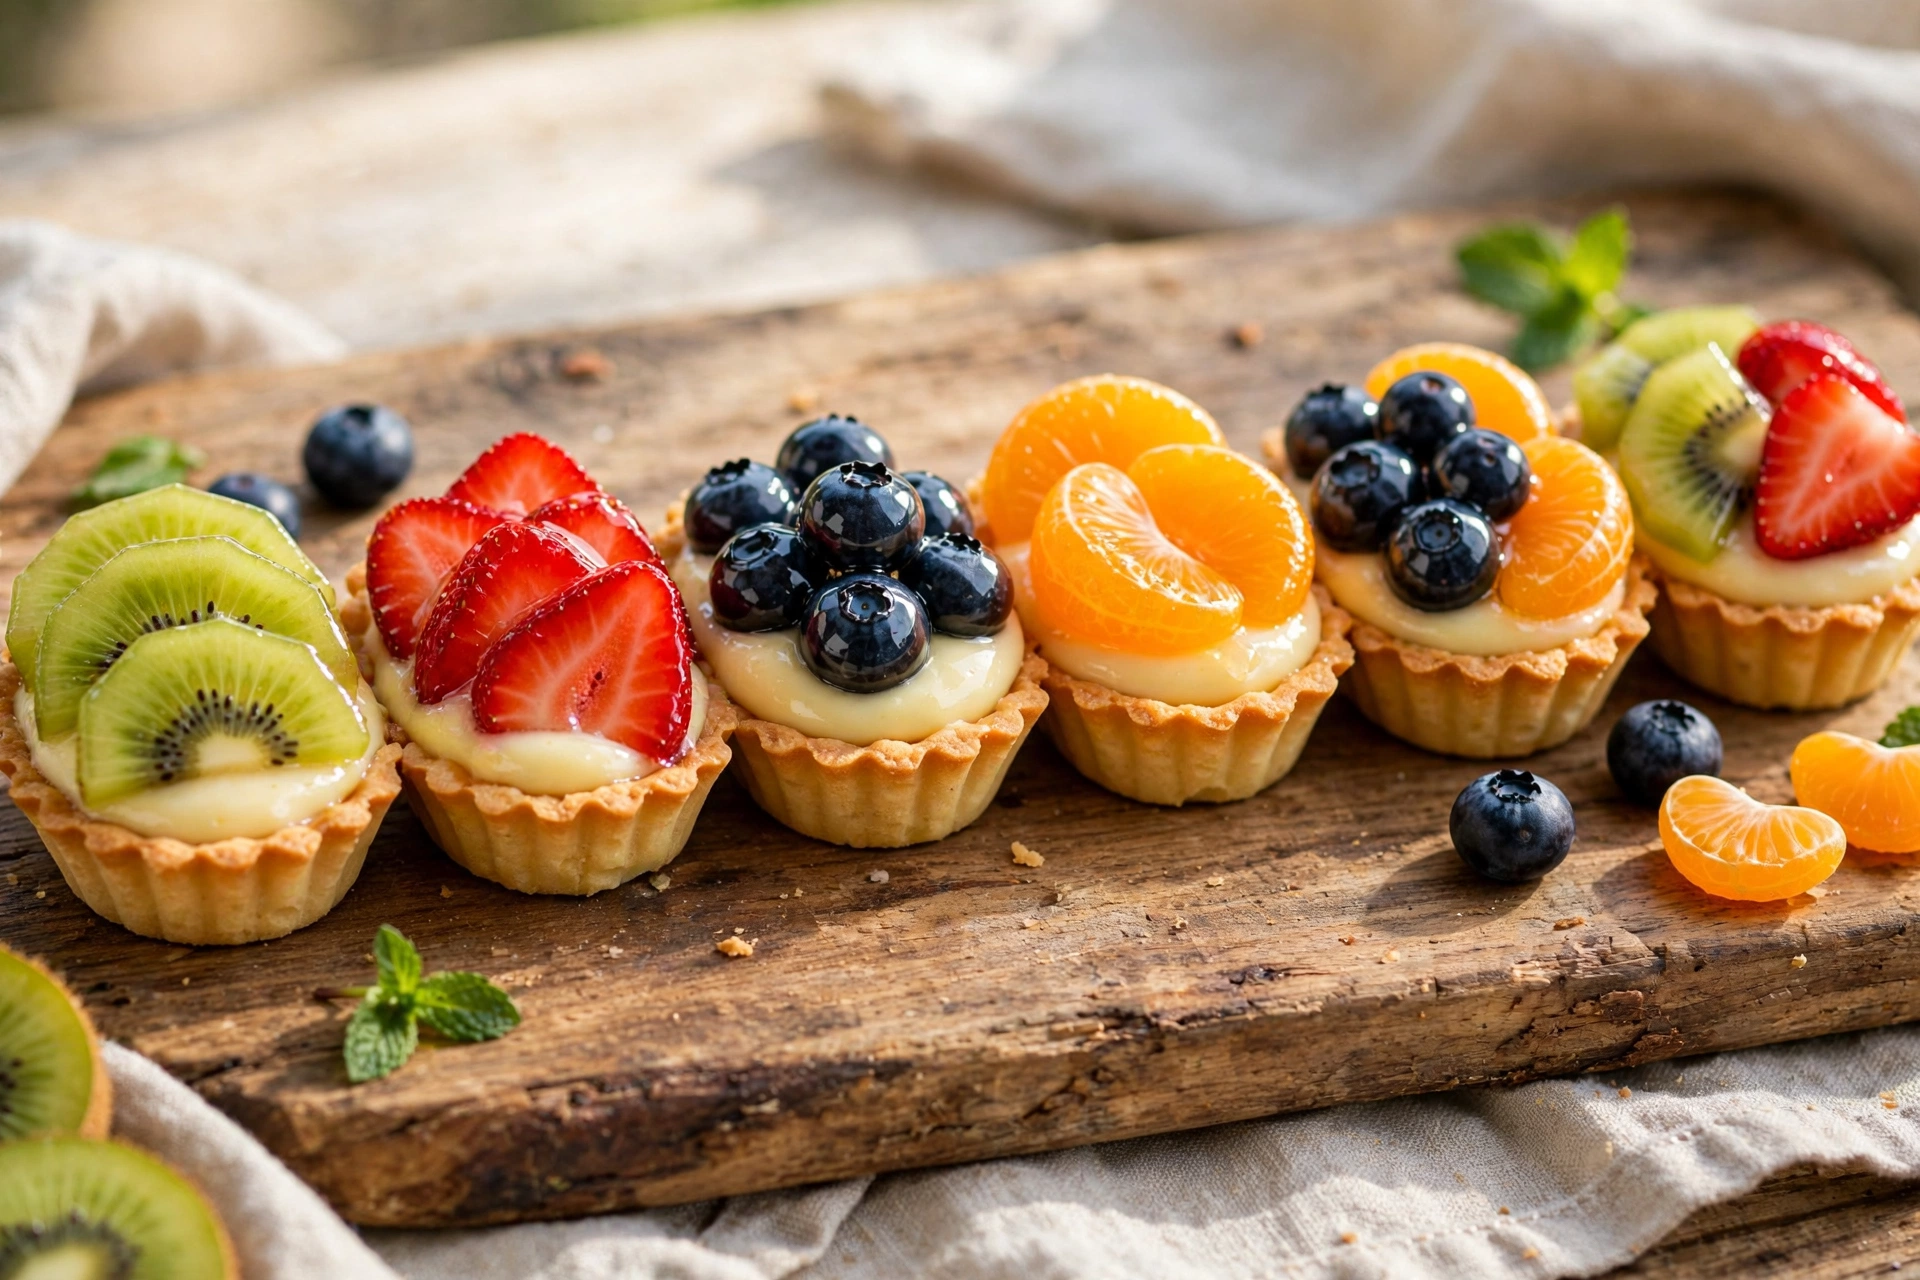
3. Mini Fruit Tartlets with Vanilla Custard
Crisp golden shells, silky custard, jewel-like fruit — these are the prettiest thing on any dessert table and easier than they look.
Ingredients:
- 1 package (about 400 g) refrigerated pie dough or sweet shortcrust pastry
- 1 cup whole milk
- 3 egg yolks
- 1/3 cup granulated sugar
- 2 tablespoons cornstarch
- 1 teaspoon vanilla extract
- 1 tablespoon butter
- Assorted fresh fruit: kiwi, strawberries, blueberries, mandarin segments
- 2 tablespoons apricot jam warmed with 1 teaspoon water, for glaze
Method:
- Preheat oven to 190°C (375°F). Cut pastry into rounds and press into a greased mini muffin tin. Prick bottoms with a fork.
- Bake 10–12 minutes until golden. Cool completely in the tin, then unmold carefully.
- For custard: whisk yolks, sugar, and cornstarch. Heat milk until steaming, then whisk into yolks. Return to the pan and cook, whisking constantly, until thick — about 3 minutes. Off heat, stir in vanilla and butter. Press plastic wrap directly on the surface and chill 2 hours.
- Pipe or spoon custard into cooled shells. Arrange fruit on top in pretty patterns.
- Brush fruit lightly with warm apricot glaze for shine. Chill until serving, up to 8 hours.
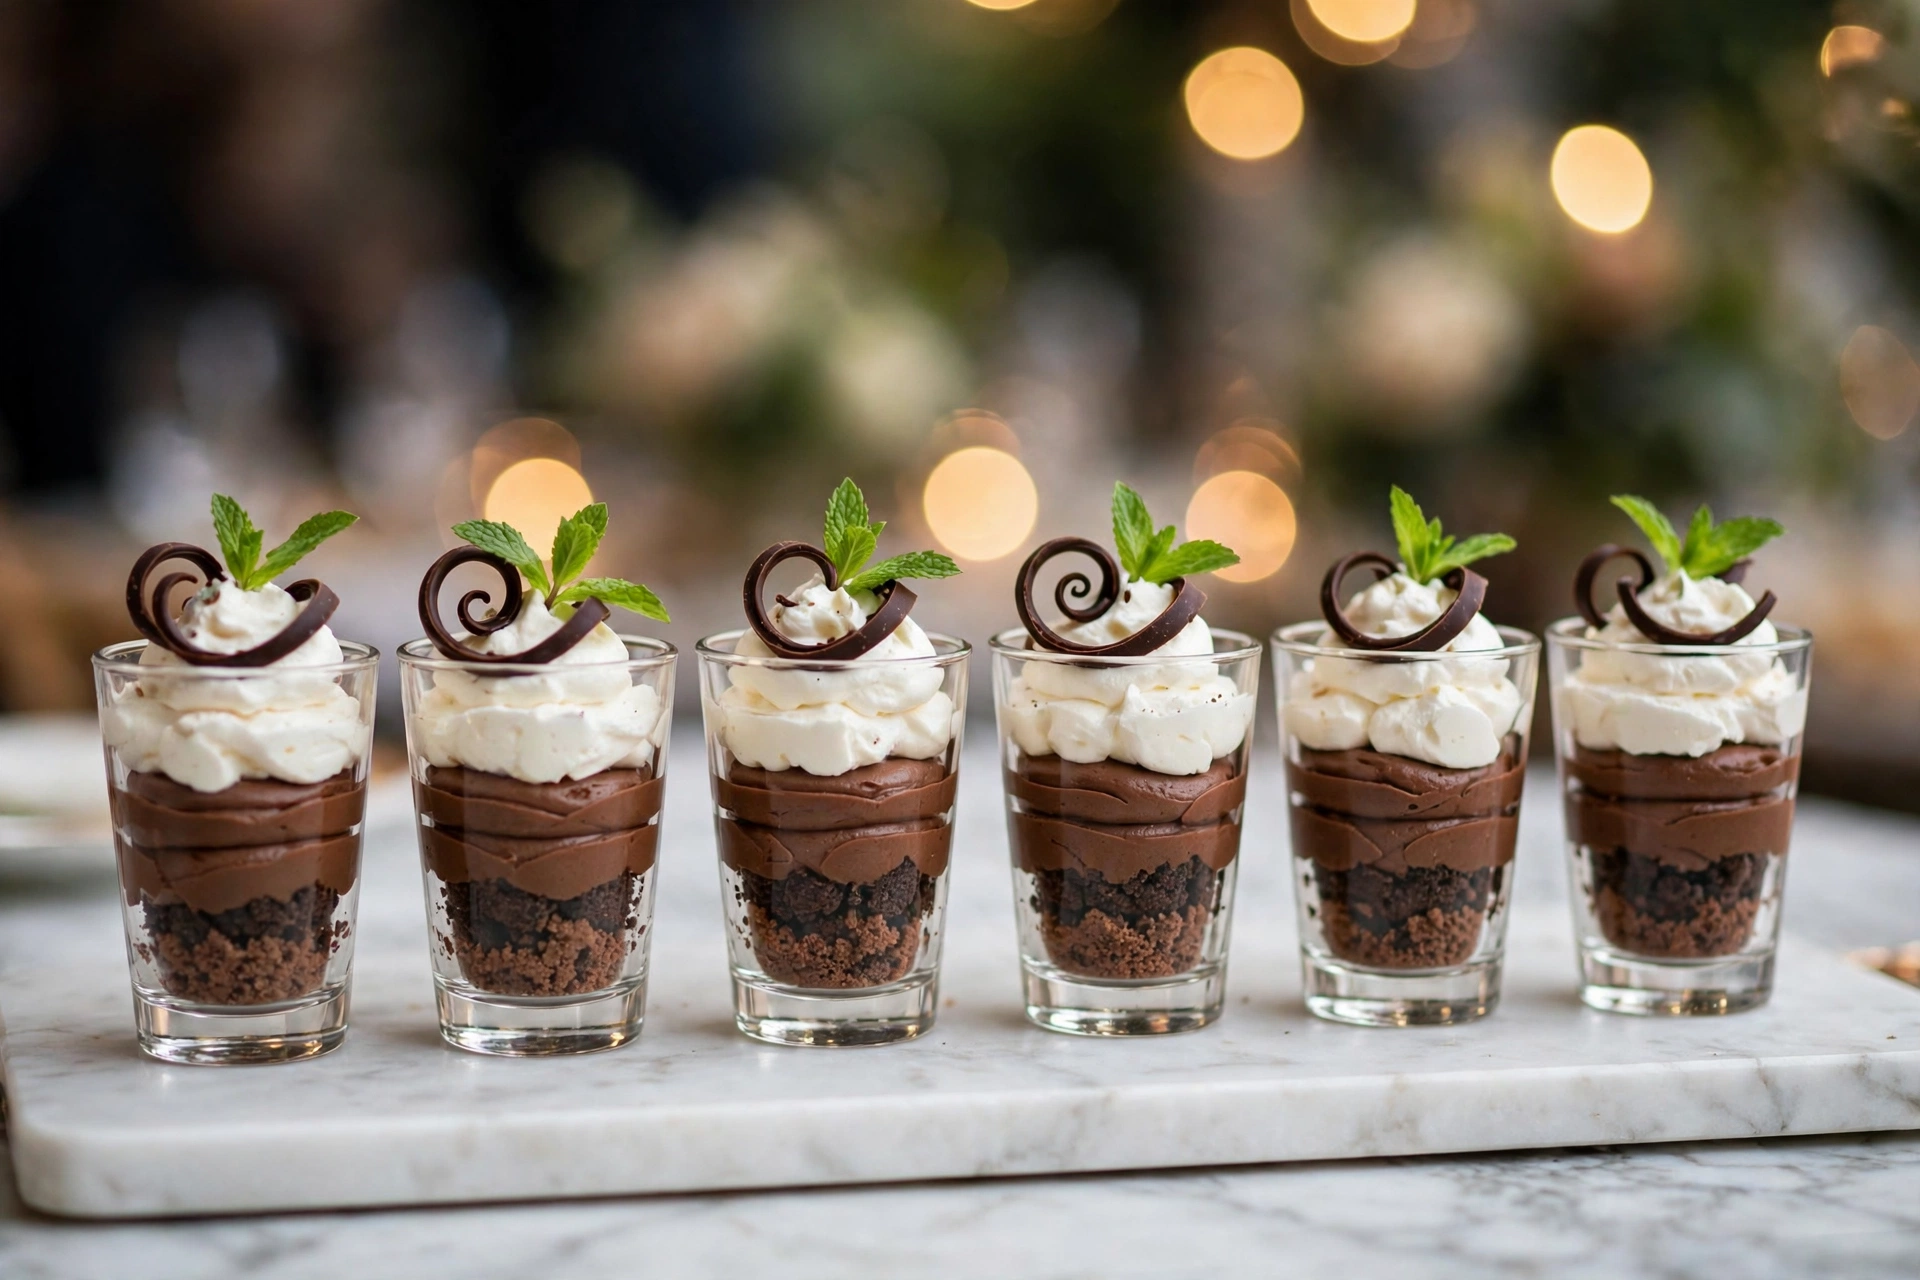
4. Chocolate Mousse Shooters
No-bake, make-ahead, and served in little cups that guests can grab with one hand. The chocolate curl on top does all the visual heavy lifting.
Ingredients:
- 6 oz (170 g) dark chocolate, chopped
- 1 1/2 cups heavy cream, divided
- 2 tablespoons powdered sugar
- 1 teaspoon vanilla extract
- Crushed chocolate cookies, for layering
- Chocolate curls and mint, for garnish
Method:
- Melt chocolate with 1/2 cup cream in a heatproof bowl over simmering water. Stir until smooth. Cool to lukewarm — warm to the touch but not hot.
- Whip remaining 1 cup cream with powdered sugar and vanilla to soft peaks.
- Fold one-third of the whipped cream into the chocolate to lighten it, then fold in the rest gently. Do not stir — fold, to keep the air.
- Spoon a layer of crushed cookies into the bottom of 12–16 small shooter cups. Pipe or spoon mousse on top.
- Chill at least 4 hours or overnight. Garnish with a chocolate curl and mint just before serving.
5. Mini Lemon Bars with Powdered Sugar
Bright, tangy, and sturdy — these survive outdoor parties, travel well, and cut through a table full of chocolate beautifully.
Ingredients:
- 1 cup all-purpose flour
- 1/4 cup powdered sugar, plus more for dusting
- 1/2 cup cold butter, cubed
- 2 large eggs
- 3/4 cup granulated sugar
- 1/3 cup fresh lemon juice (about 2–3 lemons)
- 1 tablespoon lemon zest
- 2 tablespoons all-purpose flour (for filling)
- Pinch of salt
Method:
- Preheat oven to 175°C (350°F). Line an 8×8-inch pan with parchment, leaving overhang.
- Rub flour, 1/4 cup powdered sugar, and cold butter together until crumbly. Press firmly and evenly into the pan.
- Bake crust 15 minutes until lightly golden.
- Whisk eggs, granulated sugar, lemon juice, zest, 2 tablespoons flour, and salt until smooth. Pour over hot crust.
- Bake 18–20 minutes until the center is just set. Cool completely, then chill 2 hours.
- Lift out with parchment, dust generously with powdered sugar, and cut into 24 mini squares (6×4 grid).
How Do You Store Mini Desserts and Keep Them Fresh?
Storage rules vary by dessert, but the golden rule is: chill creamy things, seal everything airtight, and garnish late.
Refrigerator: Mini cheesecakes keep 4–5 days refrigerated in an airtight container (add berry topping the day of serving). Truffles last up to 2 weeks chilled. Mousse shooters hold 3 days. Assembled fruit tartlets are best within 24 hours — the shells soften over time, so store shells and custard separately if you need more than a day. Lemon bars keep 4–5 days refrigerated.
Freezer: Mini cheesecakes (ungarnished) freeze beautifully for up to 2 months — thaw overnight in the fridge. Truffles freeze for 3 months. Brownie bites and cookie cups freeze for 3 months. Do not freeze mousse shooters, Pavlovas, or assembled tartlets; textures suffer badly.
Make-ahead timeline for a Saturday party: Thursday — bake brownie bites, lemon bars; make truffle ganache. Friday — bake and chill cheesecakes, make mousse, bake tartlet shells, make custard. Saturday morning — assemble tartlets, garnish everything, arrange the table. This schedule means you never spend more than an hour or two on any single day.
Reheating: Most mini desserts are served chilled or at room temperature — no reheating needed. If you want warm brownie bites, 5 minutes at 175°C (350°F) revives them. Serve cheesecakes and truffles slightly cool; take them out of the fridge 15–20 minutes before guests arrive so flavors open up.
What Should You Serve Alongside Mini Desserts?
Mini desserts love company. A coffee and tea station is the classic partner — espresso, in particular, makes chocolate desserts taste more chocolatey. For evening parties, a small selection of dessert wines, prosecco, or a signature cocktail rounds out the table. Fresh fruit platters add color and give guests a lighter option between rich bites. If kids are coming, add a pitcher of milk or hot chocolate. And do not underestimate the power of salty contrast: a small bowl of salted nuts or pretzels near the dessert table makes the sweets taste sweeter and keeps guests grazing happily.
Frequently Asked Questions
How many mini desserts do I need per person?
Plan 3–4 pieces per guest for dessert after a full meal, or 5–6 per guest if desserts are the main event. Always add a 20% buffer — mini desserts disappear faster than you expect because guests keep grabbing "just one more."
Can I make mini desserts ahead of time?
Absolutely — most are designed for it. Truffles (2 weeks), mini cheesecakes (4–5 days), lemon bars (4–5 days), and mousse (3 days) all hold beautifully refrigerated. Assemble fruit tartlets and add fresh garnishes the day of serving for the best texture and appearance.
What is the easiest mini dessert for beginners?
Chocolate truffles, by a mile. Three ingredients, no baking, no special equipment beyond a bowl and a spoon. Chocolate-dipped strawberries are a close second. Both look impressive with almost zero skill required.
How do I transport mini desserts to a party?
Use rigid containers with layers separated by parchment — never stack garnished desserts. Transport tartlet shells, custard, and fruit separately and assemble on site. Keep everything chilled with ice packs, and bring extra garnishes for touch-ups.
Can I make mini desserts without a mini muffin tin?
You can improvise: use a regular muffin tin for larger "mini" portions, silicone candy molds for truffles and chocolates, or small ramekins and shot glasses for anything spoonable like mousse and tiramisu. But a mini muffin tin is inexpensive and transforms the process — worth buying if you host often.
How do I keep mini desserts from melting at an outdoor party?
Choose sturdy options: truffles, lemon bars, brownie bites, and cookie cups hold up far better than mousse or whipped-cream desserts. Keep the table in shade, set trays on ice or chilled baking sheets, and put out creamy items in small batches, refilling from a cooler.
What are good gluten-free mini dessert ideas?
Flourless chocolate truffles, coconut macaroons, Pavlova bites, chocolate mousse shooters (skip the cookie layer or use GF cookies), and fresh-fruit tartlets in almond-flour shells all work beautifully. Always prepare GF items first with clean tools to avoid cross-contamination.
How far in advance can I set up the dessert table?
Set up stands, linens, and labels an hour or two early, but put the desserts out no more than 30–60 minutes before serving — especially anything creamy or chocolate in warm weather. Refill from backup trays kept in the fridge rather than loading everything at once.
What mini desserts are best for kids’ parties?
Cake pops, rice crispy bites, mini brownies, cookie cups, and chocolate-dipped strawberries are kid magnets — sturdy, not too messy, and fun to eat. Skip anything with coffee, alcohol, or strong flavors, and keep choking hazards (whole nuts) in mind for very young children.
Final Thoughts
A great mini dessert table is not about baking like a professional — it is about thinking like a host. Pick a few recipes you genuinely enjoy making, lean hard on make-ahead winners like truffles and mini cheesecakes, and let variety do the impressing for you. Your guests will remember the table where they got to taste five different little things, not the one with a single perfect cake. Start with the five recipes above, add a couple of ideas from the master list, and watch your next party’s dessert table empty itself. That is the whole secret: small desserts, big impact.
For the savory side of your party table, our decorated focaccia bread makes a stunning edible centerpiece. Another bite-size favorite: our mini tres leches cakes — creamy, individual milk cakes your guests will love.