
Roasted Pumpkin Seeds Recipe
Why Is This the Best Roasted Pumpkin Seeds Recipe You'll Ever Try?
Every October, the same thing happens in my kitchen. I carve a pumpkin, stare at the slimy pile of seeds in the bowl, and think about throwing them away. Then I remember what waits on the other side: a tray of golden, crackling, salty roasted pumpkin seeds that never survive the night. This roasted pumpkin seeds recipe is the one I come back to year after year, and it earns its place for one simple reason — it treats the seeds right.
Most recipes rush the process. They tell you to rinse the seeds for two seconds, toss them with oil, and blast them in a hot oven. What you get is seeds that are chewy in the middle, burnt on the edges, and bland all over. This method does the opposite. It starts with a real cleaning — not a half-hearted rinse — so every seed roasts instead of steams. It uses a quick boil in salted water, a trick that seasons the seeds from the inside out and guarantees that shattering crunch. And it roasts low and slow enough that the centers turn toasty all the way through.
The result is a snack that hits every note: salty, nutty, buttery, and deeply crunchy, with shells that crack cleanly between your teeth instead of getting stuck in them. Kids grab them by the handful. Adults hover around the bowl pretending they're "just tasting." I've watched a full sheet pan disappear before it finished cooling, more than once.
What makes this version the best isn't a secret ingredient — it's attention to the small steps everyone else skips. Dry the seeds completely. Don't crowd the pan. Season twice. Pull them at exactly the right color. Do those four things, and you'll understand why homemade roasted pumpkin seeds taste nothing like the stale bagged kind from the store. They taste like fall itself, warm from the oven and gone too soon.
What Are Roasted Pumpkin Seeds and Why Are They So Popular?
Roasted pumpkin seeds are exactly what they sound like: the flat, oval seeds scooped from inside a pumpkin, cleaned, seasoned, and roasted in the oven until crisp. You eat them shell and all — the thin outer hull turns papery and crunchy in the heat, while the green kernel inside (the pepita) becomes rich and nutty. No shelling required, which is half the appeal.
Their popularity comes from a perfect storm of timing, nutrition, and pure snackability. Every fall, millions of pumpkins get carved for Halloween and cooked for pies, and the seeds are right there — free, abundant, and begging not to be wasted. Turning would-be trash into a delicious snack feels like a small victory, and people love that.
Then there's the nutrition angle. Pumpkin seeds pack protein, fiber, magnesium, zinc, and healthy fats into every handful. They're naturally gluten-free and plant-based, which makes them an easy fit for almost any diet. Parents love handing them to kids as an after-school snack. Fitness folks toss them into gym bags. They're the rare snack that feels indulgent but actually fuels you.
But let's be honest — the real reason they're popular is simpler. They're addictive. That combination of salt, crunch, and toasted nuttiness triggers the same "just one more" reflex as potato chips, except these come from a real pumpkin you held in your hands. Once you've had a truly good batch — hot, crackling, seasoned all the way through — the store-bought kind tastes like cardboard by comparison. That's why this roasted pumpkin seeds recipe matters: it closes the gap between the seeds you have and the snack you actually crave.
What Ingredients Do You Need?
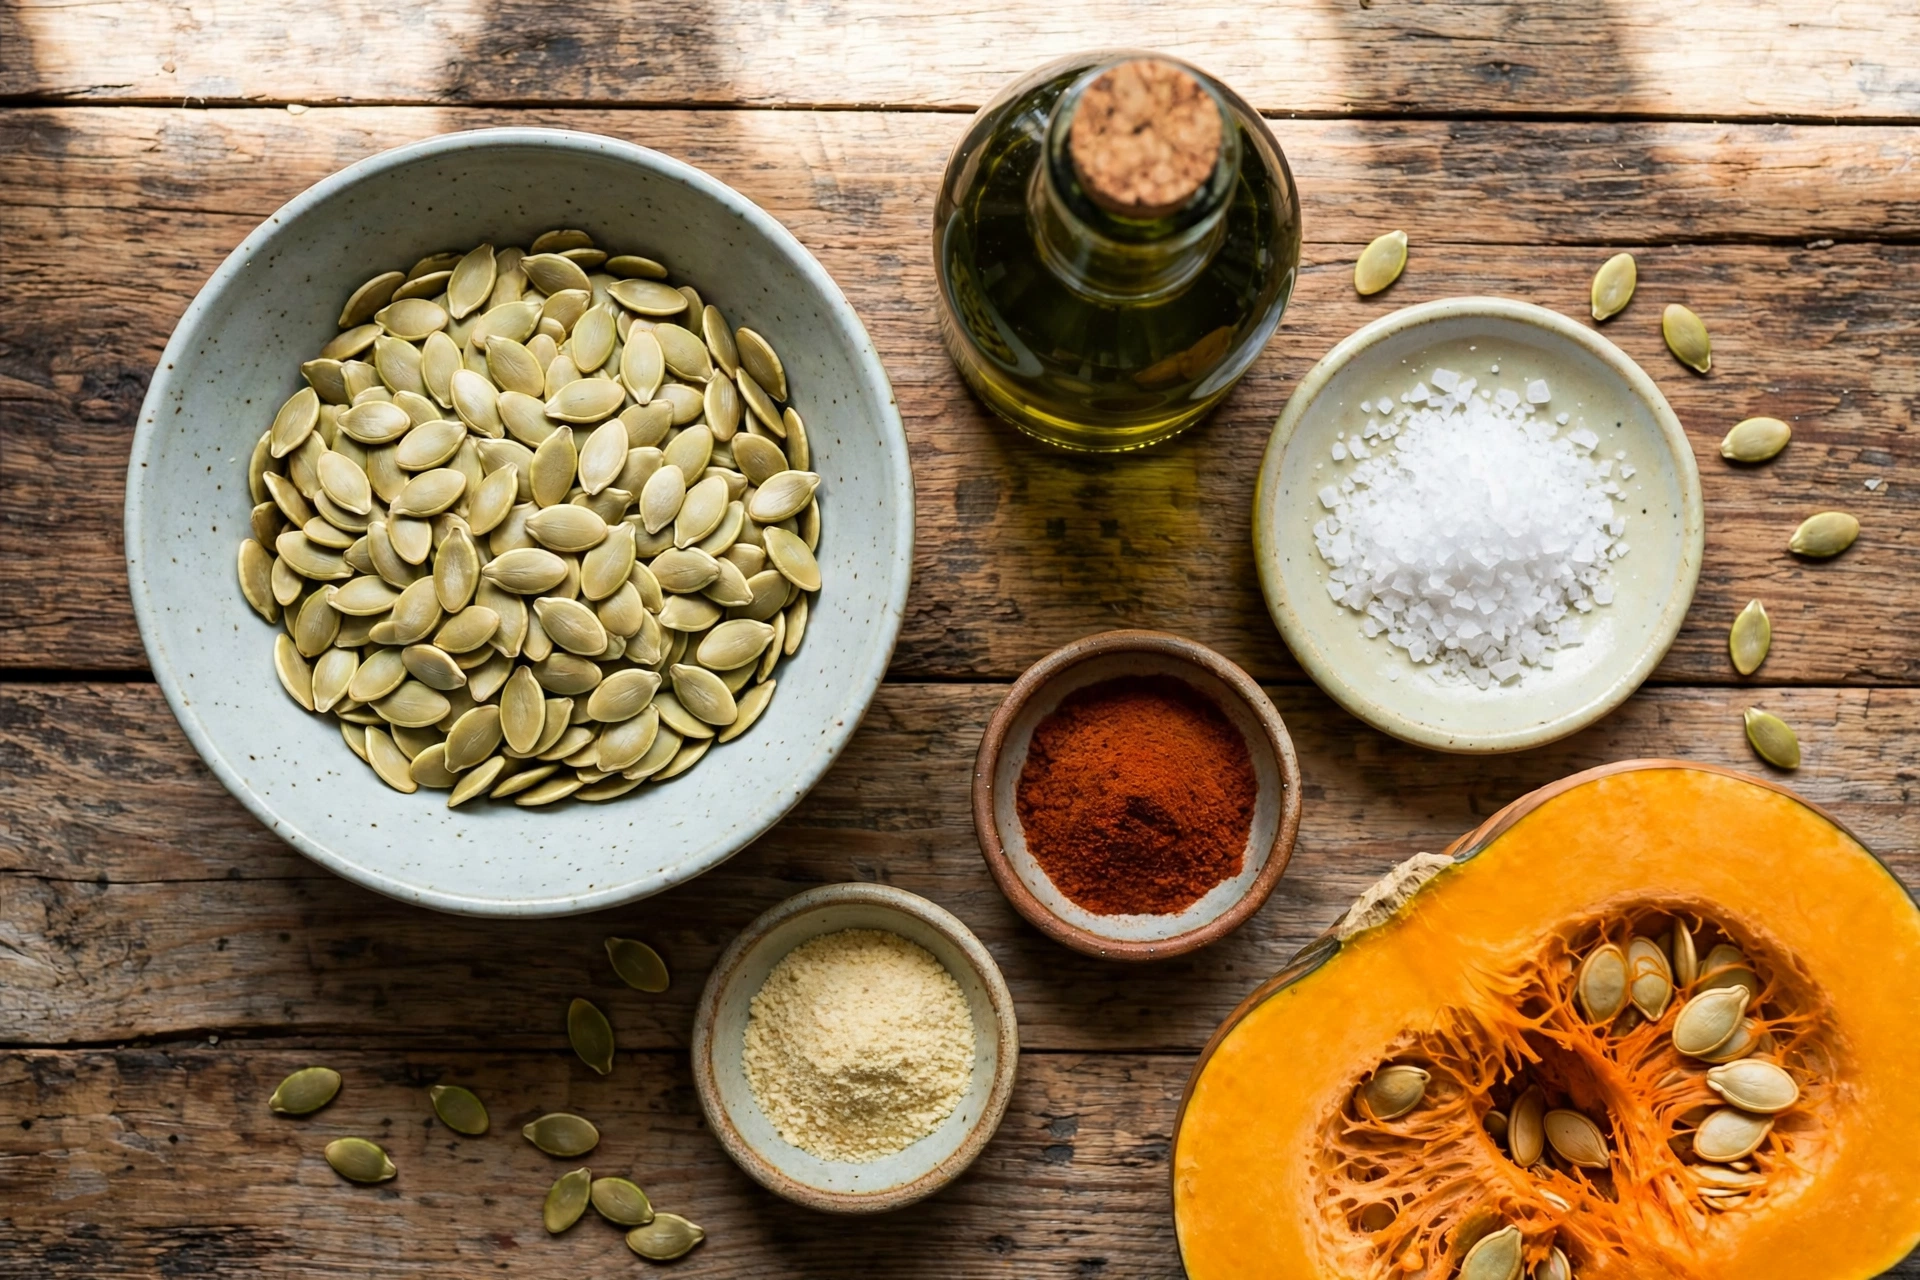
One of the best things about this roasted pumpkin seeds recipe is how little it asks of you. You probably have everything already. Here's the full list with exact quantities:
- 1 ½ cups raw pumpkin seeds (from about 1 medium carving pumpkin or 2 small pie pumpkins; hulls on)
- 4 cups water (for the salted boil)
- 2 tablespoons fine sea salt, divided (1 tablespoon for the boiling water, 1 tablespoon for seasoning after roasting — adjust to taste)
- 1 tablespoon olive oil (or melted butter for a richer flavor; avocado oil works too)
- ½ teaspoon garlic powder (optional, but highly recommended)
- ½ teaspoon smoked paprika (optional; adds warmth and color)
- ¼ teaspoon freshly ground black pepper (optional)
That's the base. The seeds themselves are the star, so start with good ones: plump, cream-colored seeds with no dark spots or moldy smell. If you're scooping them fresh from a pumpkin, you'll get about 1 to 1 ½ cups per medium pumpkin — perfect for one batch. Buying raw seeds in bulk works too; just make sure they're unsalted and unroasted so you control the flavor from scratch.
A note on the salt: the boil uses a generous amount because most of it stays in the water. What matters is that the seeds absorb seasoning into the hull while they simmer. The second hit of salt goes on after roasting, while the seeds are still hot and glistening with oil, so it sticks. This two-stage salting is the backbone of the whole recipe — skip it and the seeds taste flat; do it and every bite pops.
The oil deserves a thought too. Olive oil gives a clean, savory finish. Melted butter makes the seeds taste richer and helps spices cling. Avocado oil is the most neutral if you want the pumpkin flavor front and center. Use what you have — just don't skip the fat entirely, because dry seeds roast unevenly and seasonings slide right off.
What Equipment Do You Need?
Nothing fancy. If you can roast vegetables, you already own everything:
- Large rimmed baking sheet (a half-sheet pan is ideal; the rim keeps seeds from sliding off)
- Parchment paper or a silicone baking mat (prevents sticking and makes cleanup easy)
- Large pot (for the salted boil — a 3-quart pot or bigger)
- Colander (for draining and rinsing the seeds)
- Clean kitchen towel or paper towels (for drying — this step matters more than you think)
- Large mixing bowl (for tossing seeds with oil and seasonings)
- Slotted spoon or spider strainer (for lifting seeds out of the boiling water)
- Spatula (for stirring the seeds halfway through roasting)
That's it. No food processor, no thermometer, no special gear. The most important "equipment" here is patience during the drying step — a thorough towel-dry is what separates crunchy seeds from chewy ones.
How Do You Make Roasted Pumpkin Seeds Step by Step?
Follow these steps exactly and you'll get shatteringly crisp seeds every time. The whole process takes about 25 minutes of roasting plus 15 minutes of prep — most of it hands-off.
- Step 1: Scoop and separate the seeds. Cut open your pumpkin and scoop the guts into a large bowl. Pull the seeds away from the stringy pulp with your fingers. Don't obsess over getting every fiber off right now — the rinse handles the rest. You'll end up with a slippery, tangled mass, and that's completely normal.
- Step 2: Rinse them really well. Dump the seeds into a colander and rinse under cold running water, rubbing them between your hands. The goal is to wash away the slimy coating and as much pulp as possible. Swish, rub, rinse, repeat. When the seeds squeak slightly between your fingers and the water runs clear, you're done. Pick out any stubborn bits of orange flesh — those burn in the oven and taste bitter.
- Step 3: Boil in salted water. Bring 4 cups of water to a rolling boil in your large pot. Stir in 1 tablespoon of fine sea salt, then add the rinsed seeds. Reduce the heat to a steady simmer and cook for 10 minutes. This is the step most recipes skip, and it's the one that changes everything: the simmer seasons the seeds through the hull and starts breaking down the fibers so they roast up crisp instead of leathery. You'll notice the seeds plump slightly and turn a deeper cream color.
- Step 4: Drain and dry completely. Pour the seeds into the colander and shake off as much water as you can. Then spread them in a single layer on a clean kitchen towel, fold the towel over, and rub gently to wick away moisture. Let them air-dry for at least 10 minutes — 20 is better. This is the most important 10 minutes of the recipe. Any surface moisture turns to steam in the oven, and steam is the enemy of crunch. The seeds should feel dry to the touch before they go anywhere near oil.
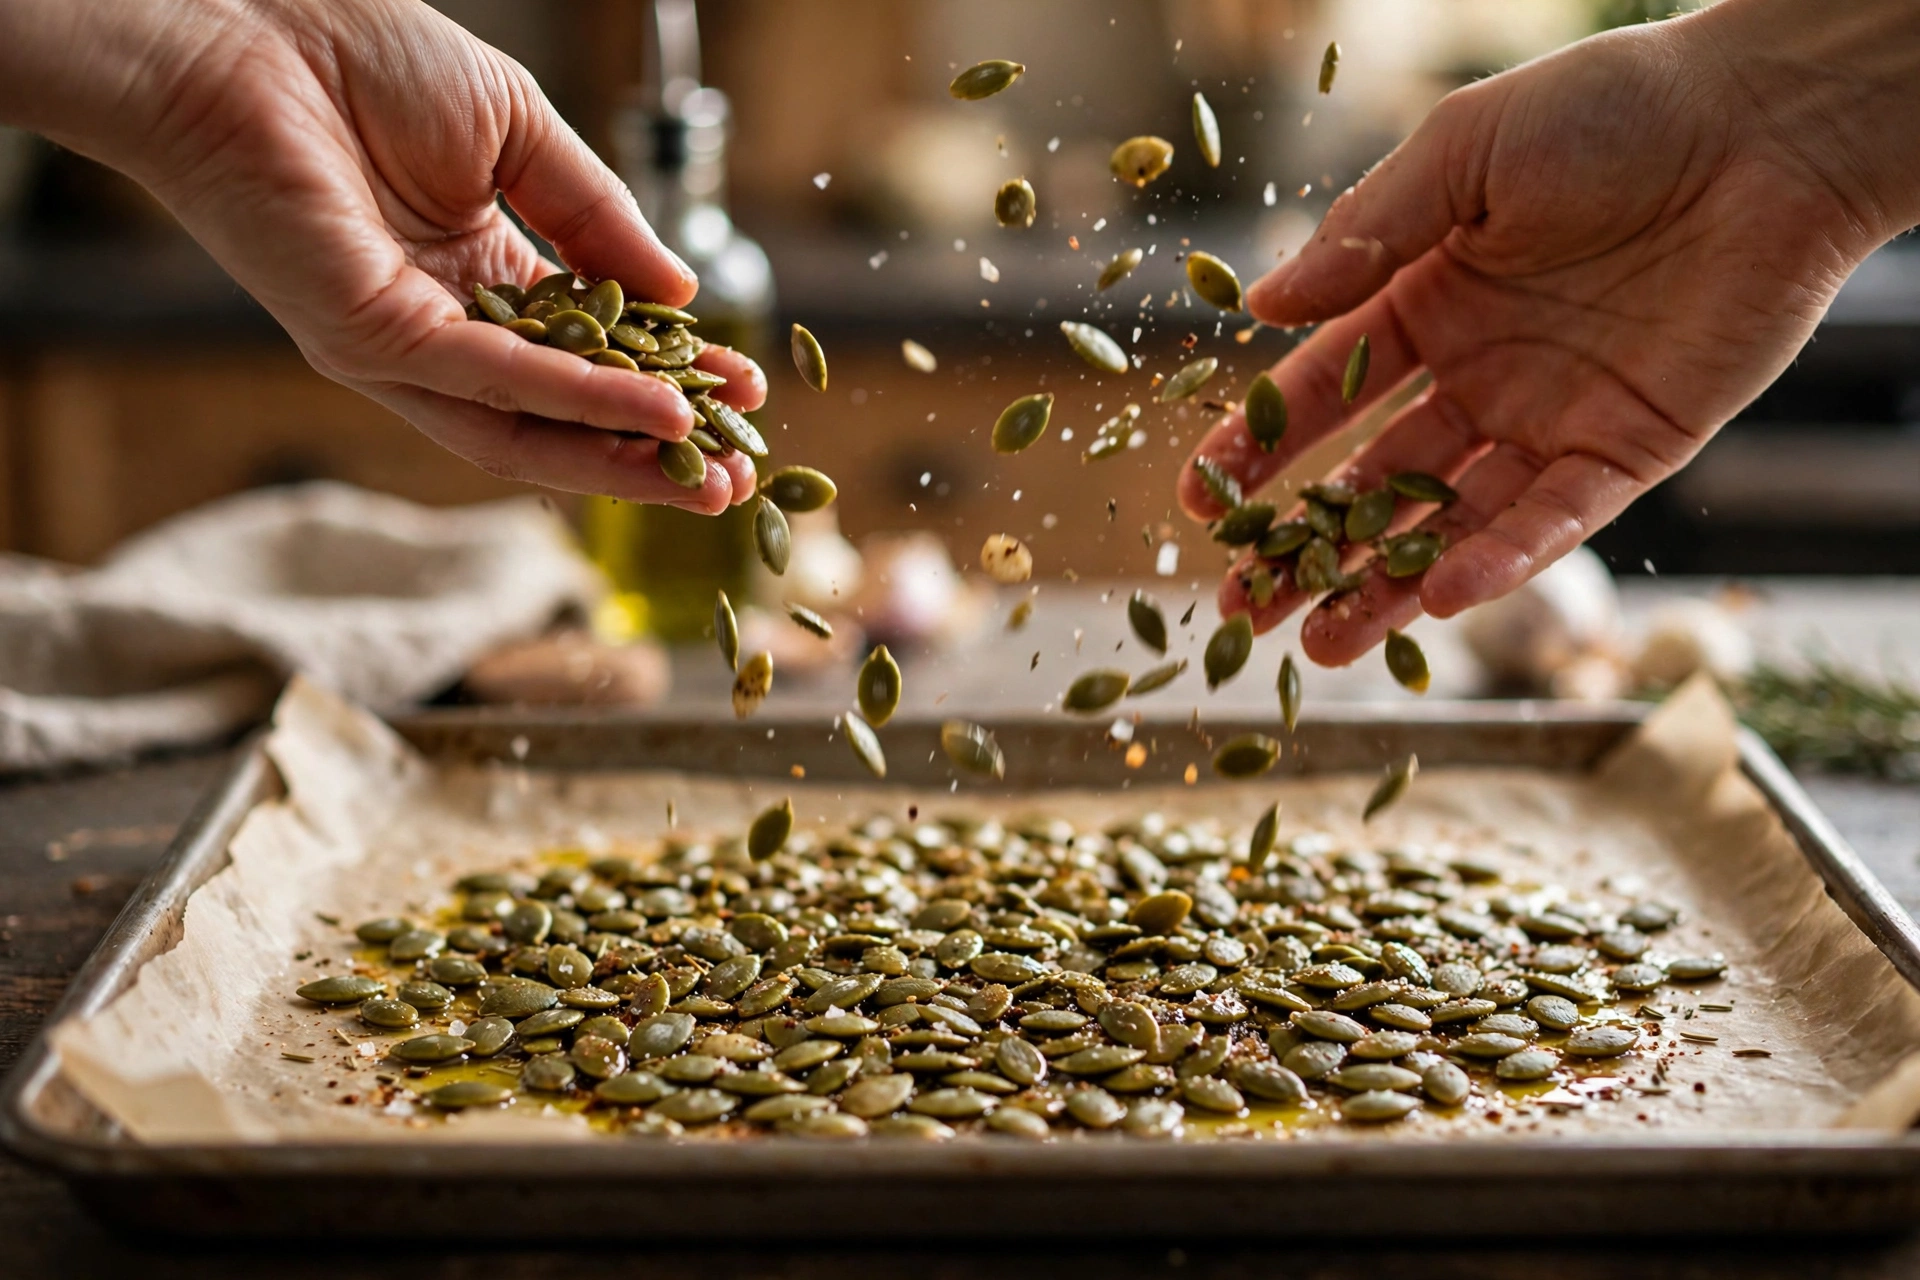
- Step 5: Toss with oil and seasonings. Preheat your oven to 325°F (165°C) and line your baking sheet with parchment. Tip the dry seeds into a large mixing bowl. Drizzle over 1 tablespoon of olive oil (or melted butter) and toss with your hands until every seed glistens. Sprinkle on the garlic powder, smoked paprika, and black pepper if using, and toss again until the coating looks even. Don't salt yet — that comes after roasting.
- Step 6: Spread in a single layer. Pour the seeds onto the prepared baking sheet and spread them into one even layer with no overlapping. Crowded seeds steam each other; spaced seeds roast. If your batch doesn't fit comfortably, use two pans rather than piling them up. Give the pan a gentle shake to settle everything flat.
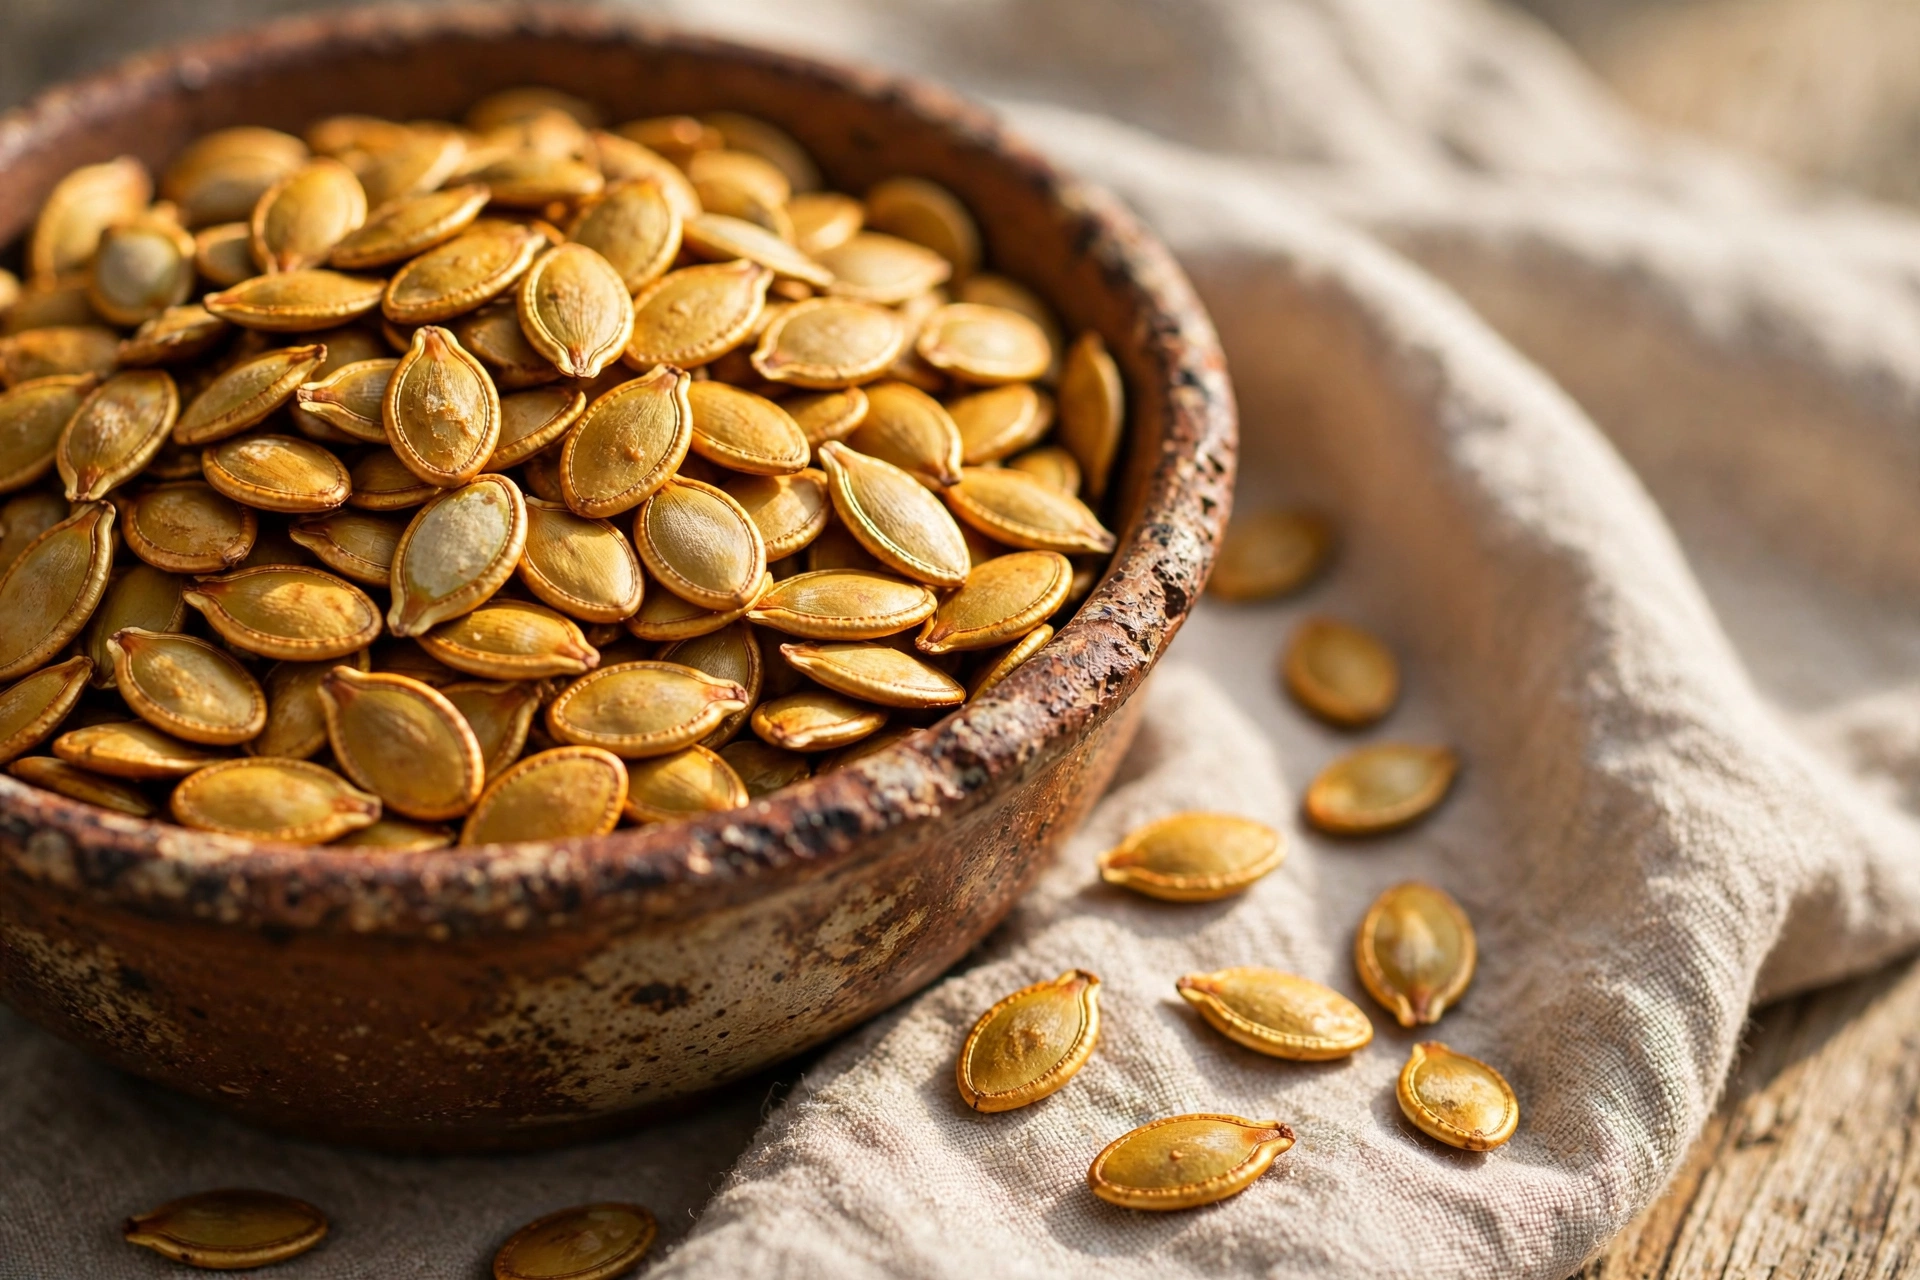
- Step 7: Roast low and slow, stirring once. Slide the pan into the oven and roast for 20 to 25 minutes, pulling the pan out halfway to stir and redistribute the seeds. You're looking for a deep golden-brown color and a nutty, popcorn-like smell filling the kitchen. Start checking at 18 minutes — seeds go from perfect to scorched fast in the last few minutes. They'll feel slightly soft when hot but crisp up as they cool, so pull them when the color looks right, not when they feel rock-hard.
- Step 8: Salt while hot and cool completely. The second the pan comes out, sprinkle the remaining salt evenly over the hot seeds and toss them right on the pan. The residual oil grabs the salt and locks it on. Then — and this is hard — let them cool on the pan for at least 10 minutes before eating. Cooling finishes the crisping. Taste one after 10 minutes: it should crack cleanly with a toasty, nutty center. If it's still a little chewy, give them 3 to 5 more minutes in the oven.
What Are the Pro Tips for Perfectly Crunchy Roasted Pumpkin Seeds?
After roasting more batches than I can count, these are the tips that separate good seeds from unforgettable ones.
Dry twice, roast once. I mentioned drying, but it bears repeating: towel-dry, then air-dry. Some years I spread the seeds on the towel and point a small fan at them for 15 minutes. It sounds fussy. The crunch is worth it.
Boil, don't skip. The salted simmer is my non-negotiable. It seasons the hull from the inside, which surface salt alone can never do. Ten minutes is the sweet spot — longer makes the seeds waterlogged; shorter doesn't season through.
Roast at 325°F, not 400°F. High heat browns the outside before the inside crisps, leaving you with burnt shells and chewy centers. Lower heat roasts the seed all the way through. It takes a few minutes longer. Every minute pays off.
Season in layers. Oil first so spices stick, dry spices before roasting so they toast into the seed, salt after roasting so it stays bright and crunchy on the surface. Three layers of flavor instead of one flat note.
Stir halfway, no exceptions. The seeds on the edges of the pan always brown faster. One good stir at the midpoint evens everything out and prevents the dreaded half-burnt batch.
Taste for doneness, not time. Ovens lie. Seed sizes vary. Start checking early and pull a seed, cool it for 30 seconds, and bite. Golden color plus a clean snap means done. Pale and bendy means five more minutes.
Save the butter for the end. If you love buttery seeds, roast with oil and drizzle a teaspoon of melted butter over the hot seeds along with the salt. Butter's milk solids burn at roasting temperatures, but added at the end they taste like pure richness.
Make a double batch. One pumpkin's worth of seeds vanishes in a day at my house. If you're already doing the work, roast two sheet pans at once (swap their positions halfway) and thank yourself later.
What Are the Most Common Mistakes When Roasting Pumpkin Seeds?
Even a simple recipe has traps. Here are the six mistakes I see most often — and how to dodge each one.
- 1. Skipping the rinse. Leftover pumpkin pulp doesn't just look messy; it burns. Those orange fibers scorch long before the seeds finish roasting, leaving bitter black flecks all over your batch. Rinse until the water runs clear and pick out every visible strand. Your patience shows up in the flavor.
- 2. Roasting wet seeds. This is the number one crunch-killer. Seeds that go into the oven damp will steam in their own moisture for the first ten minutes, and by the time they start actually roasting, the texture is already compromised. You end up with seeds that are browned outside and leathery inside. Dry them like you mean it.
- 3. Cranking the heat too high. A 400°F oven feels faster, but it's a trap. The thin hulls brown in minutes while the dense centers stay raw, so you get seeds that look done and taste chewy. Worse, the line between golden and burnt is razor-thin at high heat. Stick with 325°F and let time do the work.
- 4. Crowding the pan. When seeds pile on top of each other, the ones in the middle never see direct heat. They steam, they stick together, and they come out pale and soft while the edge seeds burn. One even layer with breathing room between seeds is non-negotiable. Use a second pan if you need to — it's not extra work, it's insurance.
- 5. Salting before roasting (and only then). Salt sprinkled on raw, oiled seeds partially dissolves and bakes into a dull, uneven coating. You lose that bright salty pop. The fix is the two-stage method in this recipe: salt in the boil for deep seasoning, then a fresh sprinkle on the hot roasted seeds for surface crunch and sparkle.
- 6. Walking away in the last five minutes. Pumpkin seeds go from golden to dark brown shockingly fast at the end of roasting. I've ruined batches by answering a text message. Set a timer, stay near the kitchen for the final stretch, and check early. You can always add two more minutes; you can't un-burn a seed.
What Are the Best Variations of Roasted Pumpkin Seeds?
Once you've nailed the base roasted pumpkin seeds recipe, the seasoning possibilities open wide. Here are five tested variations — each one starts from the same boiled, dried seeds, with the oil and spices swapped as noted.
Variation 1: How Do You Make Classic Salted Roasted Pumpkin Seeds?
This is the purist's version and the one to master first. Skip the garlic powder, paprika, and pepper entirely. Toss the dried seeds with 1 tablespoon of melted butter instead of olive oil, roast as directed, and finish with flaky sea salt instead of fine salt. The butter gives a rich, almost popcorn-like flavor, and the flaky salt adds little bursts of crunch. Simple, timeless, and the version kids ask for by name.
Variation 2: How Do You Make Sweet Cinnamon Sugar Roasted Pumpkin Seeds?
For the sweet tooths: toss the dried seeds with 1 tablespoon of melted coconut oil (or butter), then coat with 2 tablespoons of brown sugar, 1 teaspoon of cinnamon, and a pinch of salt before roasting. Drop the oven to 300°F and roast for 22 to 28 minutes, stirring twice, because sugar burns faster than spices. They come out caramelized, crackly, and tasting like the best part of a snickerdoodle. Let them cool completely — the sugar shell hardens into candy as it cools.
Variation 3: How Do You Make Spicy Chili Lime Roasted Pumpkin Seeds?
Toss the dried seeds with 1 tablespoon of olive oil, 1 teaspoon of chili powder, ½ teaspoon of cumin, ¼ teaspoon of cayenne (adjust to your heat tolerance), and the zest of one lime. Roast as directed. When they come out, squeeze the lime juice over the hot seeds along with the salt and toss. The heat blooms in the oven, the lime hits fresh at the end, and the result is the kind of snack that empties a bowl during a football game. Addictive in the best way.
Variation 4: How Do You Make Ranch-Style Roasted Pumpkin Seeds?
Whisk together 1 tablespoon of olive oil with 1 tablespoon of dry ranch seasoning mix (or make your own: 2 teaspoons dried dill, 1 teaspoon garlic powder, 1 teaspoon onion powder, ½ teaspoon dried parsley, salt and pepper). Toss with the dried seeds and roast as directed. The herbs toast into the seeds and the whole batch tastes like the best ranch-flavored snack you've ever had — without any of the artificial stuff. These disappear fast at parties.
Variation 5: How Do You Make Everything Bagel Roasted Pumpkin Seeds?
Toss the dried seeds with 1 tablespoon of olive oil, then sprinkle generously with 1 ½ tablespoons of everything bagel seasoning before roasting. That's it — the mix already contains salt, sesame, poppy seeds, garlic, and onion, so no additional salt is needed after roasting. The seeds come out savory, garlicky, and deeply crunchy, with the little sesame bits toasting alongside. They're phenomenal scattered over salads or eaten straight from the jar.

How Do You Store and Reheat Roasted Pumpkin Seeds?
Room temperature (best for up to 1 week): Once the seeds are completely cool — and I mean completely, no residual warmth — transfer them to an airtight jar or zip-top bag. A glass mason jar works beautifully. Keep them in a cool, dry spot like the pantry. They'll stay crunchy for about a week, though in my house they never last that long. The enemy here is air and humidity, so squeeze excess air out of bags and seal jars tightly.
Refrigerator (up to 2 weeks): If your kitchen runs warm or humid, the fridge is a safer bet. Same airtight container, same rules. Cold seeds may taste slightly less crunchy straight from the fridge — give them 10 minutes at room temperature and the snap comes back.
Freezer (up to 3 months): For long-term storage, freeze the cooled seeds in a freezer-safe bag with the air pressed out. They freeze remarkably well because they're low in moisture. Thaw at room temperature for 20 minutes, or spread on a sheet pan and warm in a 300°F oven for 5 minutes to re-crisp.
How to reheat and re-crisp: Seeds that have gone a little soft aren't ruined. Spread them on a baking sheet and warm them in a 300°F oven for 5 to 8 minutes, then cool completely. The heat drives off absorbed moisture and the crunch returns. This trick also works on day-three seeds that lost their edge. Never microwave them — microwaves steam the seeds from the inside and make the texture worse.
One warning: don't store warm seeds. Trapped steam condenses inside the container and turns your crisp batch soggy overnight. I learned this the hard way with a jar of seeds that went limp by morning. Cool first, always.
What Are the Best Ways to Serve Roasted Pumpkin Seeds?
Sure, you can eat them by the handful straight from the bowl — and you will. But roasted pumpkin seeds are far more versatile than most people realize. Here's how to put them to work:
As a straight snack: Serve warm in a big bowl for movie night, game day, or Halloween parties. Set out a couple of seasoning variations side by side and let people compare — the chili lime and cinnamon sugar pair makes a great sweet-and-spicy duo.
On salads: Scatter a handful over any fall salad — arugula with roasted squash, kale Caesar, or a simple spinach and apple salad. They add the crunch that croutons wish they had, plus protein that actually keeps you full.
On soups: This is their highest calling. A spoonful of salted roasted pumpkin seeds on top of butternut squash soup, pumpkin soup, or tomato soup adds texture contrast that makes the whole bowl better. The warm soup slightly softens the seeds' edges while the centers stay crisp.
On oatmeal and yogurt: The cinnamon sugar variation is practically made for morning bowls. Sprinkle over oatmeal, Greek yogurt, or smoothie bowls for crunch and staying power.
In trail mix: Combine with dried cranberries, dark chocolate chips, and almonds for a fall trail mix that beats anything from a bag. Portion into small bags for lunchboxes.
As a garnish: Crush them roughly and sprinkle over roasted vegetables, grain bowls, avocado toast, or even ice cream (the sweet variation works surprisingly well on vanilla).
Gifted in jars: A mason jar of homemade roasted pumpkin seeds tied with twine makes a thoughtful, inexpensive fall gift. Add a handwritten label with the flavor — people love receiving food you actually made.

Frequently Asked Questions
Do you eat the shell of roasted pumpkin seeds?
Yes — the whole thing, shell and all. The thin outer hull becomes papery and crisp in the oven, and it's completely edible. That's the standard way to eat roasted pumpkin seeds. The green kernel inside (the pepita) is the tender, nutty center. If you find the hulls too fibrous, look for hulled pepitas instead, but give the whole seeds a try first — most people love the extra crunch.
How long do roasted pumpkin seeds last?
Stored in an airtight container at room temperature, they stay fresh and crunchy for about 1 week. In the refrigerator, they'll keep for up to 2 weeks. In the freezer, they're good for up to 3 months. The key in every case is making sure they're completely cool before storing and keeping air and moisture out. If they soften, a few minutes in a 300°F oven brings the crunch back.
Why are my roasted pumpkin seeds chewy instead of crunchy?
Chewiness almost always comes down to moisture. Either the seeds weren't dried thoroughly before roasting, the pan was overcrowded (which traps steam), or the oven temperature was too high (browning the outside before the inside crisped). The fix: dry the seeds completely, spread in a single layer, roast at 325°F, and let them cool fully on the pan before judging — they crisp significantly as they cool.
Can you roast pumpkin seeds from a carving pumpkin?
Absolutely — carving pumpkins are the classic source. Their seeds are larger with slightly thicker hulls than pie pumpkins, which actually makes them extra crunchy when roasted. Just rinse them well, since carving pumpkins tend to have more stringy pulp. The seeds from any pumpkin variety work; don't let anyone tell you carving pumpkin seeds aren't worth roasting.
Should you soak pumpkin seeds before roasting?
A quick boil in salted water (10 minutes, as in this recipe) beats a long soak. Soaking for hours can waterlog the seeds and actually hurt the final crunch, while the brief simmer seasons them through and par-cooks the hull just enough for crispness. If you prefer soaking, limit it to 30 minutes in salted water and dry the seeds meticulously afterward.
Are roasted pumpkin seeds healthy?
They're genuinely nutritious. A one-ounce serving delivers about 7 grams of protein, 2 grams of fiber, and meaningful amounts of magnesium, zinc, iron, and healthy unsaturated fats. They're naturally gluten-free and plant-based. The main watch-out is sodium if you're heavy-handed with salt, and calories add up if you eat them by the bowlful — but as snacks go, they're one of the better choices you can make.
Can you make roasted pumpkin seeds in an air fryer?
Yes, and they turn out great. Preheat the air fryer to 325°F, spread the seasoned seeds in a single layer in the basket (work in batches — don't overcrowd), and cook for 10 to 12 minutes, shaking the basket every 4 minutes. They brown a little faster in the air fryer, so start checking at 8 minutes. The texture is just as crunchy as the oven version.
What's the best temperature for roasting pumpkin seeds?
325°F (165°C) is the sweet spot. It's hot enough to crisp the seeds in 20 to 25 minutes but gentle enough to roast them through without burning the hulls. Higher temperatures (375°F and up) brown the outside too fast and leave chewy centers. Lower than 300°F works but takes much longer. If your oven runs hot, check early and trust color and taste over the clock.
Can you roast pumpkin seeds without oil?
You can, but the results are drier and seasonings won't stick well. If you want to skip oil, toss the dried seeds with a light mist of water or a beaten egg white to help spices adhere, then roast as directed — the texture will be a bit more rustic. For the best crunch and flavor, even a single teaspoon of oil makes a noticeable difference.
Final Thoughts
There's something deeply satisfying about turning the part of the pumpkin everyone throws away into the snack everyone fights over. This roasted pumpkin seeds recipe asks for a little patience — the rinse, the boil, the drying — but each step pays you back in crunch. Master the base version once, and the five variations give you a whole season of snacking: salty for movie night, spicy for game day, sweet for lunchboxes.
So the next time you carve a pumpkin, save the seeds. Twenty-five minutes later, you'll be standing over a sheet pan eating them warm, wondering why you ever threw them out. That's the whole recipe, really: waste nothing, season boldly, and don't walk away in the last five minutes. Happy roasting — and happy fall.
If you’re already in a fall snacking mood, this Halloween popcorn bar is a great addition to any party spread, and these eyeball cookies always disappear fast at our house.


